
Introduction
Transforming your backyard into a golfer’s paradise is achievable through the mastery of installing an artificial turf putting green. This guide breaks down the installation process into five straightforward steps, making it accessible for both enthusiasts and novices aiming for a professional-level outcome. However, several critical factors must be considered – ranging from selecting the ideal location to ensuring proper drainage. What are the essential elements that can significantly influence the success of this project?
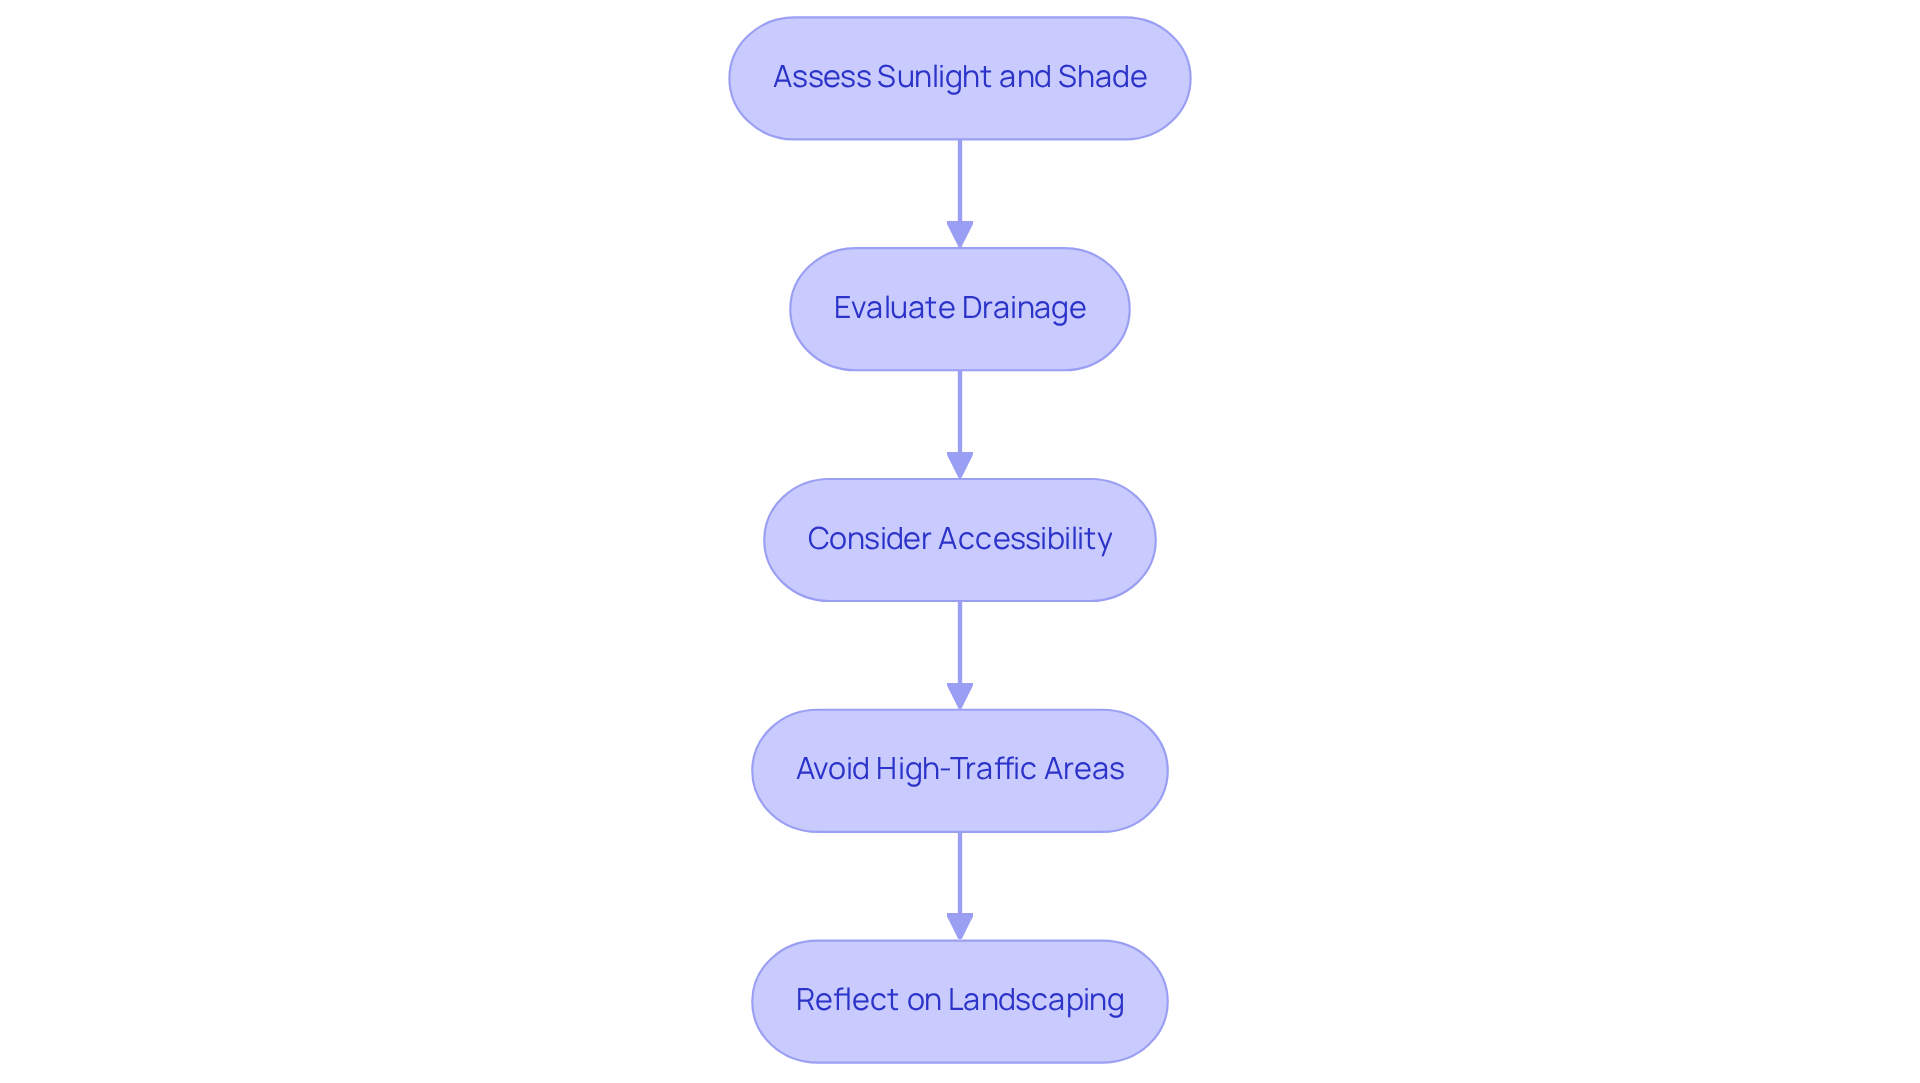
Select the Ideal Location for Your Putting Green
-
Assess Sunlight and Shade: Select a location that receives ample sunlight throughout the day. Avoid areas shaded by trees or structures, as these can hinder grass development and affect playability, especially for the professional-level synthetic surfaces offered by California Turf Company.
-
Evaluate Drainage: Confirm that the area has adequate drainage to prevent water pooling. A gentle slope away from buildings is ideal for directing water runoff, which is crucial for maintaining the high-performance quality of your turf.
-
Consider Accessibility: The putting area should be easily accessible from your home or patio. This encourages regular use and enjoyment, allowing you to refine your short game on the surfaces created by the artificial turf putting green installation from California Turf Company.
-
Avoid High-Traffic Areas: For your artificial turf putting green installation, select a location that is away from heavy foot traffic to minimize wear and tear on the turf, ensuring that your custom synthetic golf surface remains in excellent condition year-round.
-
Reflect on Landscaping: Think about how the golf area will fit into your overall landscape design. It should enhance your yard’s aesthetics while providing a functional space for practice, improving both your game and your outdoor environment.
Measure the Designated Area for Accurate Installation
-
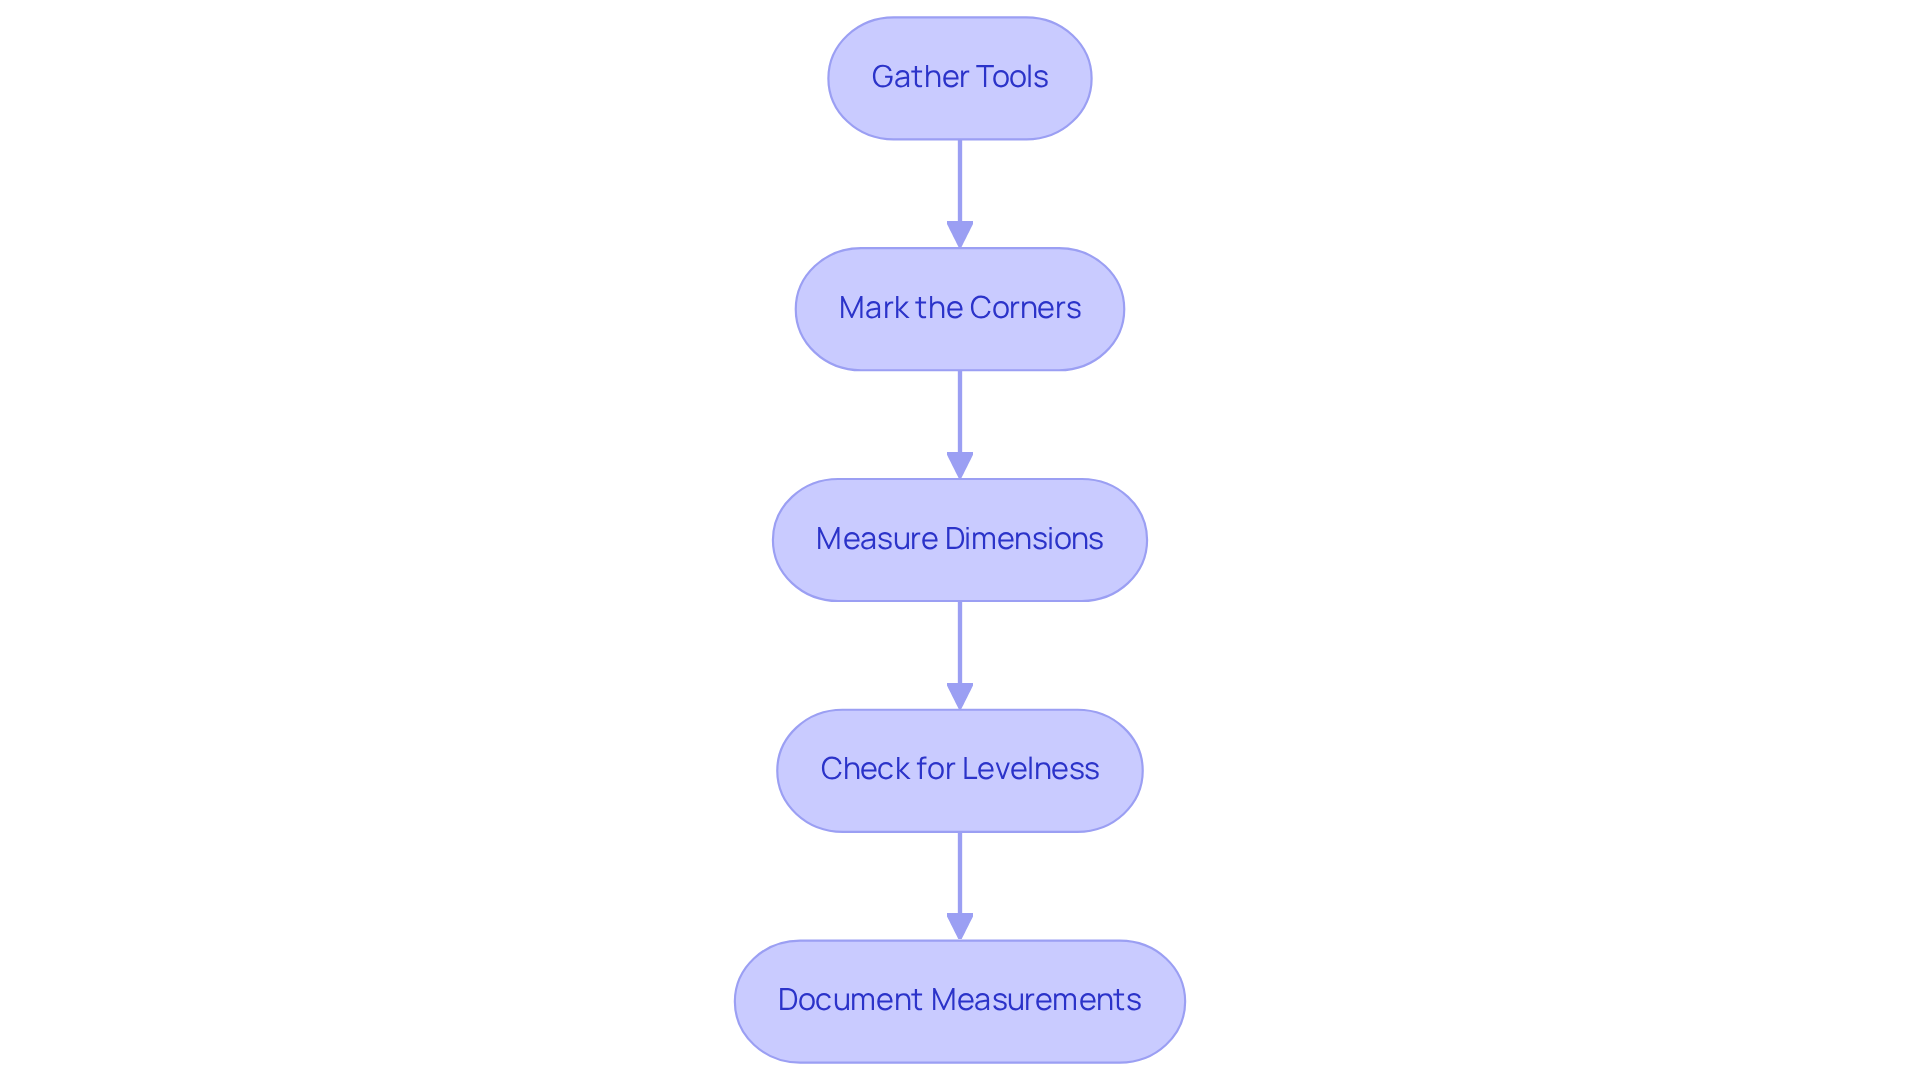
Gather Tools: Equip yourself with essential tools, including:
- Tape measure
- Stakes
- String
- Plate compactor
- Hand tamper
- Rake
- Shovel
- Utility knife
- Seam tape/adhesive
- Nails/staples
- Broom or power brush
These tools will help you outline the space designated for your installation.
-
Mark the Corners: Position stakes at each corner of the designated space. Connect the stakes with string to create a clear boundary for your putting green.
-
Measure Dimensions: Accurately measure the length and width of the area. Ensure these dimensions align with the size of the turf you intend to purchase, as proper sizing is crucial for a successful artificial turf putting green installation. Remember to double-check your measurements to avoid waste and ensure a perfect fit.
-
Check for Levelness: Utilize a level to assess the evenness of the ground. Identify any dips or rises, as these will need to be addressed in the next steps to ensure a smooth surface.
-
Document Measurements: Record all measurements and any observations regarding the terrain. This documentation will serve as a valuable reference during the installation process, helping to avoid mistakes and ensuring a precise fit. For example, if your lawn has the longest angle of 20 feet and the widest angle of 15 feet, you will need approximately 300 square feet of synthetic grass.
To ensure a seamless experience with artificial turf putting green installation, consider initiating your free consultation with California Turf Company. Our specialists are prepared to help you choose the finest synthetic turf and lawn solutions customized to your requirements.
Clear the Area of Existing Grass and Debris
-
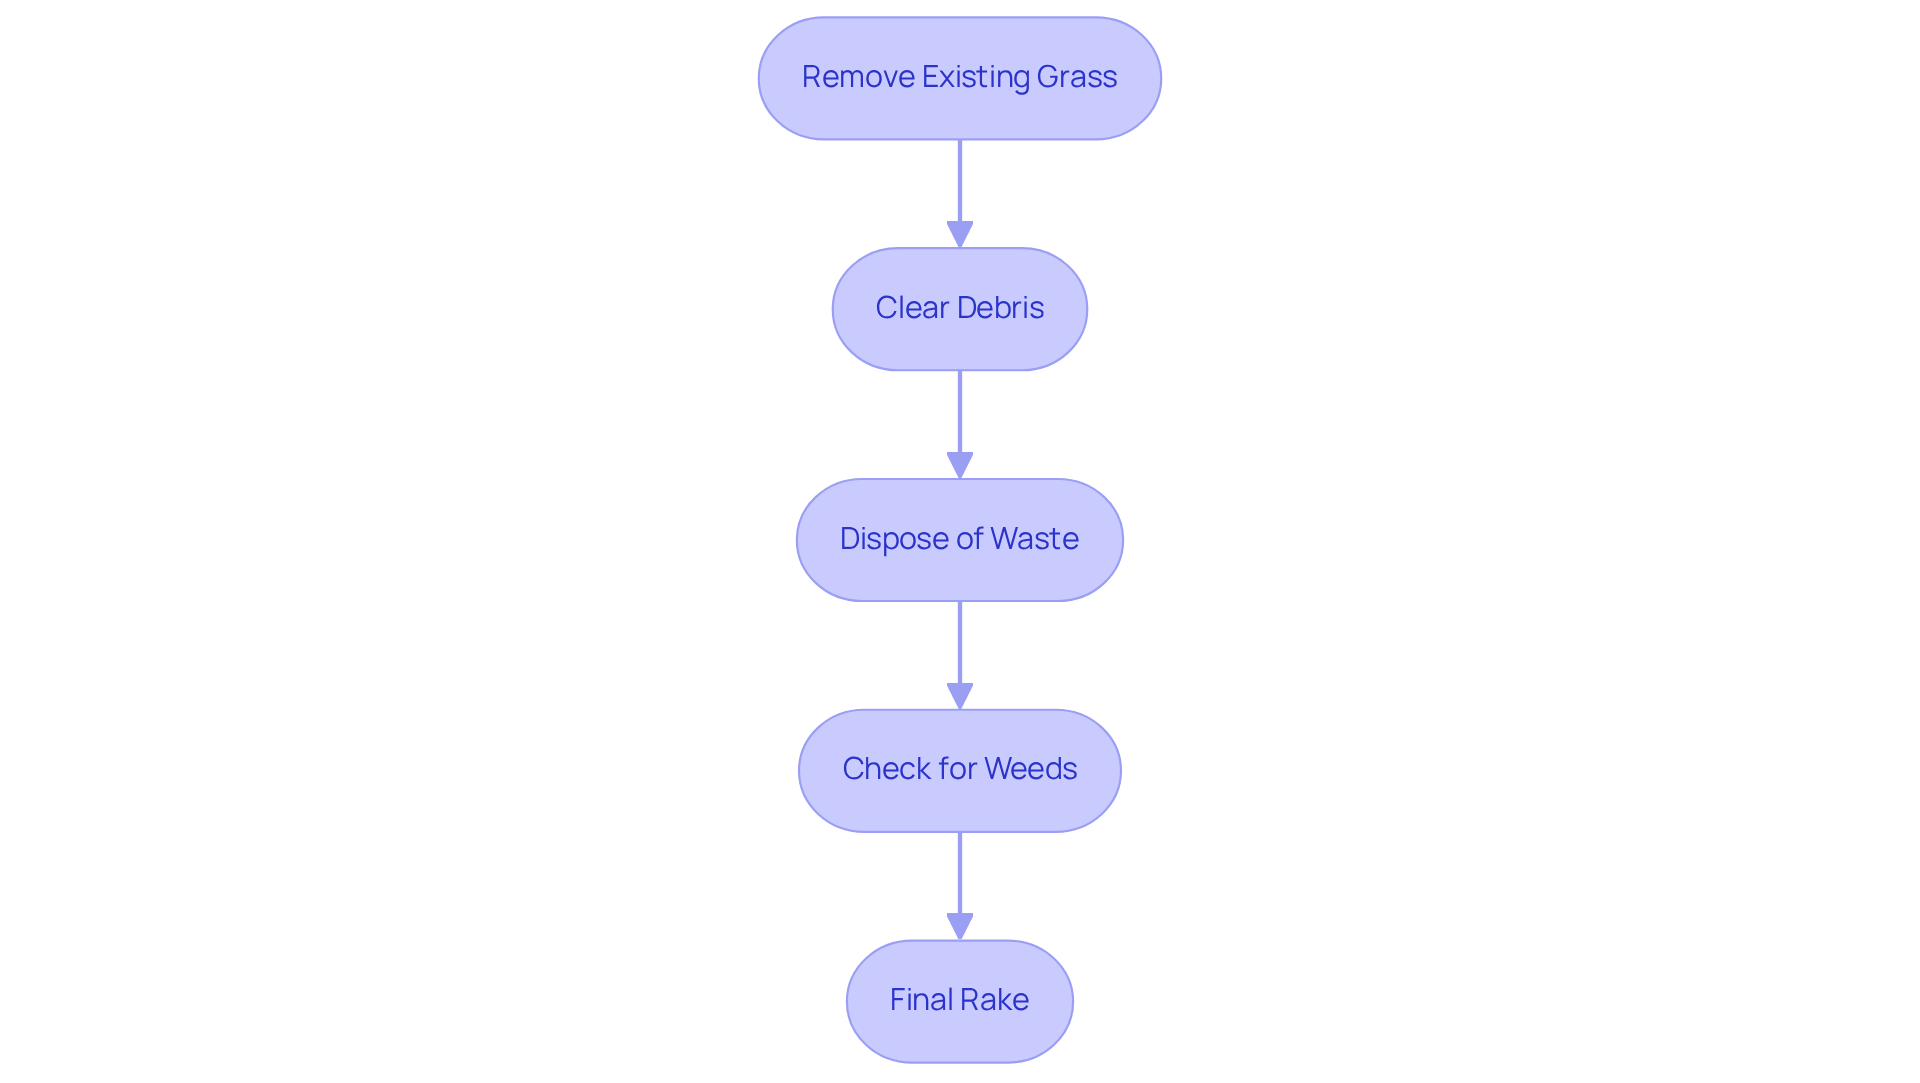
Remove Existing Grass: Start by using a shovel or sod cutter to eliminate the existing grass and roots from the specified location. Aim to excavate at least 3-4 inches of soil to create a solid foundation for your putting green. As Sydney Shields emphasizes, “To begin on new ground, eliminate all the natural grass and weeds from the location, then to create space for the base, take away the top layer of your soil (about three to four inches) using a shovel.”
-
Clear Debris: Rake the area thoroughly to remove any rocks, sticks, or other debris that could hinder the installation process. Debris can lead to irregular surfaces and drainage issues, affecting both the durability and appearance of your grass. According to a case study on ‘Site Excavation and Preparation,’ proper excavation ensures a clean and level surface, which is vital for the successful installation of grass.
-
Dispose of Waste: Properly dispose of the removed grass and debris. If possible, consider composting the organic material, or check local regulations for appropriate disposal methods to minimize environmental impact.
-
Check for Weeds: Inspect the area for any existing weeds. Utilizing a weed killer can be beneficial to prevent unwanted growth from disrupting your new grass installation. It is also essential to lay a weed barrier on top of the compacted turf base to stop weeds from growing through your turf.
-
Final Rake: After clearing the area, perform a final rake to ensure the surface is smooth and ready for leveling. This step is crucial for achieving a refined and professional finish in the artificial turf putting green installation.
To ensure the best results for your artificial turf putting green installation, consider initiating a free consultation with California Turf Company today!
Level and Compress the Ground for Stability
-
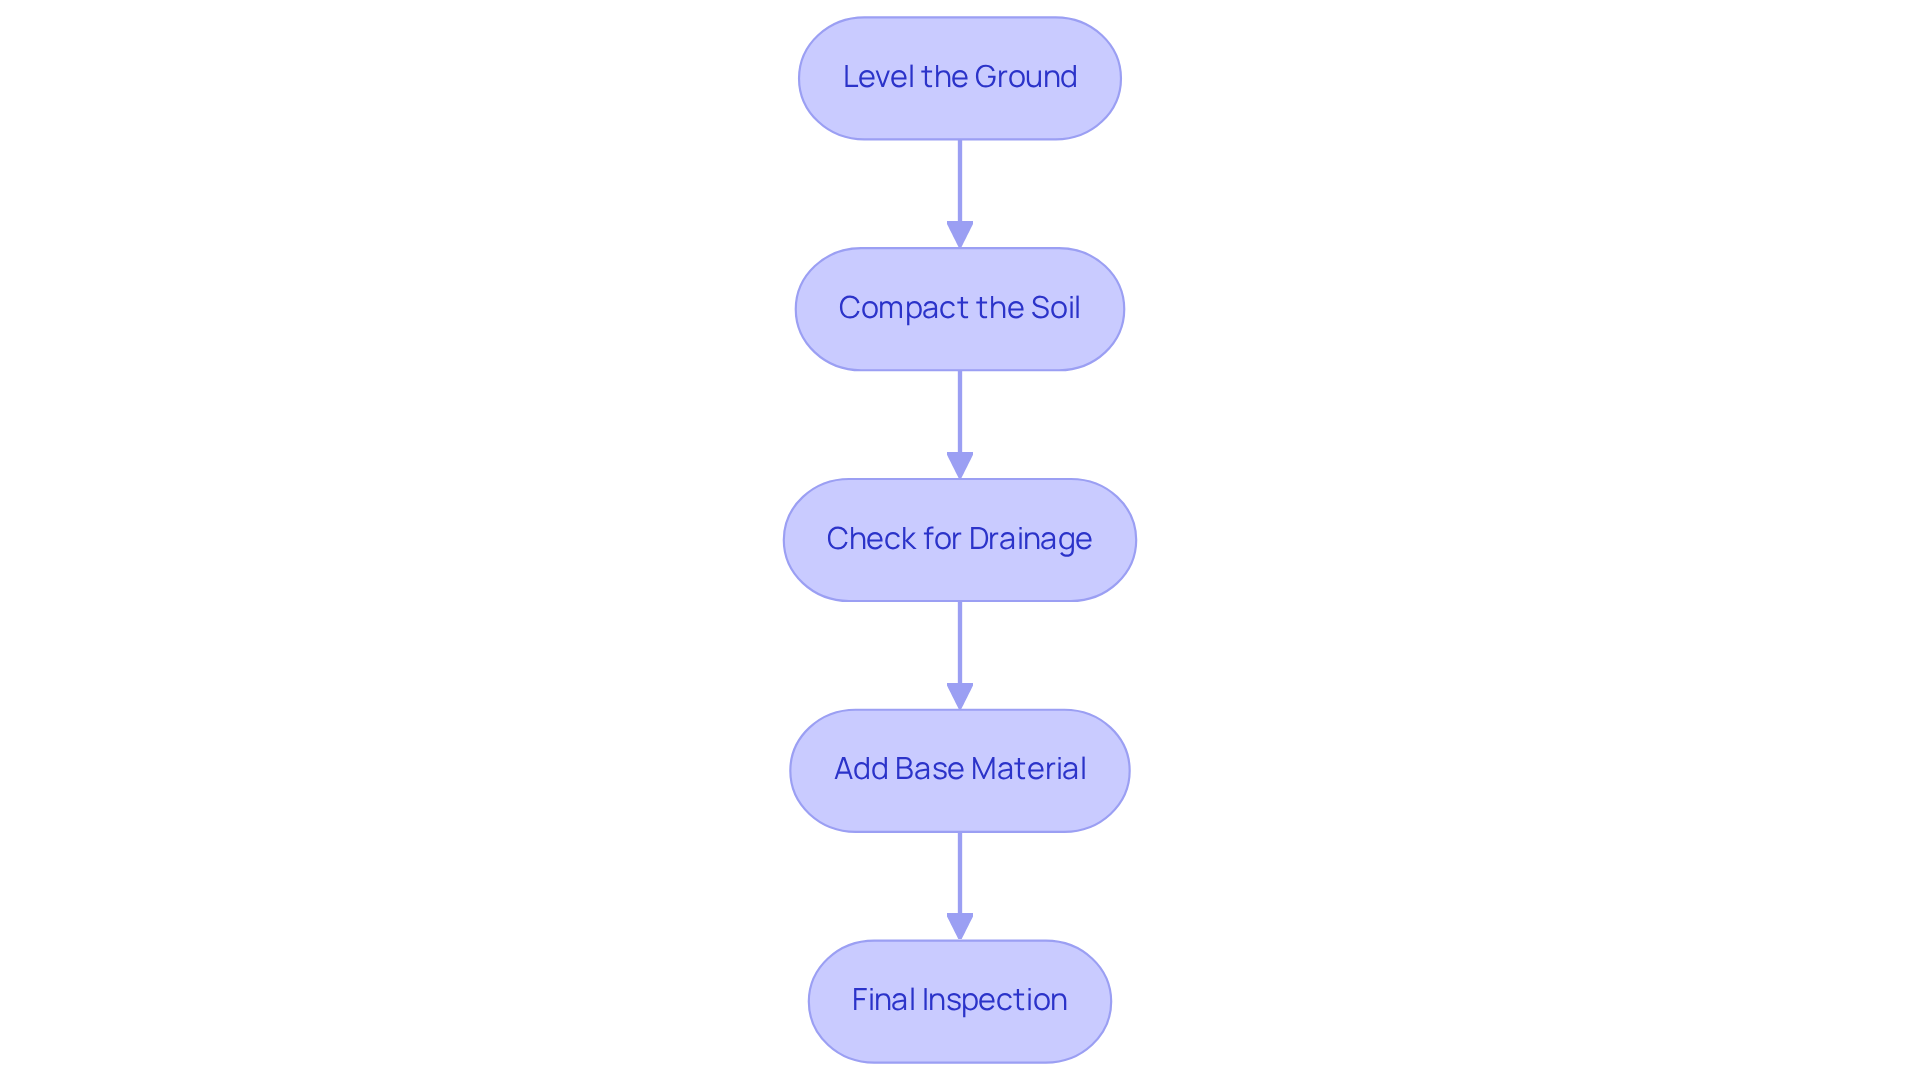
Level the Ground: Begin by using a rake to level the ground. Fill in any low spots and remove high spots to achieve a smooth, even surface.
-
Compact the Soil: Next, utilize a plate compactor or hand tamper to compress the soil. This step is essential for preventing future settling.
-
Check for Drainage: Ensure that the ground slopes slightly away from any structures to facilitate proper drainage. Use a level to confirm the slope.
-
Add Base Material: If necessary, introduce a layer of crushed stone or gravel to enhance drainage and stability. Spread it evenly and compact it thoroughly.
-
Final Inspection: After leveling and compacting, conduct a thorough examination of the area for any remaining uneven spots and address them before proceeding.
Install the Artificial Turf for Your Putting Green
-
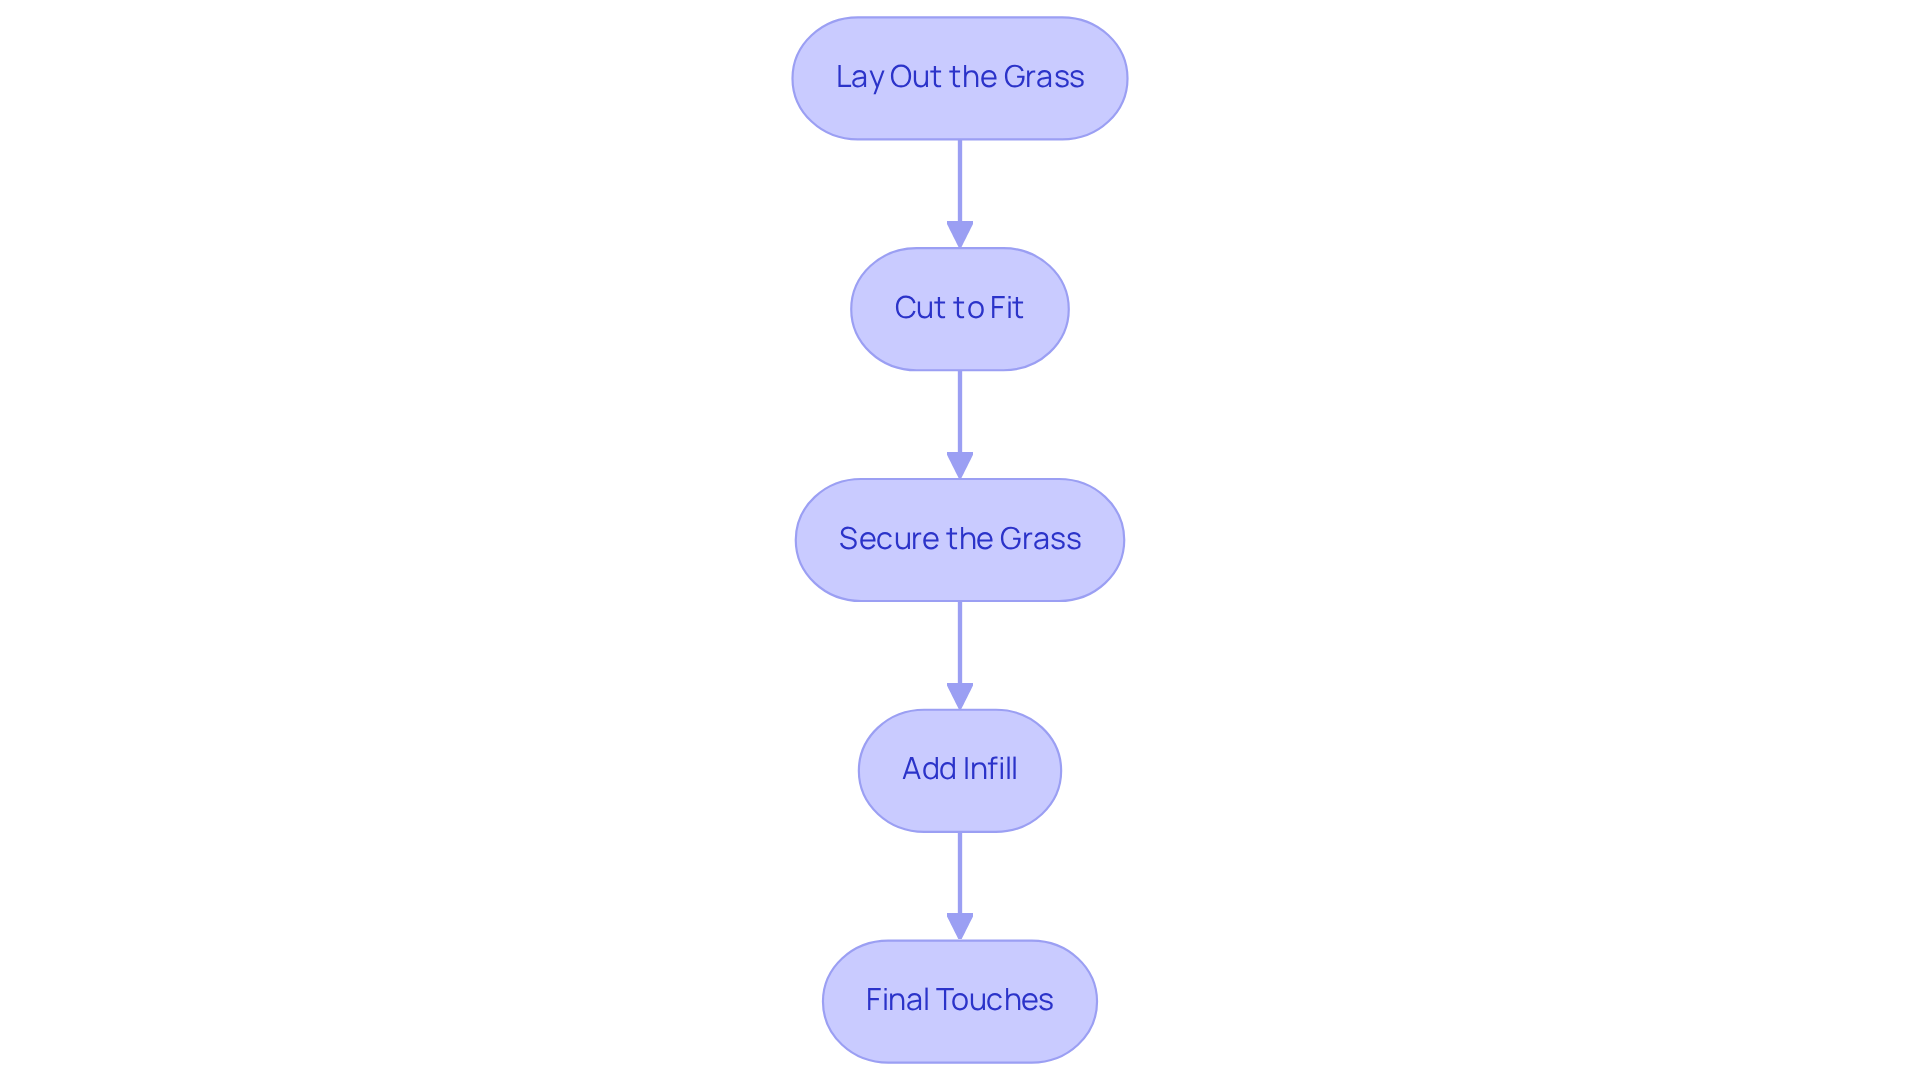
Lay Out the Grass: Begin by unrolling the synthetic grass over the prepared area, allowing it to acclimate for at least 24 hours. This crucial step helps the backing of the surface to smooth out, minimizing the risk of creases during installation.
-
Cut to Fit: Use a utility knife to trim the grass precisely to fit the designated area. Ensure that the edges are clean and align perfectly with the outlined space. As noted by grass installation experts, ‘Before you unroll your artificial grass putting surface, the artificial turf putting green installation must ensure that the holes are securely installed.’ This emphasizes the importance of securing the cups prior to cutting the grass to achieve a seamless fit.
-
Secure the Grass: Fasten the edges of the grass using landscape staples or adhesive. It is essential to ensure that seams are tight and nearly invisible, creating a polished appearance. Properly securing the edges not only prevents safety hazards but also enhances the overall durability of the installation.
-
Add Infill: If necessary, evenly distribute infill material, such as silica sand or rubber, across the surface. This step not only weighs down the surface but also improves its performance, providing a stable and realistic playing experience. Research indicates that properly distributed infill enhances stability and playability, allowing for accurate ball roll.
-
Final Touches: Brush the grass fibers to help them stand upright and inspect for any areas needing additional securing or infill. Ensure that the artificial turf putting green installation provides a smooth surface that is ready for use, as attention to detail in this final step can significantly enhance the enjoyment and longevity of your putting green. Remember, “Invest time in creating a stable, level base before you even think about laying turf” to ensure the best results.
Conclusion
Mastering the installation of an artificial turf putting green requires careful planning and execution. By understanding the essential steps-from selecting the right location to ensuring a smooth and stable surface-anyone can create a high-quality putting green that enhances both their backyard and their golf game. This process involves thoughtful preparation and attention to detail to ensure long-lasting enjoyment and performance.
Key considerations include:
- Sunlight: Ensure the area receives adequate sunlight for optimal turf health.
- Drainage: Proper drainage is crucial to prevent water accumulation and maintain surface integrity.
- Accessibility: Choose a location that is easily accessible for maintenance and use.
Accurate measurements and thorough ground preparation are vital for achieving a seamless installation. The steps outlined in this guide-from clearing the area to leveling and compressing the ground-are essential in setting the foundation for a successful artificial turf putting green.
Ultimately, investing time and effort into each phase of the installation process will yield a putting green that not only complements your outdoor space but also serves as a fantastic practice area. Embracing these guidelines will lead to a rewarding experience, allowing for countless hours of enjoyment while honing your golfing skills. Transform your backyard into a personal golfing oasis that reflects your passion for the game.
Frequently Asked Questions
What factors should I consider when selecting a location for my putting green?
You should assess sunlight and shade, evaluate drainage, consider accessibility, avoid high-traffic areas, and reflect on how the putting green will fit into your overall landscaping.
Why is sunlight important for a putting green?
Sunlight is crucial as it promotes grass development and affects playability, especially for professional-level synthetic surfaces.
How can I ensure proper drainage for my putting green?
Choose an area with adequate drainage and a gentle slope away from buildings to direct water runoff, preventing water pooling.
Why is accessibility important for a putting green?
A putting area that is easily accessible from your home or patio encourages regular use and enjoyment, allowing you to practice your short game effectively.
What should I avoid when choosing a location for my putting green?
Avoid high-traffic areas to minimize wear and tear on the turf, ensuring it remains in excellent condition year-round.
How can I integrate my putting green into my landscape design?
Consider how the golf area will enhance your yard’s aesthetics while providing a functional space for practice.
What tools do I need to measure the area for my putting green installation?
Essential tools include a tape measure, stakes, string, plate compactor, hand tamper, rake, shovel, utility knife, seam tape/adhesive, nails/staples, and a broom or power brush.
How do I mark the designated area for my putting green?
Position stakes at each corner of the designated space and connect them with string to create a clear boundary.
What steps should I take to measure the dimensions of the area?
Accurately measure the length and width of the area, ensuring these dimensions align with the size of the turf you intend to purchase.
How can I ensure the ground is level for my putting green?
Use a level to assess the evenness of the ground and identify any dips or rises that need to be addressed for a smooth surface.
Why is it important to document measurements during the installation process?
Documenting measurements and observations serves as a valuable reference, helping to avoid mistakes and ensuring a precise fit for the synthetic grass.