Introduction
Transforming a yard into a vibrant, green oasis can often appear daunting, particularly when considering the upkeep of natural grass. However, the emergence of artificial grass presents homeowners with a low-maintenance alternative that offers the aesthetic appeal of a lush lawn without the associated hassle.
This guide provides a comprehensive, step-by-step approach to installing green turf artificial grass, covering essential aspects from site preparation to maintenance tips. Key challenges homeowners may encounter during installation will be addressed, along with strategies to ensure a flawless finish that endures over time.
Prepare the Installation Area for Artificial Grass
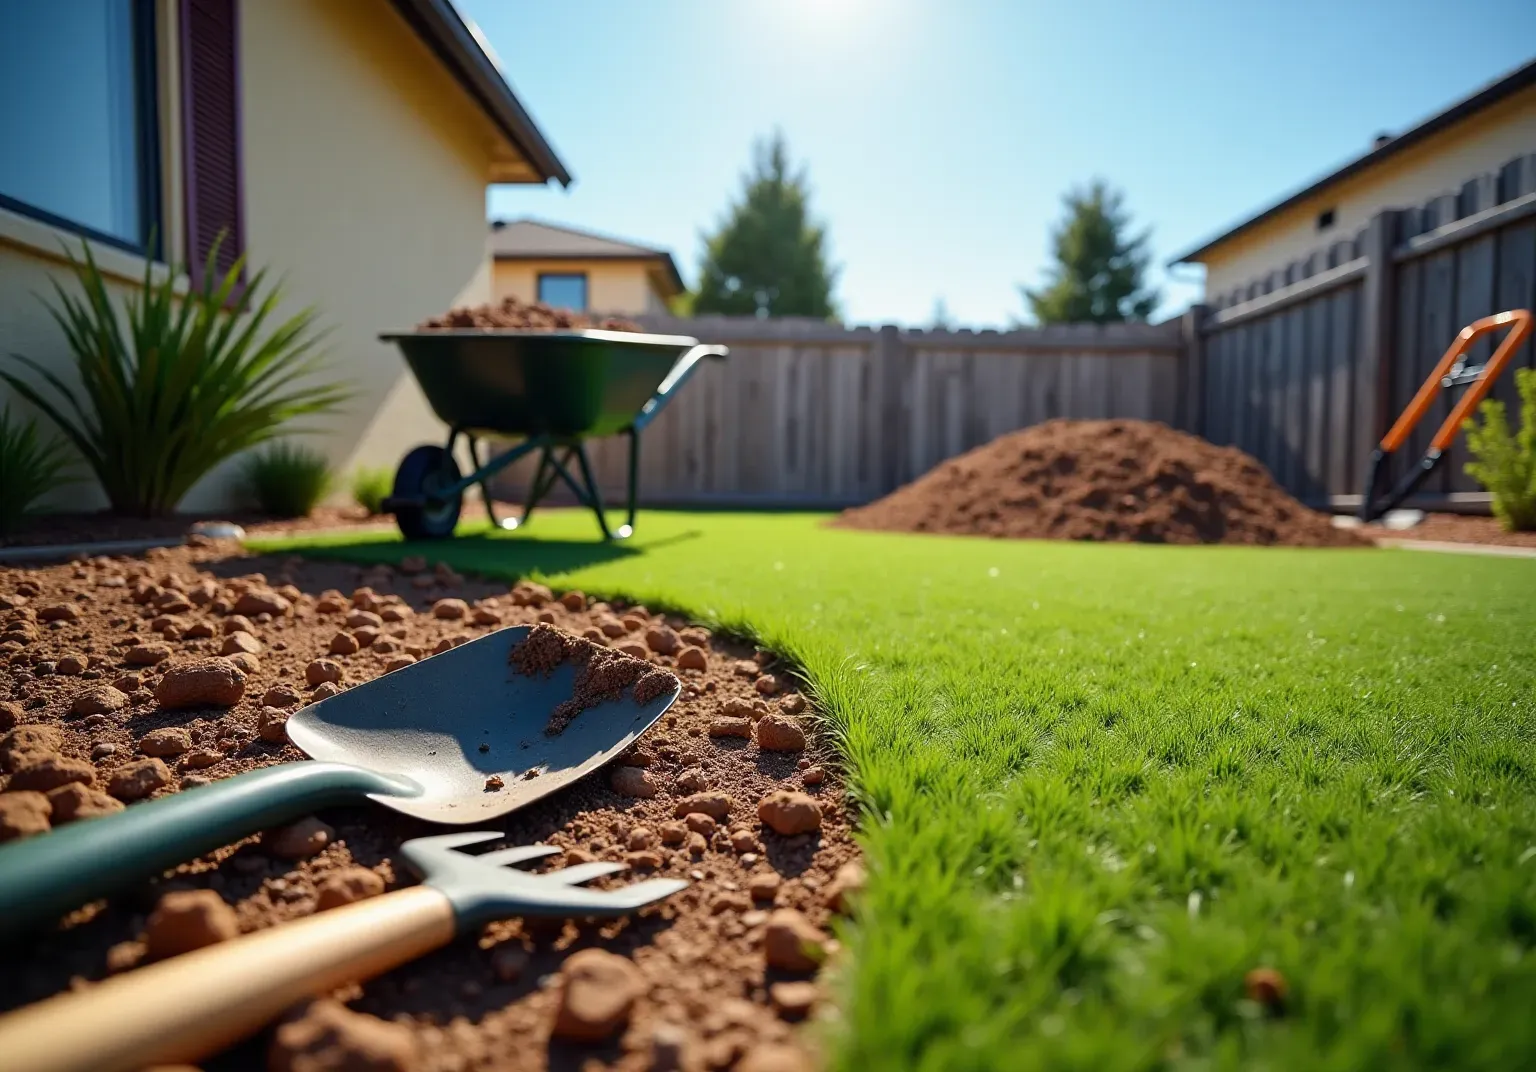
- Clear the Area: Start by , weeds, and debris from the setup site. Utilize a shovel or sod cutter to ensure that all .
- Excavate the Soil: Dig down approximately 2-4 inches to create a level base. This depth is essential for and helps prevent future settling.
- Level the Ground: Employ a rake to , ensuring there are no high or low spots. A flat surface is crucial for a .
- Check for Drainage: Verify that the area has . If needed, create a slight slope away from structures to facilitate water runoff.
- : Lay down a fabric to prevent future weed growth. This step is vital for maintaining the integrity of your over time.

Gather Necessary Tools and Materials for Installation
To successfully install , having the is essential. Below is a detailed list to guide you through the preparation process:
:
- Shovel: For removing existing grass and soil.
- Rake: To level the base substance and ensure a smooth surface.
- Wheelbarrow: Essential for efficiently transporting excavated soil and aggregates.
- Hand Tamper: Used to compact the base substance, ensuring stability.
- Vibrating Plate Compactor: Crucial for creating a strong base for artificial lawns by adequately compacting the sub-base material.
- Utility Knife: A sharp knife is necessary for cutting to fit your garden precisely.
- Tape Measure: For accurate measurements, ensuring you purchase enough .
- Hammer: Required for securing around the perimeter.
- : To anchor the sod securely in place.
- Turf Gripper: Assists in pulling and stretching into position with minimal effort, reducing strain on contractors.
- : Acts as a weed barrier, preventing undesirable growth beneath the grass.
- Base Material: Options like decomposed granite or crushed rock provide a solid foundation for the lawn.
:
- : Select that meets your needs, whether for aesthetics or durability.
- Seaming Tape: Essential for securing seams if your installation involves multiple pieces of grass.
- Infill Material: Depending on the type of grass, infill can enhance stability and performance.
- Edging Material: Optional, but can provide a finished look and help contain the turf.
Preparation:
Before starting your installation, ensure all tools are in good working condition and that you have enough materials to cover the entire area. This preparation minimizes interruptions and contributes to a smoother setup process. The typical cost of tools and supplies can vary, but investing in quality products will yield long-term benefits, ensuring a of . Additionally, remember to hose down the new lawn after installation to assist in the settlement of sand infill and to clean away fine dust from the grass surface.

Install the Artificial Grass: Step-by-Step Process
- Lay the Base Layer: Begin by spreading a 2-3 inch layer of base substance evenly across the designated area. Use a rake to ensure a smooth and level surface, which is essential for . Additionally, applying a is advisable to prevent weeds from growing through the .
- Compact the Base: Compacting the base material is critical to prevent future settling and ensure a . Utilize a hand tamper or a plate compactor to achieve a density of 90-95%, which is vital for the longevity of the installation. As noted by professionals, "Proper compaction prevents future settling issues and surface problems."
- Roll out the by unrolling the and laying it over the prepared base. Allow the grass to acclimate for at least 30 minutes to minimize curling and ensure a better fit.
- Trim the Sod: Carefully cut the edges of the sod using a utility knife, slicing from the back to avoid harming the plant fibers. This ensures a precise fit around the area.
- Secure the Lawn: Use grass staples or galvanized nails to fasten the edges of the grass to the ground. Position these fasteners every 6-12 inches around the perimeter to keep the grass in place.
- Seam the Grass (if necessary): If several sections of grass are used, connect them together with seaming tape and adhesive. This step is crucial for achieving a and maintaining the integrity of the green turf .
- Add Infill (if applicable): If your lawn requires infill, distribute it evenly across the surface and use a broom to work it into the grass fibers. This not only helps weigh down the grass but also keeps the blades upright, improving the overall appearance and texture of your lawn.
Note: Residential yards under 1,000 square feet are typically by experienced crews. Additionally, be aware that and success, so plan accordingly.

Maintain Your Artificial Grass for Longevity and Performance
- Regular Cleaning: Periodically rinse the turf with water to eliminate dust, debris, and pet waste. A gentle spray from a hose is typically sufficient. This routine helps prevent odors and , particularly in pet areas.
- Brush the Turf: Utilize a stiff-bristle broom to groom the turf fibers regularly. This practice maintains the upright position of the blades, preventing matting and ensuring a lush appearance. at least once a month, with high-traffic areas requiring more frequent attention. Weekly brushing helps keep grass blades upright.
- Check for Debris: Conduct regular inspections of the grass for leaves, twigs, or other debris. Promptly remove any buildup to . Neglecting this can lead to moisture retention and potential mold growth.
- Address Stains Promptly: For spills or stains, using a mild soap solution and water. Avoid harsh chemicals that could harm the grass. Quick action is crucial, as untreated stains can become more difficult to remove over time.
- : Periodically check for signs of wear or damage, such as broken seams or uneven infill distribution. Addressing these issues promptly can prevent further deterioration and , which can last between 15 to 25 years with proper care. fields should endure for 8 to 10 years with appropriate upkeep.
- : Depending on your climate, consider tasks. During times of heavy use or after storms, increase the frequency of brushing and rinsing to ensure the grass remains in optimal condition. is recommended after heavy use or pollen seasons. not only preserves the appearance of the turf but also saves on potential repair costs, which can range from $7,482 to $22,990 annually for artificial turf.

Conclusion
Installing green turf artificial grass can transform your outdoor space into a lush, low-maintenance oasis. This guide outlines a comprehensive step-by-step process, from preparing the installation area to ensuring the longevity of your new lawn. By adhering to these detailed instructions, homeowners can achieve a professional-looking installation that enhances their property and provides lasting enjoyment.
Key points covered include:
- The importance of proper preparation, such as clearing the area, leveling the ground, and ensuring adequate drainage.
- The necessity of having the right tools and materials on hand to facilitate a smooth installation process.
- Ongoing maintenance practices, including regular cleaning and inspections, which are crucial for keeping your artificial grass looking its best and extending its lifespan.
Ultimately, investing time and effort into the installation and maintenance of artificial grass not only elevates the aesthetic appeal of your yard but also contributes to environmental sustainability by reducing water usage and eliminating the need for harmful pesticides. Homeowners are encouraged to embrace this modern landscaping solution, ensuring a beautiful and functional outdoor space for years to come.
Frequently Asked Questions
What is the first step in preparing the installation area for artificial grass?
The first step is to clear the area by removing any existing grass, weeds, and debris from the setup site using a shovel or sod cutter.
How deep should I excavate the soil for artificial grass installation?
You should excavate the soil down approximately 2-4 inches to create a level base, which is essential for proper drainage and to prevent future settling.
How do I ensure the ground is level before installing artificial grass?
Use a rake to level the soil, making sure there are no high or low spots, as a flat surface is crucial for a smooth installation.
Why is it important to check for drainage in the installation area?
It is important to check for drainage to ensure the area has adequate water runoff. If necessary, create a slight slope away from structures to facilitate this.
What should I install to prevent weed growth under the artificial grass?
You should lay down a weed barrier fabric to prevent future weed growth, which is vital for maintaining the integrity of your synthetic turf over time.
List of Sources
- Prepare the Installation Area for Artificial Grass
- Artificial Turf Market Size And Share | Industry Report, 2033 (https://grandviewresearch.com/industry-analysis/artificial-turf-market)
- shawgrass.com (https://shawgrass.com/about/news-blog/how-to-prep-for-artificial-grass-installation)
- sgwflorida.com (https://sgwflorida.com/resources/installing-artificial-grass/step-by-step-guide-to-installing-artificial-grass)
- How to Install Artificial Turf on Dirt | US Turf (https://usturfsandiego.com/news/how-to-install-artificial-turf-on-dirt)
- lawnpop.com (https://lawnpop.com/how-to-prepare-the-ground-before-laying-artificial-grass)
- Gather Necessary Tools and Materials for Installation
- 5 Tools That Contractors Installing Artificial Grass Should Use | Purchase Green Artificial Grass (https://purchasegreen.com/blog/crucial-tools-contractors-installing-artificial-grass-should-use)
- 22 Essential Tools for Installing Artificial Grass (https://neograss.co.uk/22-essential-tools-installing-artificial-grass)
- sgwtexas.com (https://sgwtexas.com/dallas/blog/2023/02/28/5-key-supplies-you-need-for-your-next-artificial-turf-installation)
- DIY Guide: Essential Tools for Installing (https://blog.artificialgrassrecyclers.com/diy-guide-tools-you-need-to-install-your-own-artificial-turf)
- Install the Artificial Grass: Step-by-Step Process
- Artificial Turf Market, Industry Size Forecast [Latest] (https://marketsandmarkets.com/Market-Reports/artificial-turf-market-121486580.html)
- How to Install Artificial Grass on Soil | US Turf (https://usturfsandiego.com/news/how-to-install-artificial-grass-on-soil)
- Artificial Grass, Market Trends, Business Insights, and Analysis (https://installartificial.com/how/artificial-grass-business-insights-market-trends)
- How Long Does It Take to Install Artificial Grass (https://syntheticturftc.com/how-long-does-it-take-to-install-artificial-grass)
- A Step-by-Step Guide to Installing Artificial Turf Grass (https://lowes.com/n/how-to/install-artificial-grass)
- Maintain Your Artificial Grass for Longevity and Performance
- Artificial Turf Field Maintenance costs and guidelines | Sports Venue Calculator (https://sportsvenuecalculator.com/knowledge/artificial-turf-maintenance/artificial-turf-field-maintenance-costs-and-guidelines)
- syntheticgrassdfw.com (https://syntheticgrassdfw.com/artificial-grass/how-long-does-outdoor-artificial-grass-last-what-you-need-to-know)
- Artificial Turf Maintenance Guide | Cleaning & Care Tips (https://fieldturflandscape.com/maintenance/artificial-turf-maintenance-guide)
- How to Care for Artificial Turf | Turf Care Tips — FRDM Turf (https://frdmturf.com/blog/how-to-take-care-of-artificial-turf)
- How to Maintain Your Artificial Grass All Year Round (https://synlawn.com/articles/how-to-maintain-artificial-grass)