Introduction
Transforming a backyard into a lush, green oasis is now more achievable than ever, largely due to the rising popularity of synthetic grass. This innovative solution not only enhances the aesthetic appeal of outdoor spaces but also provides a low-maintenance alternative to traditional lawns.
Homeowners who wish to create a beautiful, durable lawn may ask: what are the essential steps for successfully installing synthetic grass? This guide offers a comprehensive, step-by-step approach, ensuring that even novice DIYers can undertake the project with confidence while steering clear of common pitfalls.
Prepare Your Backyard for Installation
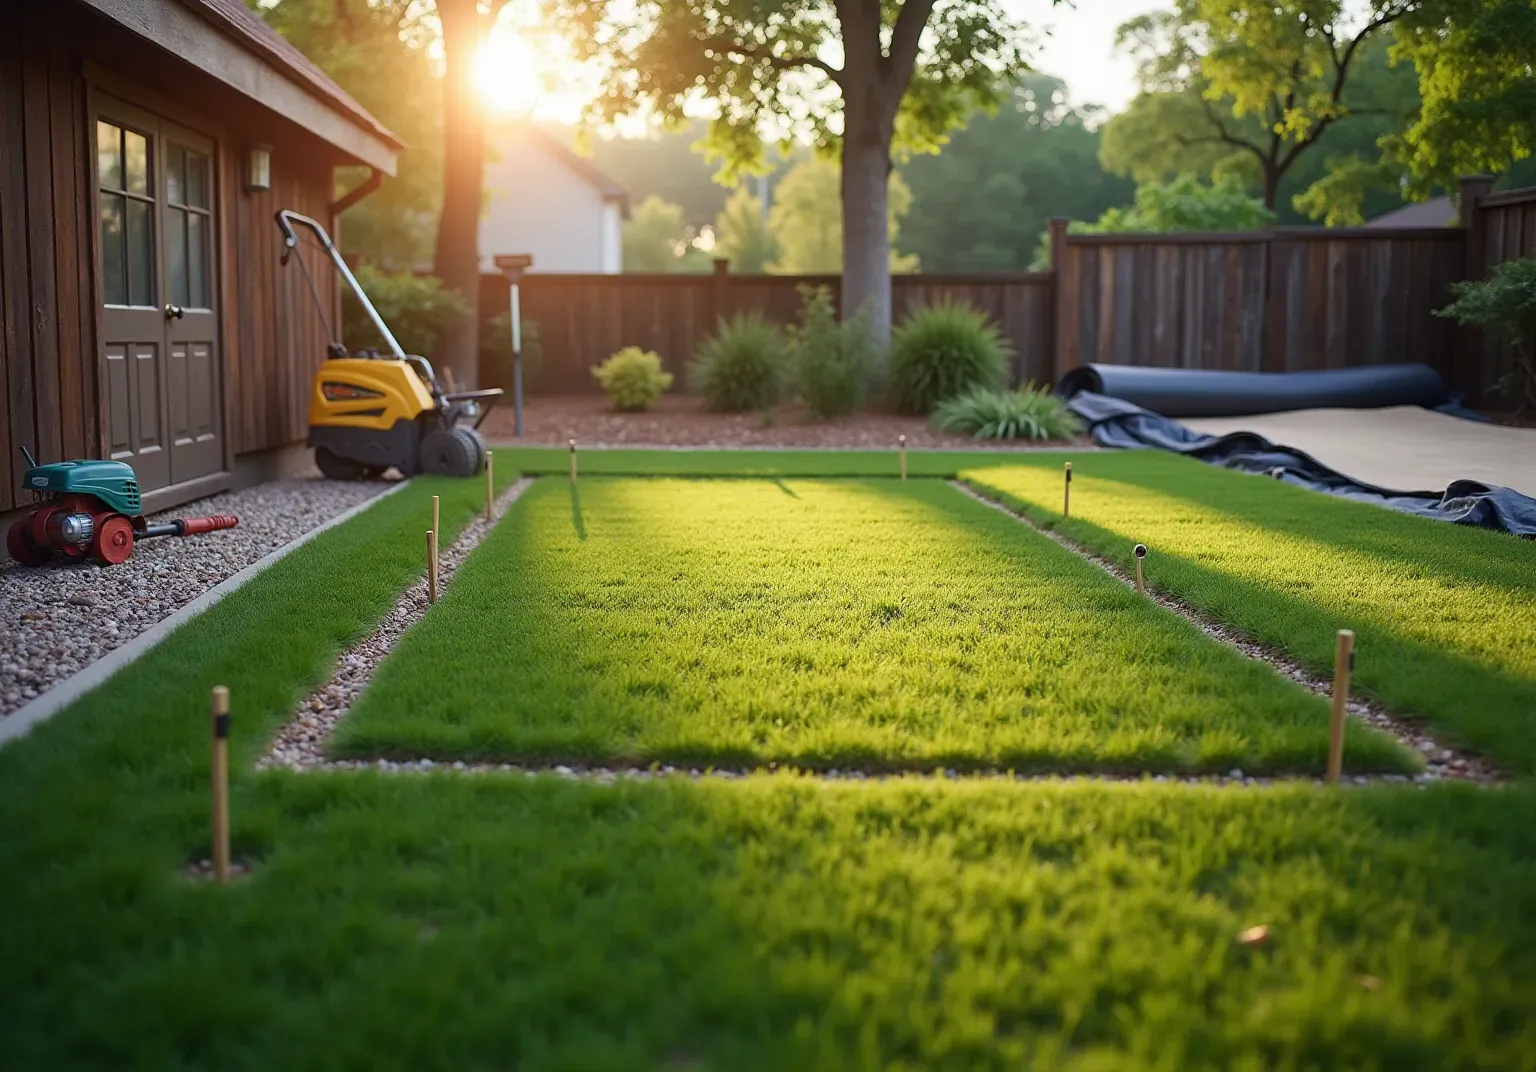
- Measure and Mark the Area: Start by outlining the installation zone for the synthetic turf using stakes and string. Accurate measurements are crucial; allow an additional 5%-10% of grass length and width for trimming and seam alignment. This meticulous planning helps avoid excess material costs and ensures a .
- Remove Current Vegetation and Topsoil: Use a sod cutter or shovel to remove the existing vegetation and approximately 2-4 inches of topsoil. This step is vital to prevent organic matter from decomposing beneath the turf, which can cause uneven surfaces and unpleasant odors.
- Install a Weed Barrier: Place a durable across the entire area to prevent weed growth through the synthetic grass. Secure the barrier with landscape staples to ensure it remains in position during and after installation.
- Add and Compact the Substrate: Fill the area with a material such as crushed rock or decomposed granite to a depth of 3-4 inches. Compact this base thoroughly using a plate compactor to create a for the turf. A well-prepared sub-base can extend the lifespan of the synthetic turf by up to 30%, ensuring .
To achieve the best results for your , it is advisable to understand how to during your with . During this consultation, you will receive , including insights on how to and the available. Their expertise can help you create a beautiful, lasting lawn.

Gather Required Tools and Materials
-
Tools Needed:
- Turf Cutter or Shovel: Essential for removing existing grass and soil, providing a clean slate for your new lawn. Utilizing the current lawn layer requires , simplifying the installation process for homeowners.
- Plate Compactor: Crucial for compacting the supporting material, ensuring a over time.
- Rake: Used for leveling the base material, creating a smooth surface for the synthetic turf.
- Utility Knife: Necessary for cutting the to the desired size, ensuring a precise fit around edges and curves.
- Hammer or Mallet: Employed to secure the grass with specialized nails or staples, preventing movement and ensuring durability.
- Landscape Staples: Important for securing the weed barrier, which helps prevent weed growth and maintains the integrity of your installation.
-
Materials Needed:
- : Choose a , such as or , to ensure longevity and performance. As Jessica Reyes points out, selecting the appropriate grass product guarantees that your lawn not only appears attractive but also functions effectively based on your intended use of the area.
- Base Material: is recommended for the sub-base, providing excellent drainage and stability. Incorporating a layer of crushed rock is important when learning how to install , as it enhances stability and drainage.
- Weed Barrier Fabric: This material is essential for beneath the grass, contributing to a .
- Infill Material (optional): Consider using silica sand or rubber granules to enhance the turf's , providing a natural feel and improving resilience under foot traffic. Periodic maintenance, such as brushing and rinsing off debris, is essential for keeping your artificial grass in top condition.

Install Synthetic Grass: Step-by-Step Process
- Lay the Foundation Material: Start by excavating 2-4 inches of topsoil. Next, spread a layer of compacted foundation material, such as , evenly across the prepared area. Aim for a depth of 2-3 inches to ensure stability and . Understanding is crucial for creating a foundational layer that prevents , such as uneven grass and inadequate drainage.
- Position the: Roll out the over the base, allowing it to acclimate for 1-2 hours. This step helps reduce wrinkles and allows the grass to relax, which is important when considering for a smoother . After laying the sod, let it settle for 24-48 hours before walking on it or placing objects on top.
- Cut the Grass to Fit: Use a sharp utility knife to trim the edges of the grass for a precise fit. Ensure your cuts are clean and follow the grain of the grass to achieve a seamless appearance.
- Secure the Grass: Fasten the edges of the grass to the ground using or staples, placing them every 6-12 inches along the perimeter. When learning how to , this will help keep the grass in place and prevent shifting over time.
- Seam the Grass (if necessary): If your involves multiple pieces of grass, use to join them securely. When learning , ensure that the seams are tight and aligned properly to maintain a uniform appearance.
- Add Infill (if applicable): If your requires infill, spread it evenly across the surface using a power broom. This assists the grass blades in standing upright and adds weight to keep the surface in place, enhancing its durability and appearance.
- Final Touches: Brush the surface with a broom to fluff up the grass blades and ensure an even appearance. Check for any loose edges and secure them as needed to complete your .

Troubleshoot Common Installation Issues
- : If your turf appears uneven, it is essential to check the foundation for any elevated or depressed areas. Level the foundation using a rake and re-compact it as necessary to ensure a smooth surface. Proper preparation is crucial, particularly when learning how to , as an uneven base can lead to water pooling and potential damage.
- : Although synthetic grass suppresses , it does not eliminate it entirely. If weeds begin to emerge, verify that a was installed correctly. Should weeds persist, applying a weed killer can effectively manage their growth. Regular inspections around seams and edges are essential, as these areas are common spots for weed development.
- : If seams are visible or separating, reapply seam tape and adhesive, ensuring the edges are tightly aligned before securing them. are vital to prevent this issue, as improper joining can lead to further complications.
- : For any wrinkles that develop, gently stretch the grass while securing it. If the turf is too tight, consider making slight cuts to relieve tension. Regular maintenance, including brushing, can help redistribute infill and keep the surface level.
- : If water collects on the surface, inspect the foundation for adequate drainage. Ensure that the base material is compacted and sloped correctly to facilitate . Installing a gravel sub-base can enhance drainage and prevent mold and unpleasant odors, which are common issues associated with poor drainage. Hiring professionals can provide guidance on and help avoid these potential problems.

Conclusion
Installing synthetic grass can transform a backyard into a lush, low-maintenance oasis. This guide outlines the essential steps homeowners should follow, from preparing the area and gathering the right tools to executing a successful installation. Understanding each phase ensures a durable and aesthetically pleasing lawn that withstands the test of time.
Key points discussed include the importance of meticulous preparation:
- Measuring the area
- Removing existing vegetation
- Laying a solid foundation
Additionally, the guide emphasizes the necessity of selecting high-quality materials, such as synthetic grass and infill, to guarantee optimal performance. Troubleshooting common installation issues, like uneven surfaces and seam problems, reinforces the need for careful execution throughout the process.
Ultimately, installing synthetic grass not only enhances the beauty of a home but also provides a practical solution for homeowners seeking a sustainable and attractive landscape. By following this comprehensive guide, individuals can confidently tackle their synthetic grass project, ensuring a vibrant outdoor space that requires minimal upkeep. Embrace the benefits of synthetic grass and enjoy a stunning lawn that remains green and inviting year-round.
Frequently Asked Questions
What is the first step in preparing my backyard for synthetic turf installation?
The first step is to measure and mark the area for the installation using stakes and string. It's important to allow an additional 5%-10% of grass length and width for trimming and seam alignment.
Why is it necessary to remove current vegetation and topsoil?
Removing existing vegetation and approximately 2-4 inches of topsoil is crucial to prevent organic matter from decomposing beneath the turf, which can lead to uneven surfaces and unpleasant odors.
What should I use to prevent weed growth under the synthetic grass?
You should install a durable weed barrier fabric across the entire area to prevent weed growth. Secure the barrier with landscape staples to keep it in position during and after installation.
How deep should I fill the area with substrate for the synthetic turf?
You should fill the area with a material such as crushed rock or decomposed granite to a depth of 3-4 inches.
Why is it important to compact the substrate?
Compacting the substrate thoroughly using a plate compactor creates a solid, level foundation for the turf, which can extend the lifespan of the synthetic turf by up to 30%, ensuring durability and optimal performance.
How can I get expert advice for my synthetic turf installation?
It is advisable to schedule a complimentary consultation with California Turf Company, where you will receive expert advice tailored to your specific needs, including insights on how to install synthetic grass and premium turf options available.
List of Sources
- Prepare Your Backyard for Installation
- lawnpop.com (https://lawnpop.com/how-to-prepare-the-ground-before-laying-artificial-grass)
- syntheticturfnorthwest.com (https://syntheticturfnorthwest.com/a-helpful-guide-to-installing-synthetic-turf-diy)
- shawgrass.com (https://shawgrass.com/about/news-blog/how-to-prep-for-artificial-grass-installation)
- A Step-by-Step Guide to Installing Artificial Turf Grass (https://lowes.com/n/how-to/install-artificial-grass)
- How to Install Artificial Grass on Soil | US Turf (https://usturfsandiego.com/news/how-to-install-artificial-grass-on-soil)
- Gather Required Tools and Materials
- 5 Key Supplies You Need for Your Next Artificial Turf Installation - SGW Dallas (https://sgwtexas.com/dallas/blog/2023/02/28/5-key-supplies-you-need-for-your-next-artificial-turf-installation)
- syntheticturfnorthwest.com (https://syntheticturfnorthwest.com/a-helpful-guide-to-installing-synthetic-turf-diy)
- A Step-by-Step Guide to Installing Artificial Turf Grass (https://lowes.com/n/how-to/install-artificial-grass)
- How to Install Artificial Turf on Dirt | US Turf (https://usturfsandiego.com/news/how-to-install-artificial-turf-on-dirt)
- Artificial Turf Material Supply List For Any Installation (https://turfkingz.com/resources/artificial-turf-material-supply-list)
- Install Synthetic Grass: Step-by-Step Process
- syntheticturfnorthwest.com (https://syntheticturfnorthwest.com/a-helpful-guide-to-installing-synthetic-turf-diy)
- How to Install Artificial Grass on Soil | US Turf (https://usturfsandiego.com/news/how-to-install-artificial-grass-on-soil)
- How to Lay Artificial Grass on Soil: The Complete 2025 Guide - CCGrass (https://ccgrass.com/how-to-lay-artificial-grass-on-soil)
- petgrows.com (https://petgrows.com/blogs/news/comprehensive-guide-to-installing-artificial-grass-step-by-step)
- Artificial Grass Synthetic Turf Market Analysis 2026, Market Size, Share, Growth, CAGR, Forecast, Trends, Revenue, Industry Experts, Consultation, Online/Offline Surveys, Syndicate Reports (https://cognitivemarketresearch.com/artificial-grass-synthetic-turf-market-report)
- Troubleshoot Common Installation Issues
- 7 Problems With Artificial Grass and How to Solve Them - US Turf (https://us-turf.com/maintenance/problems-with-artificial-grass)
- Problems With Artificial Grass (and Fixes) | US Turf (https://usturfsandiego.com/news/problems-with-artificial-grass)
- Lumpy Bumpy Artificial Grass reasons and solutions (https://turf-king.com/lumpy-bumpy-artificial-grass)
- Common Artificial Turf Issues & How To Solve Them | George Davies Turf (https://georgedaviesturf.co.uk/blog/common-artificial-turf-issues-how-to-solve-them?srsltid=AfmBOorVRCcq-Czhqo5Z7S9LhXOsN8_GMG2t2-QipzCBNkZzgMselJgX)
- Artificial Grass Installation: Overcome Common Challenges (https://yavapailandscaping.com/overcoming-common-challenges-in-artificial-grass-installation)