Introduction
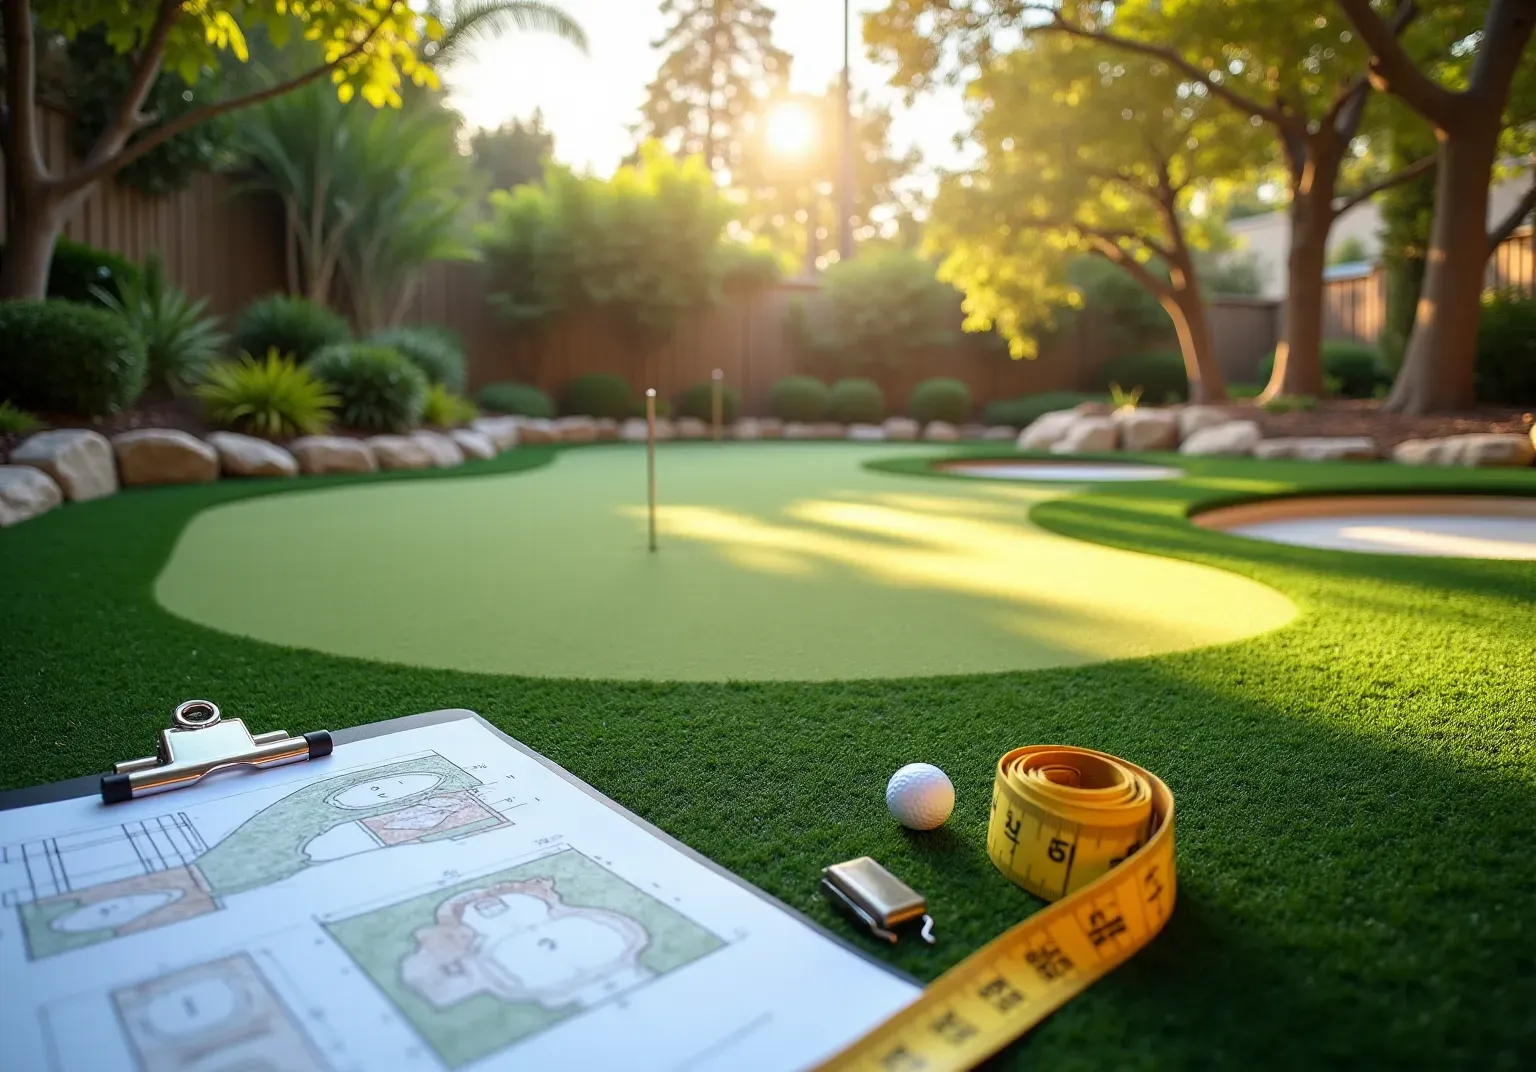
Creating a backyard golf putting green can transform any outdoor space into a personal paradise for golf enthusiasts. This project not only enhances golfing skills but also elevates the aesthetics of the property. To achieve a successful installation, homeowners should follow a structured approach:
- Assess the Area: Evaluate the available space to determine the best location for the putting green.
- Set Clear Objectives: Define what you want to achieve with the putting green, whether it's for practice, entertainment, or both.
- Select High-Quality Materials: Choose durable materials that will withstand the elements and provide a realistic golfing experience.
However, the journey from concept to completion can present challenges, including budgeting constraints and the intricacies of installation. Understanding these essential steps will help ensure a successful and enjoyable backyard putting green installation.
Assess Your Space and Define Your Goals
Begin by measuring the space allocated for your with precision. Look for a flat, level space free from obstructions such as trees or large rocks. Typical outdoor in Southern California range from 100 to 400 square feet, tailored to your available space and .
Clearly define your objectives: Are you aiming for a simple for , or do you envision a more intricate featuring multiple holes and slopes? This clarity will guide your design and material selections, ensuring the final .
emphasize the importance of . This crucial step significantly impacts the overall success of your project.

Evaluate Costs and Budget for Installation
Investigate the expenses associated with establishing a for personal practice. The can range from $3,500 to $9,000, depending on factors such as dimensions, materials, and complexity.
To effectively manage your budget, consider dividing it into the following sections:
- .
- , factor in their costs.
- : Consider .
Exploring . However, ensure you possess the necessary skills and tools to complete the project successfully.
Finally, always allocate a contingency fund of 10-15% of your total budget. This will help cover any unexpected expenses that may arise during the setup process.

Choose Quality Materials and Turf Types
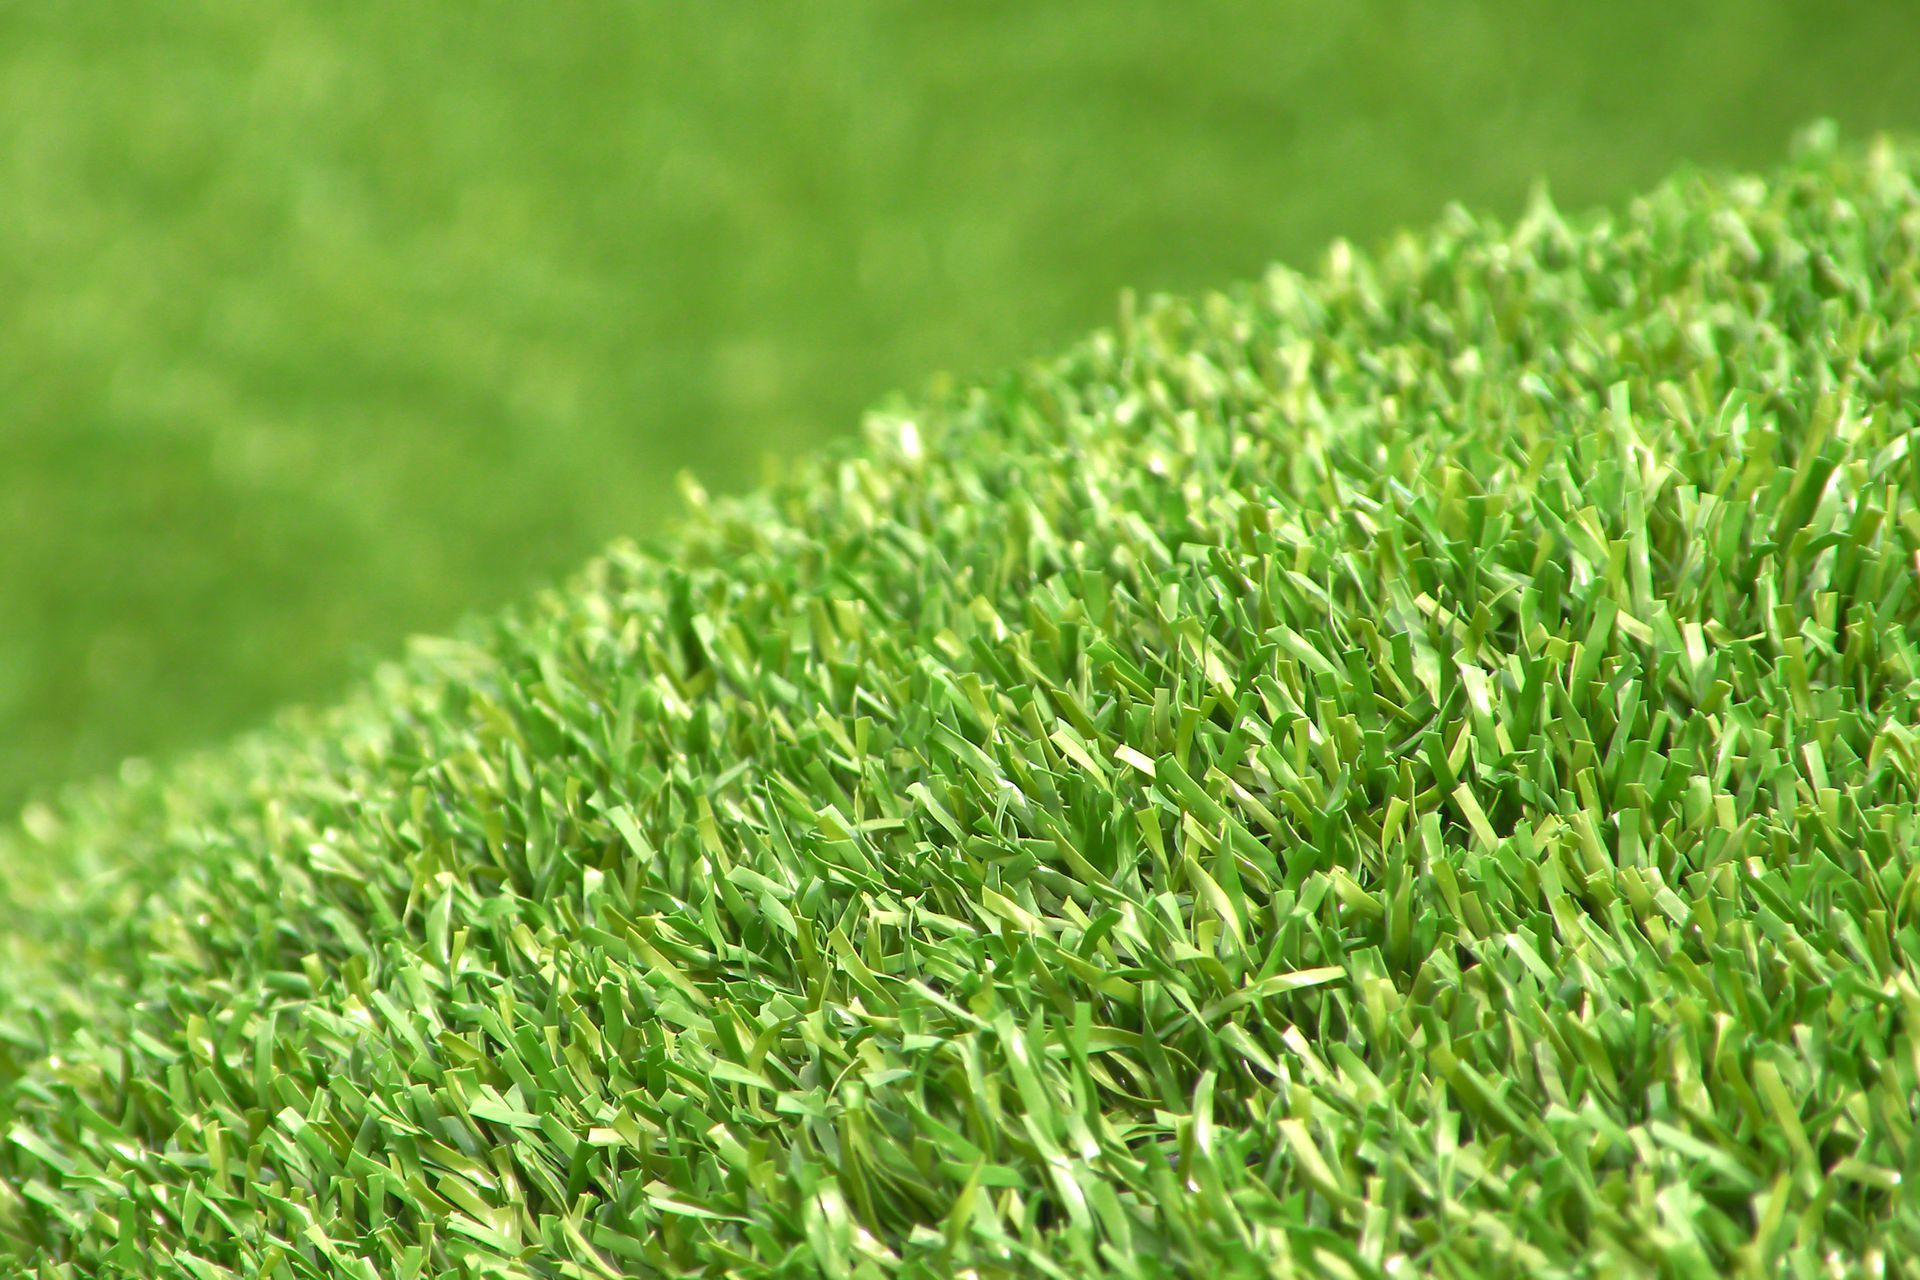
When selecting , it is essential to prioritize , such as nylon or polyethylene. is engineered for performance and durability, closely mimicking the realistic feel of natural vegetation while requiring minimal maintenance. Aim for grass with a per square yard, as this range is optimal for both performance and longevity. California Turf Company offers a variety of grass cuts tailored to your unique play style, ensuring a hassle-free and visually appealing .
Additionally, the foundation of your putting area plays a crucial role. A will provide excellent drainage and stability, preventing water accumulation that could impair playability. Recent advancements in highlight the significance of , which are vital for maintaining the integrity of your landscape. If you plan to incorporate features such as bunkers or water hazards, it is imperative to use as well, as they enhance the overall integrity and appearance of your course. By carefully selecting both the surface and foundational materials, along with employing skilled installation techniques, you can that is not only attractive but also performs exceptionally well for years to come.

Implement Effective Installation Techniques
To begin the installation of your , , extending 12 inches beyond the planned perimeter to ensure stability. In cases of clay soils or areas with drainage concerns, excavation may require a depth of 10-12 inches. After digging, place a weed barrier to prevent unwanted growth beneath the grass.
Next, using 3-4 inches of crushed rock, compacting it to 95% density to avoid settling issues. This foundational layer is crucial, as it determines 80% of the course's long-term performance.
Once the base is prepared, , ensuring that seams are aligned and secured using staples or adhesive. Employ an invisible seaming technique by overlapping edges by 3/8 inch for a seamless appearance. For added realism, consider incorporating features such as synthetic bunkers or slopes during installation. It is also essential to ; maintain a 1-2% grade away from any structures to facilitate water runoff. This meticulous method not only enhances the visual attractiveness of your but also ensures its functionality and durability.
To achieve the finest outcomes for your , start your with today. Our team of specialists is prepared to assist you with and customized to your requirements.

Establish a Maintenance Routine for Longevity
To ensure the longevity and performance of your , establishing a consistent maintenance routine is essential.
- : Begin with weekly sweeping to remove debris. This practice helps keep the grass fibers upright and prevents matting.
- Monthly Deep Clean: using a mild soap solution, followed by a thorough rinse to maintain hygiene and appearance.
- Weed and Pest Inspection: Regularly inspect for weeds and pests, addressing any issues promptly to avoid damage.
- : Avoid strong chemicals like cleaners, pesticides, or herbicides, as they can weaken the synthetic grass surface.
- Seasonal Tasks: is also crucial. Consider renewing infill and brushing the grass to maintain optimal playing conditions. In autumn, regularly remove leaves to prevent moisture accumulation. During summer, lightly mist the grass to cool it down if it becomes too warm.
- Edge and Seam Inspection: Furthermore, regularly , performing necessary repairs to extend the lifespan of your turf.
With , a made of synthetic grass can endure 20 years or longer, greatly improving your property's worth and functionality. To discover more about how can assist you in maintaining your golf surface, start your complimentary consultation today. As noted by turf maintenance professionals, a simple care routine will protect your investment and keep your backyard putting green ready for play year-round.

Conclusion
Creating a backyard golf putting green is an exciting venture that combines personal enjoyment with the potential for improved golfing skills. This investment not only enhances your property but also provides a dedicated space for honing your skills and enjoying leisure time. By embracing essential steps, you ensure that your installation becomes a long-term asset that brings joy and value.
To begin, a thorough assessment of your space and a clear definition of your goals are crucial. This planning phase sets the foundation for a successful installation that meets both aesthetic and functional requirements. Key considerations include:
- Budgeting: Understanding the costs involved is vital for effective planning.
- Material Selection: Choosing high-quality turf contributes to a durable and enjoyable practice area.
- Installation Techniques: Implementing effective methods ensures a successful setup.
- Ongoing Maintenance: Establishing a robust routine helps preserve the integrity and appearance of your green.
By taking the time to plan effectively, you create a practice area that serves its purpose for years to come. Ultimately, investing in a backyard golf putting green transforms your backyard into a golfer’s paradise, providing a rewarding experience for personal enjoyment or skill improvement.
Frequently Asked Questions
What should I do first when planning a backyard golf practice area?
Begin by measuring the space allocated for your golf practice area with precision, ensuring it is a flat, level area free from obstructions like trees or large rocks.
What is the typical size range for outdoor golf practice areas in Southern California?
Typical outdoor golf practice areas in Southern California range from 100 to 400 square feet, depending on your available space and golfing goals.
Why is it important to define my objectives for the golf practice area?
Clearly defining your objectives helps guide your design and material selections, ensuring the final installation meets your expectations and significantly impacts the overall success of your project.
What are the estimated costs for installing a backyard golf putting green?
The costs for installing a backyard golf putting green can range from $3,500 to $9,000, depending on factors such as dimensions, materials, and complexity.
How can I effectively manage my budget for the golf putting green installation?
Divide your budget into sections: materials (grass and base materials), labor (if hiring professionals), and extra features (like bunkers or water features).
Are there ways to reduce costs for the golf putting green installation?
Exploring DIY options can help reduce labor costs, but ensure you have the necessary skills and tools to complete the project successfully.
Should I set aside extra funds when budgeting for the installation?
Yes, it is advisable to allocate a contingency fund of 10-15% of your total budget to cover unexpected expenses that may arise during the setup process.
List of Sources
- Assess Your Space and Define Your Goals
- Backyard Putting Green Sizes: How Big Should Yours Be? (https://texasturfusa.com/austin-landscape-design/the-perfect-backyard-putting-green-size-a-golfers-guide)
- 5 Backyard Putting Green Installation Mistakes & How to Fix Them (https://aglgrass.com/blogs/backyard-putting-green-mistakes)
- How To Make Your Backyard Putting Green Dream a Reality (https://usga.org/content/usga/home-page/course-care/green-section-record/62/issue-17/how-to-make-your-backyard-putting-green-dream-a-reality.html)
- Want to build a backyard putting green? Here are 4 key considerations (https://golf.com/lifestyle/backyard-putting-green-guidelines-questions?srsltid=AfmBOoqJbK9iP5WARTDVglE7omuInNpIV3OmTkwey1d_UanWJyCFa5ro)
- What’s a Good Size for a Backyard Putting Green? (https://realturf.com/us/the-perfect-fit-choosing-the-ideal-size-for-your-backyard-putting-green)
- Evaluate Costs and Budget for Installation
- How Much Does a Backyard Putting Green Cost in 2026? | Angi (https://angi.com/articles/backyard-putting-green-cost.htm)
- Hey, golfers. Want a putting green? Here's how much money you'll have to sink into the project. - Homes.com News (https://homes.com/news/hey-golfers-want-a-putting-green-heres-how-much-money-youll-have-to-sink-into-the-project/2059885131)
- How To Budget For A Fall Putting Green Installation | North East Synthetic Turf (https://northeastsyntheticturf.com/how-to-budget-for-a-fall-putting-green-installation)
- Backyard Putting Green Cost | What to Expect & How to Save (https://aglgrass.com/blogs/backyard-putting-green-cost)
- How Much Does a Backyard Putting Green Cost? [2025 Data] (https://homeadvisor.com/cost/outdoor-living/install-a-putting-green)
- Choose Quality Materials and Turf Types
- 2026’s Biggest Artificial Turf Putting Green Design Trends - OC Turf & Putting Greens (https://octurfandputtinggreens.com/2026s-biggest-artificial-turf-putting-green-design-trends)
- artificialgrasslandscape.com (https://artificialgrasslandscape.com/best-artificial-grass)
- Artificial Turf Innovations: What's New in 2025? - The Turf Yard (https://theturfyard.com/artificial-turf-innovations-whats-new-in-2025)
- aglgrass.com (https://aglgrass.com/blogs/best-artificial-putting-green-turf)
- Implement Effective Installation Techniques
- sgwtexas.com (https://sgwtexas.com/blog/2023/09/28/ensure-a-perfect-outdoor-putting-green-installation-with-these-5-tips)
- Golf Course Putting Green at Home: Professional Installation Guide & Design Tips (https://turffactorydirect.com/blog/replicating-a-golf-course-putting-green-at-home?srsltid=AfmBOorWcNOK4dDAfgQGJk1IHtFMx2-_UA199JcjClkvGlzbt3XeOU3W)
- gcmonline.com (https://gcmonline.com/course/environment/news/usga-putting-green-construction)
- 5 Backyard Putting Green Installation Mistakes & How to Fix Them (https://aglgrass.com/blogs/backyard-putting-green-mistakes)
- fieldturflandscape.com (https://fieldturflandscape.com/golf-putting-green/backyard-putting-green-installation-timeline-prep-guide)
- Establish a Maintenance Routine for Longevity
- Artificial Turf Maintenance Guide | Cleaning & Care Tips (https://fieldturflandscape.com/maintenance/artificial-turf-maintenance-guide)
- 10 Tips for Maintaining an Artificial Grass Putting Green (https://wintergreengrass.com/10-tips-for-maintaining-an-artificial-grass-putting-green)
- Artificial Putting Green Maintenance: Year-Round Care Guide (https://aglgrass.com/blogs/artificial-putting-green-maintenance)
- Artificial Golf Greens Maintenance Tips (https://southwestgreens.com/blog/artificial-golf-greens-maintenance-tips)
- Turf Putting Green Care: Maintain Your Golf Surface (https://europeanco.com/blog/how-to-maintain-your-turf-putting-green)