

Introduction
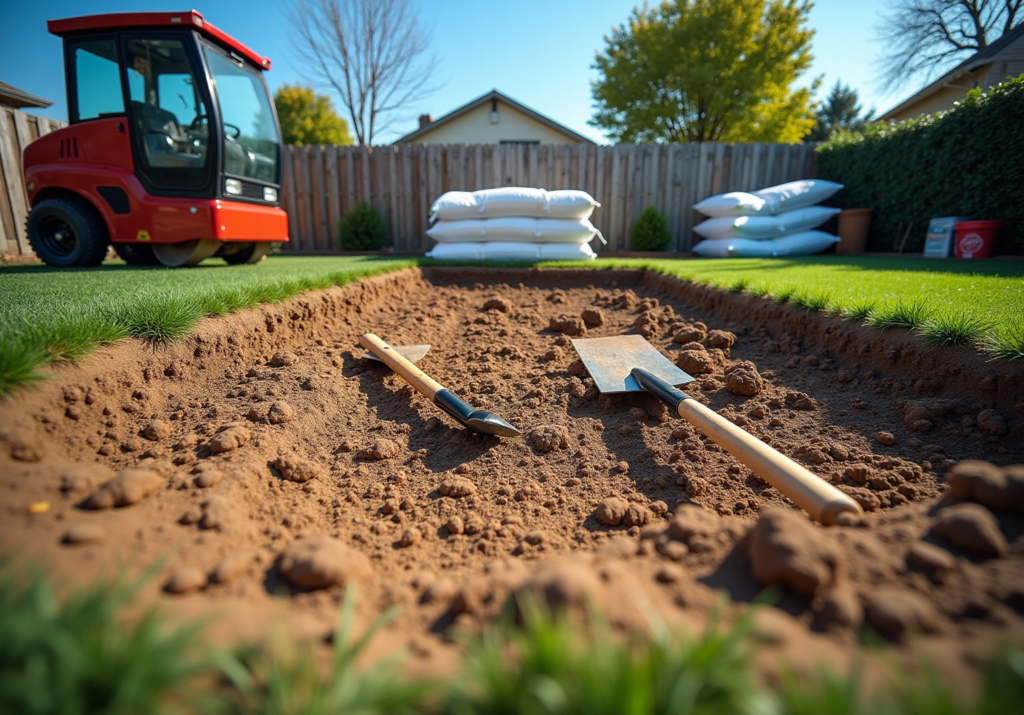
Preparing the ground for turf installation is a critical step that significantly impacts the longevity and performance of synthetic grass. A well-prepared base enhances the aesthetic appeal of a lawn and ensures effective drainage and stability, which prevents future maintenance headaches. Unfortunately, many homeowners and installers overlook essential preparation techniques, leading to costly mistakes.
To create a solid foundation for turf that will stand the test of time, consider the following key steps:
- Site Assessment: Evaluate the area for drainage issues and soil quality.
- Soil Preparation: Remove existing grass, weeds, and debris, and till the soil to a depth of at least 3 inches.
- Base Material: Use a mixture of crushed stone or gravel to create a stable base, compacting it thoroughly.
- Leveling: Ensure the surface is level to prevent water pooling.
- Edging: Install edging to define the area and prevent grass from encroaching.
By following these steps, you can ensure a durable and visually appealing synthetic lawn.
Understand Ground Preparation Requirements
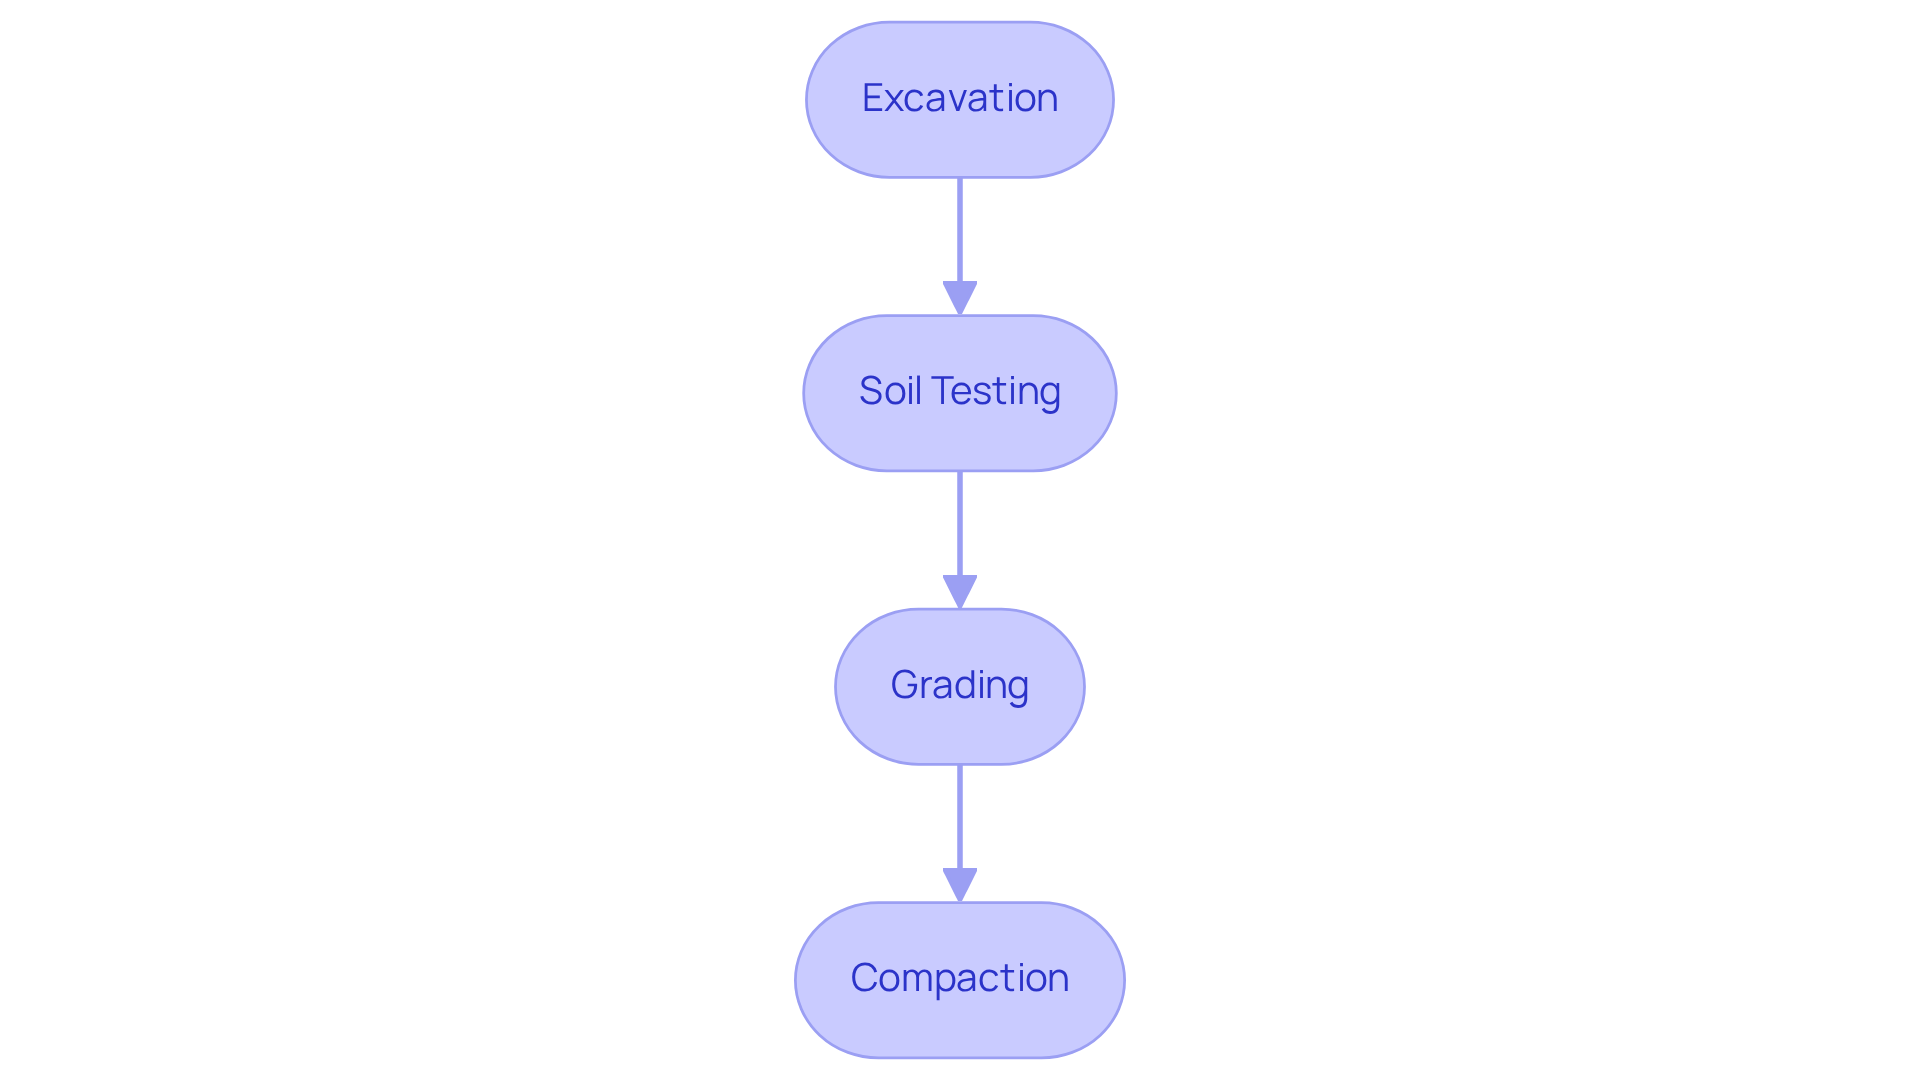
Before starting any grass installation, evaluating the ground preparation needs is essential. This involves assessing the existing soil conditions, including its type, drainage capabilities, and any organic matter that may need removal. The ideal preparation typically requires:
- Excavation: Remove existing grass, weeds, and debris to a depth of 3-4 inches. This ensures a clean slate for the new turf.
- Soil Testing: Conduct soil tests to determine pH levels and nutrient content, which can influence the choice of base materials.
- Grading: Ensure the area is graded to facilitate proper drainage, ideally with a slope of at least 2% away from structures to prevent water pooling.
- Compaction: Compact the soil to create a stable base that can support the weight of the grass and withstand foot traffic.
By following these guidelines, installers can establish a strong base that enhances the performance and longevity of the synthetic grass.
Gather Essential Materials and Tools
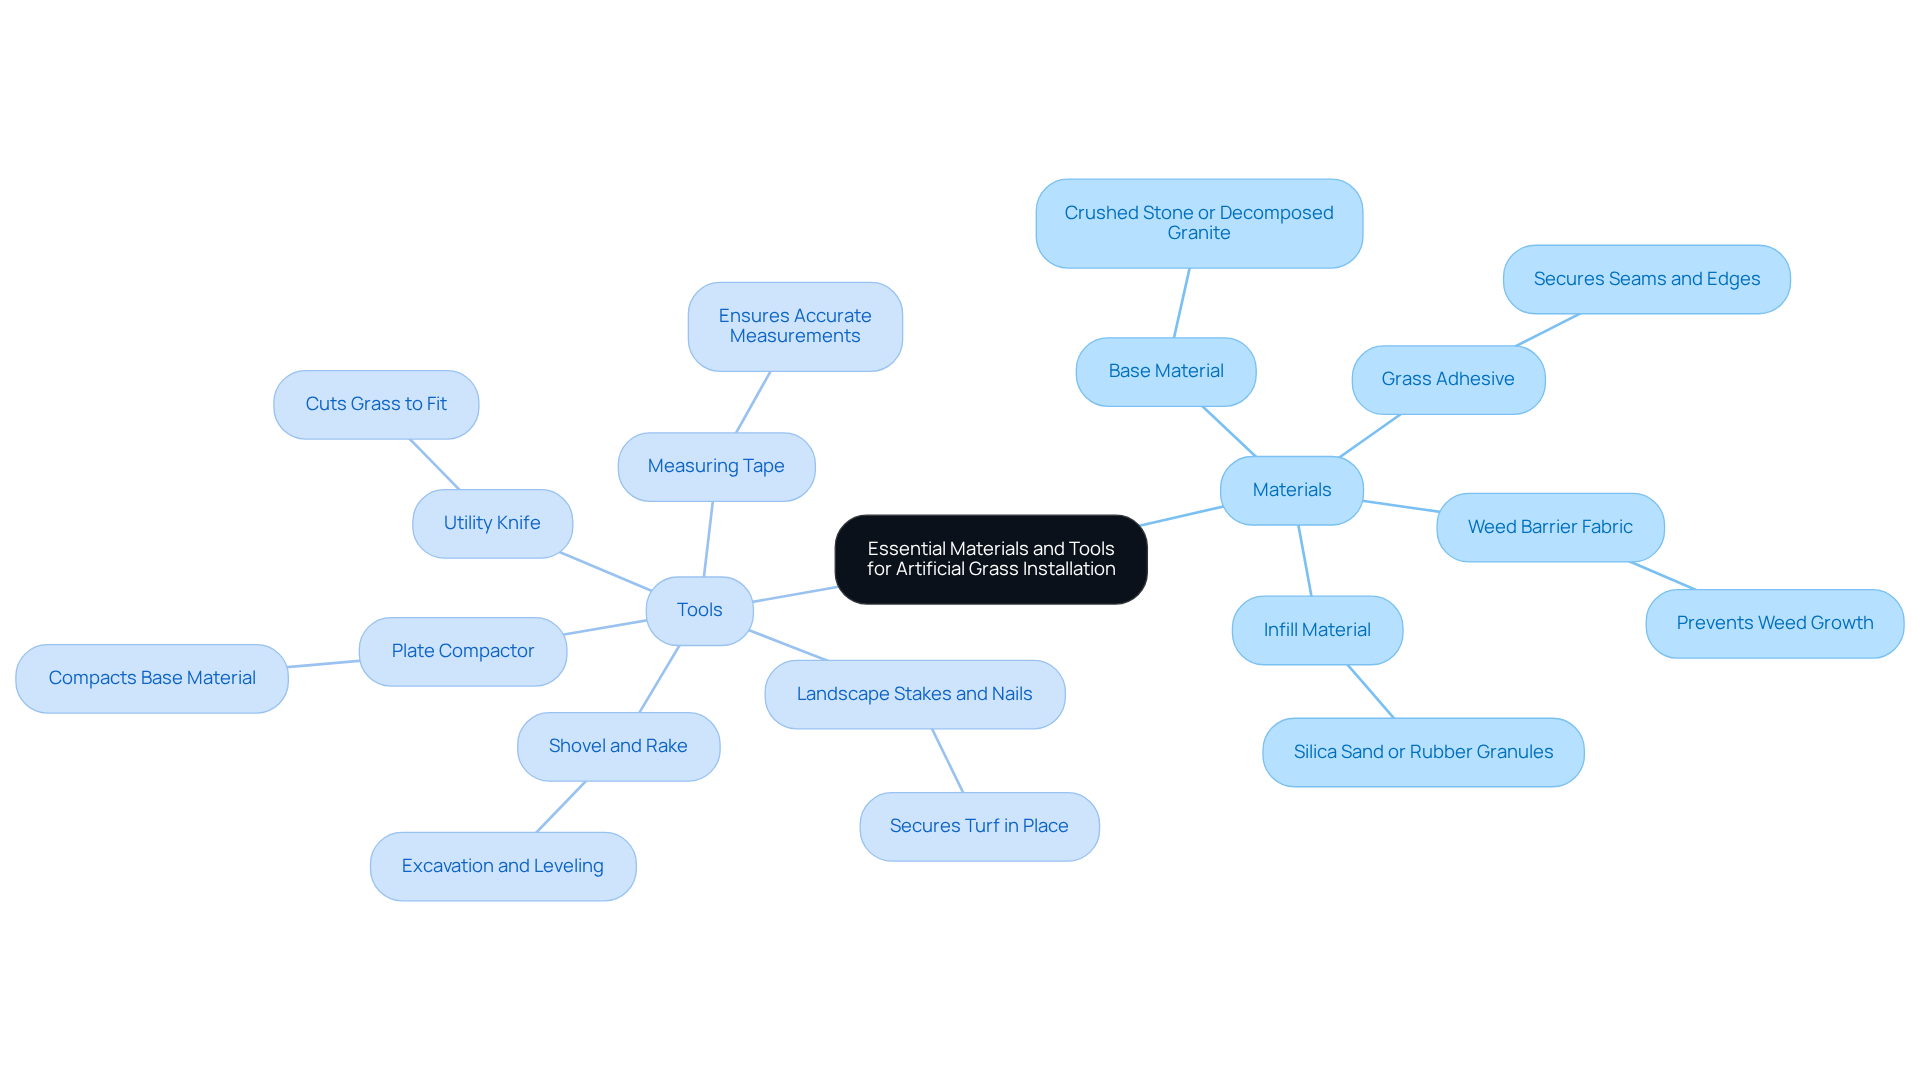
To ensure a successful artificial grass installation, it is crucial to gather all necessary materials and tools beforehand. Below is a comprehensive list:
-
Materials:
- Base Material: Crushed stone or decomposed granite is essential for effective drainage and stability. This prevents water pooling and ensures a solid foundation. According to industry insights, proper base preparation can significantly enhance the durability of the grass.
- Weed Barrier Fabric: This material is vital for stopping weed growth underneath the grass, which lowers maintenance efforts over time. Installing a weed barrier can save homeowners time and resources on upkeep.
- Grass Adhesive: Used for securing seams and edges, grass adhesive is essential for preserving the integrity of the installation. Experts recommend using high-quality adhesive as a base for turf to ensure durability.
- Infill Material: Options like silica sand or rubber granules enhance the surface’s feel and performance, providing cushioning and stability. Infill substances also assist in preserving the grass’s appearance throughout the year.
-
Tools:
- Shovel and Rake: These tools are necessary for excavation and leveling the base material, ensuring a smooth surface for the turf. Accurate leveling is crucial to prevent water pooling.
- Plate Compactor: This tool compacts the base for turf, ensuring stability and preventing future settling. Grass laying experts emphasize that proper compaction is essential for a successful setup.
- Utility Knife: Essential for cutting the grass to fit the designated area accurately, ensuring a clean and precise setup. “Whether you’re a pro or a DIYer, we highly suggest using a grass cutter to remove an existing lawn,” states a lawn specialist.
- Measuring Tape: Accurate measurements are essential during setup to avoid material shortages and ensure proper fit. A long tape measure can help in marking out larger areas effectively.
- Landscape Stakes and Nails: These are used to secure the turf in place, preventing movement and maintaining a flat surface. Proper securing techniques are vital for the longevity of the installation.
By organizing these resources and tools beforehand, installers can simplify the process, resulting in a high-quality finish that enhances both the aesthetic and functional value of the property. Additionally, homeowners should consider budgeting for these materials, as average costs can vary significantly based on quality and local market conditions.
Implement Effective Drainage and Stability Techniques
To ensure the durability and performance of synthetic grass, implementing effective water management and stability methods is essential. Here are key practices to consider:
-
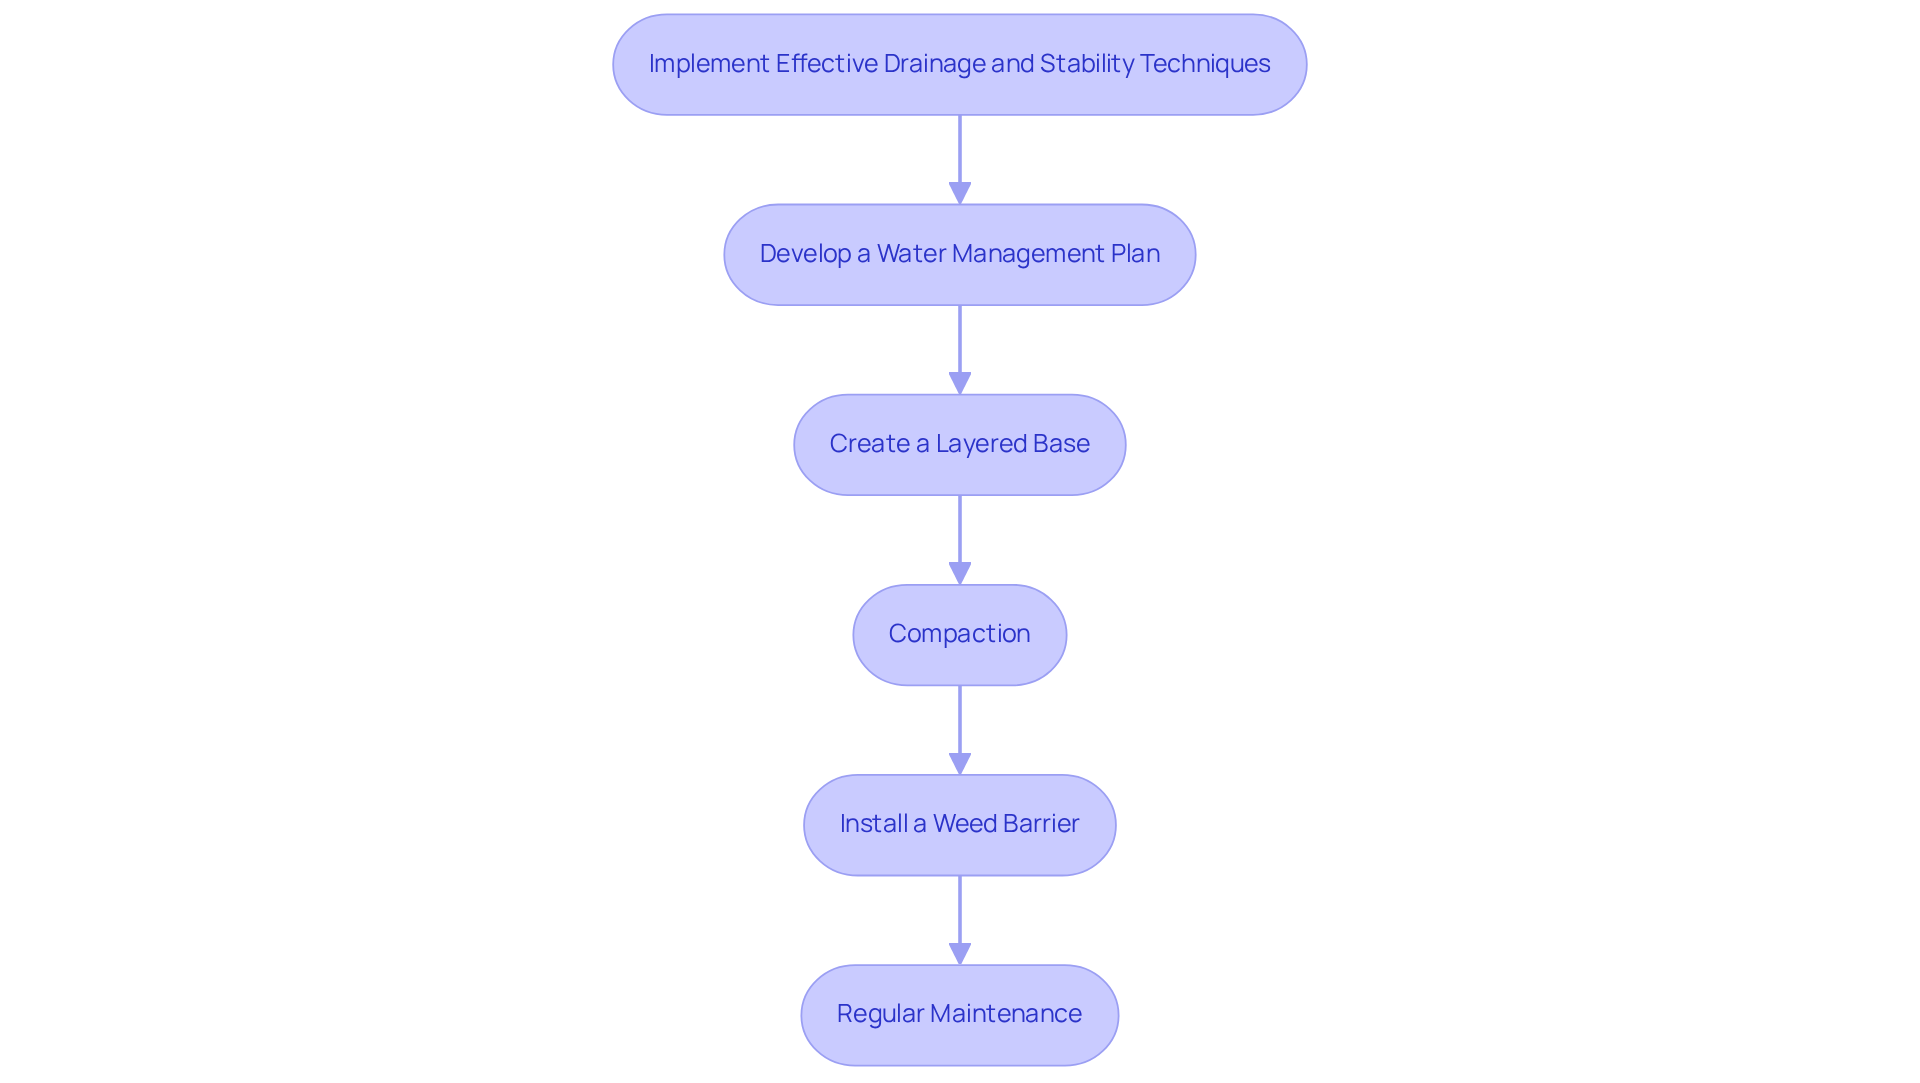
Develop a Water Management Plan: Assess the location to identify the most suitable water removal solutions, such as French drains or channel drains. These systems redirect water away from the turf area, preventing pooling and enhancing usability. Effective water removal systems can manage between 30 to 1,200 inches of water per hour, significantly outperforming natural grass.
-
To create a layered base for turf, use a combination of coarse and fine aggregates that improves water flow while providing stability. Begin with larger stones at the bottom, followed by finer materials on top. This layered approach is crucial for maintaining proper drainage and preventing issues related to the base for turf saturation.
-
Compaction: After laying the base materials, utilize a plate compactor to achieve a density of at least 95%. This level of compaction is vital to prevent shifting and settling over time, which can compromise the surface’s integrity. Proper compaction also facilitates healthy water flow and minimizes the risk of water removal issues.
-
Install a Weed Barrier: Place a weed barrier fabric over the compacted base to inhibit weed growth, which can disrupt water flow and stability. This ensures the grass remains functional and visually appealing.
-
Regular Maintenance: Following installation, periodically inspect water flow systems and ground stability, making necessary adjustments to maintain optimal conditions and extend the lifespan of the setup. Addressing potential water flow problems proactively can prevent costly repairs and uphold the visual and practical quality of the grass.
By adhering to these techniques, installers can create a durable and functional turf installation that performs well under various conditions, effectively addressing common challenges such as drainage issues and soil compaction.
Conclusion
Preparing the base for turf installation is crucial, as it directly impacts the quality and longevity of synthetic grass. By following the essential steps outlined, anyone can establish a solid foundation that enhances both the aesthetic and functional value of their outdoor space.
Thorough ground preparation is vital. This includes:
- Soil assessment
- Excavation
- Compaction
These steps create optimal conditions for turf installation. Additionally, gathering the right materials and tools-such as base materials, weed barriers, and proper compaction equipment-simplifies the installation process. Effective drainage and stability techniques, including a water management plan and regular maintenance, are also essential for preventing future issues and ensuring the turf remains in excellent condition.
Investing time and effort into the preparation phase yields significant long-term benefits. Homeowners and installers are encouraged to prioritize these steps for a successful turf installation. By doing so, they can enjoy a beautiful, durable lawn that withstands the test of time while minimizing maintenance efforts. Embracing these best practices not only enhances the immediate appearance of outdoor spaces but also contributes to sustainable landscaping solutions that can be enjoyed for years to come.
Frequently Asked Questions
Why is ground preparation important before installing grass?
Ground preparation is essential to evaluate existing soil conditions, ensuring a suitable environment for new turf and enhancing its performance and longevity.
What steps are involved in ground preparation for grass installation?
The steps include excavation to remove existing grass and debris, soil testing for pH levels and nutrient content, grading for proper drainage, and compaction to create a stable base.
How deep should excavation be for grass installation?
Excavation should remove existing grass, weeds, and debris to a depth of 3-4 inches.
What is the purpose of soil testing in ground preparation?
Soil testing helps determine pH levels and nutrient content, which can influence the choice of base materials for the grass installation.
What grading slope is recommended for proper drainage?
A slope of at least 2% away from structures is recommended to prevent water pooling.
Why is soil compaction necessary?
Soil compaction is necessary to create a stable base that can support the weight of the grass and withstand foot traffic.