
Introduction
Achieving a pristine lawn is a goal that many homeowners aspire to, and with the right techniques, this dream can become a reality. This guide outlines the essential steps for mastering turf lawn installation, emphasizing that proper preparation and execution are key to creating a vibrant, maintenance-free outdoor space.
However, challenges often arise during installation that can threaten to derail the project. This guide will uncover the secrets to a flawless installation and provide strategies for troubleshooting potential pitfalls along the way.
Prepare the Installation Area
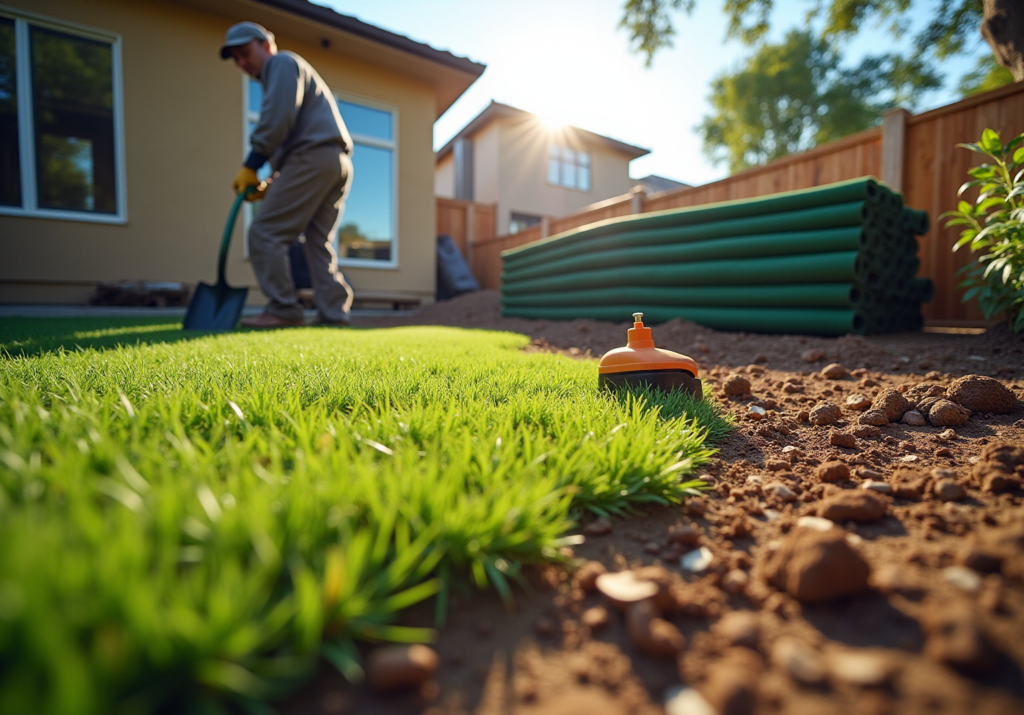
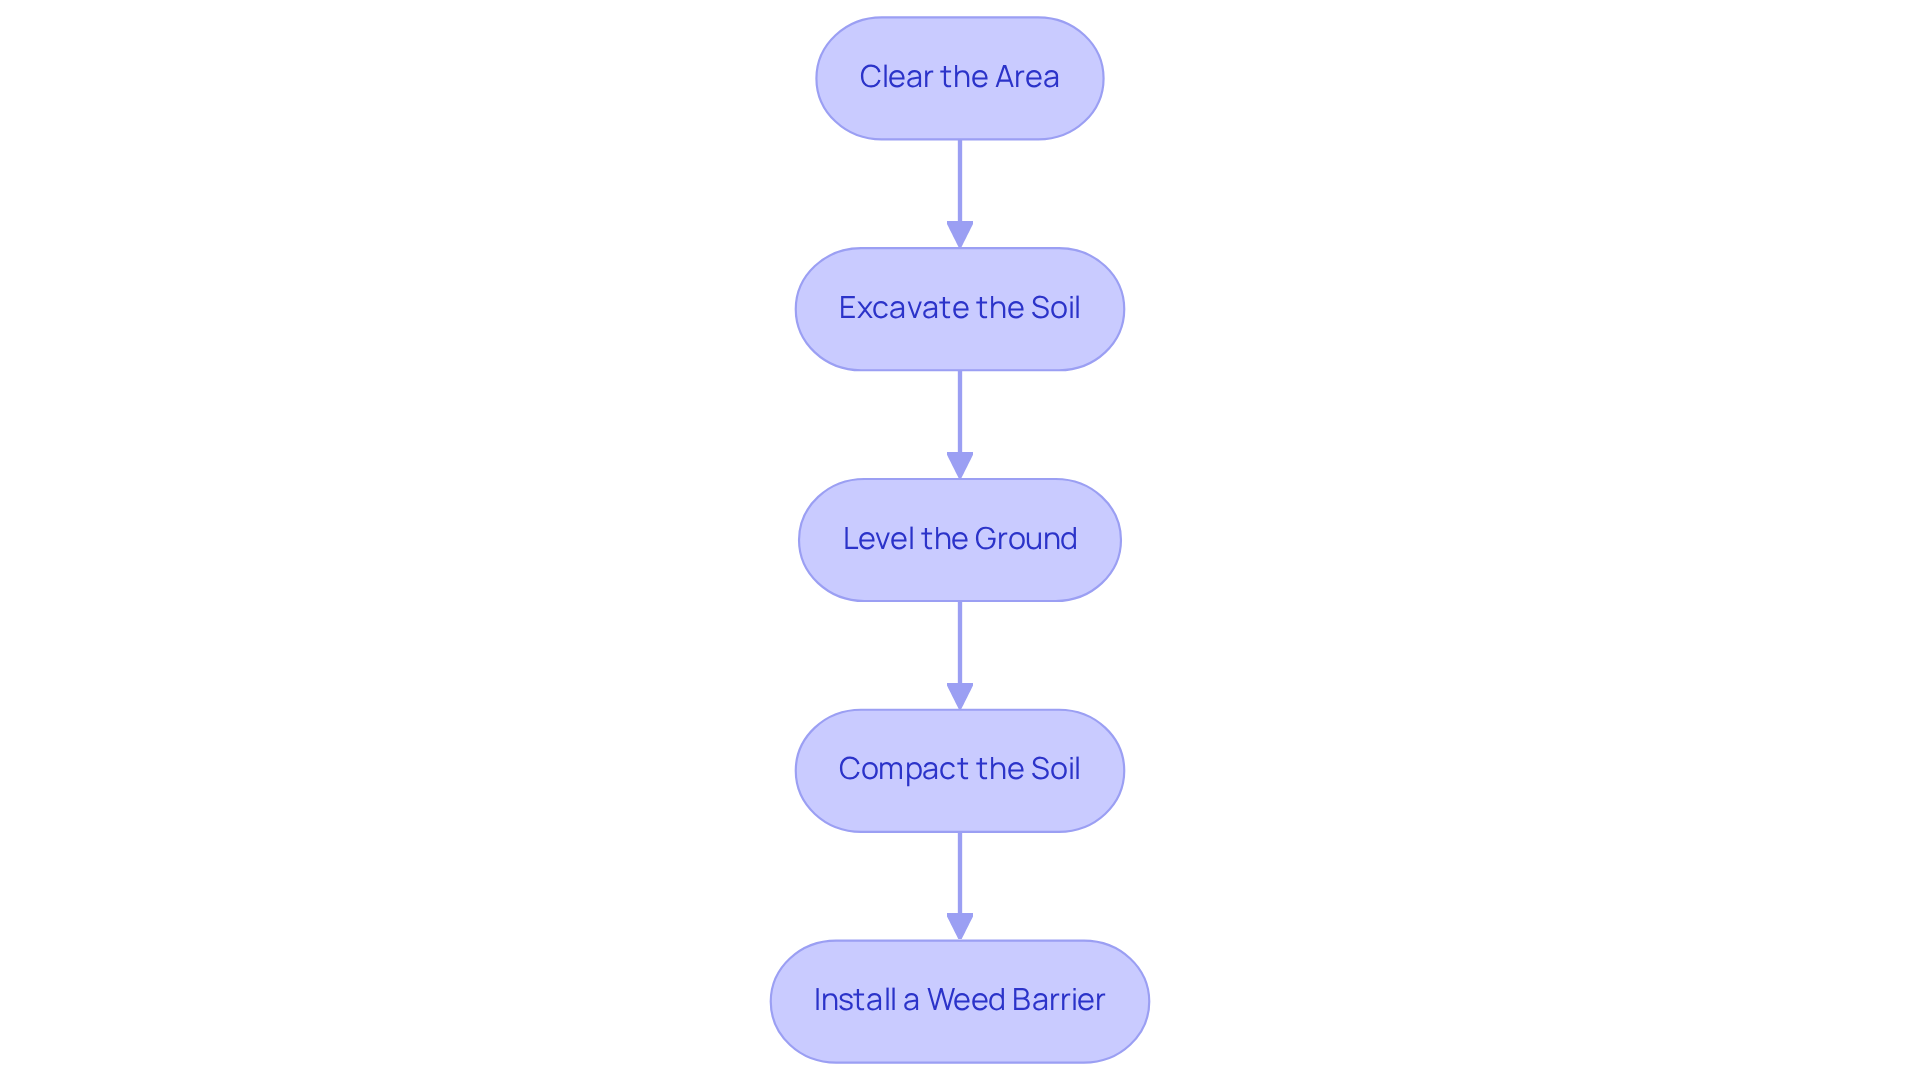
Proper site preparation is crucial to achieve a flawless turf lawn installation. Here are the essential steps to prepare your installation area effectively:
-
Clear the Area: Start by removing any existing grass, weeds, or debris from the site. Using a sod cutter or shovel will guarantee a clean surface, which is essential for the durability of your grass.
-
Excavate the Soil: Dig down approximately 3-4 inches to eliminate the top layer of soil. This depth is necessary to accommodate a proper base layer, which enhances drainage and stability.
-
Level the Ground: After excavation, use a rake to level the ground thoroughly. It’s important to remove any high or low areas, as these can lead to uneven grass placement and affect the overall appearance of your lawn.
-
Compact the Soil: Employ a plate compactor or hand tamper to compact the soil. This step is essential for creating a stable base that will support the grass and prevent settling over time, ensuring a smooth and durable surface.
-
Install a Weed Barrier: Finally, lay down a weed barrier fabric to prevent weeds from growing through the turf. This will help maintain the appearance and integrity of your lawn over time.
In California, the average expense of artificial grass setup ranges from $3,243 to $8,704, with an average setup cost of $5,753. Landscaping experts highlight the significance of comprehensive clearing and excavation for turf lawn installation, pointing out that these initial steps can greatly influence the project’s success and durability. Furthermore, homeowners can save up to $675 by preparing and disposing of old grass prior to setup. By following these best practices and using high-quality sub-base materials for optimal drainage and stability, homeowners can ensure a beautiful, maintenance-free lawn that enhances their property’s value.
Lay the Artificial Turf Correctly
-
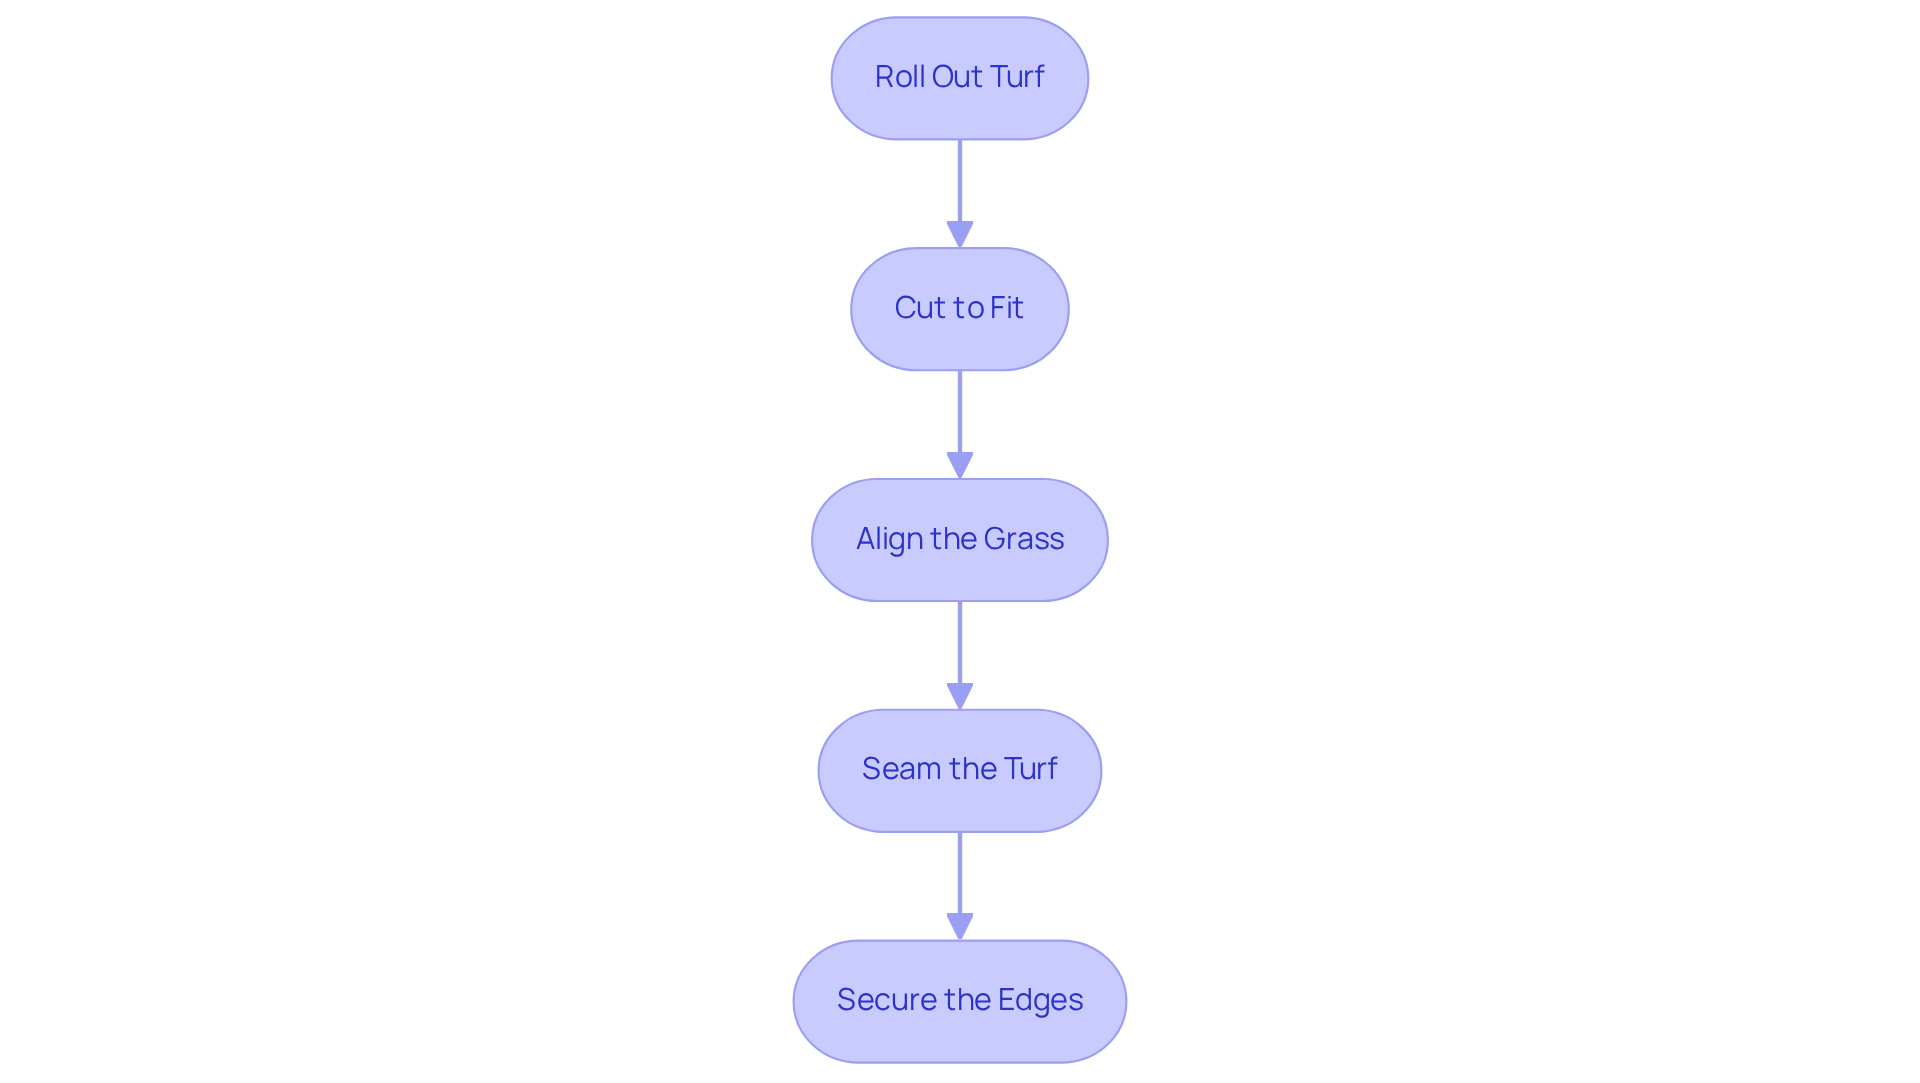
For turf lawn installation, start by rolling out the synthetic grass over the prepared area. Allow it to acclimate for a few hours to minimize any curling from packaging, which will facilitate a smoother installation process.
-
Cut to Fit: Utilize a utility knife to trim the edges of the grass to fit the designated space. It is important to leave a slight overhang to ensure complete coverage, which is essential for achieving a polished appearance.
-
Align the Grass: Position the grass so that all fibers are facing the same direction. This alignment is vital for a natural look, as misaligned fibers can detract from the overall aesthetic.
-
Seam the Turf: If your installation involves multiple pieces, employ seam tape and adhesive to join them. Ensure that the seams are tight and aligned to prevent visible gaps, which can compromise both the appearance and durability of the surface.
-
Secure the Edges: Use landscape staples or nails to fasten the edges of the grass. Place them every 6-12 inches along the perimeter to keep the turf securely in place. Professional installers emphasize that precise seam alignment and secure edging are critical for a durable turf lawn installation.
Additional Considerations:
- Installation Timeframe: Professional installation generally takes 1-3 days for areas under 1,000 square feet, depending on the complexity of the yard.
- Proper Drainage: Ensure that the setup includes adequate drainage to prevent water accumulation, which is crucial for the longevity of the grass.
- Ground Preparation: Prior to turf lawn installation, it is essential to remove vegetation and prepare the ground thoroughly.
- Expert Insights: According to professionals in landscape setup, “Proper drainage and edge finishing require extra attention in intricate areas.”
- Yard Shape Complications: Be mindful that irregularly shaped yards may complicate the installation process and extend the timeframe.
Secure and Infill the Turf
-
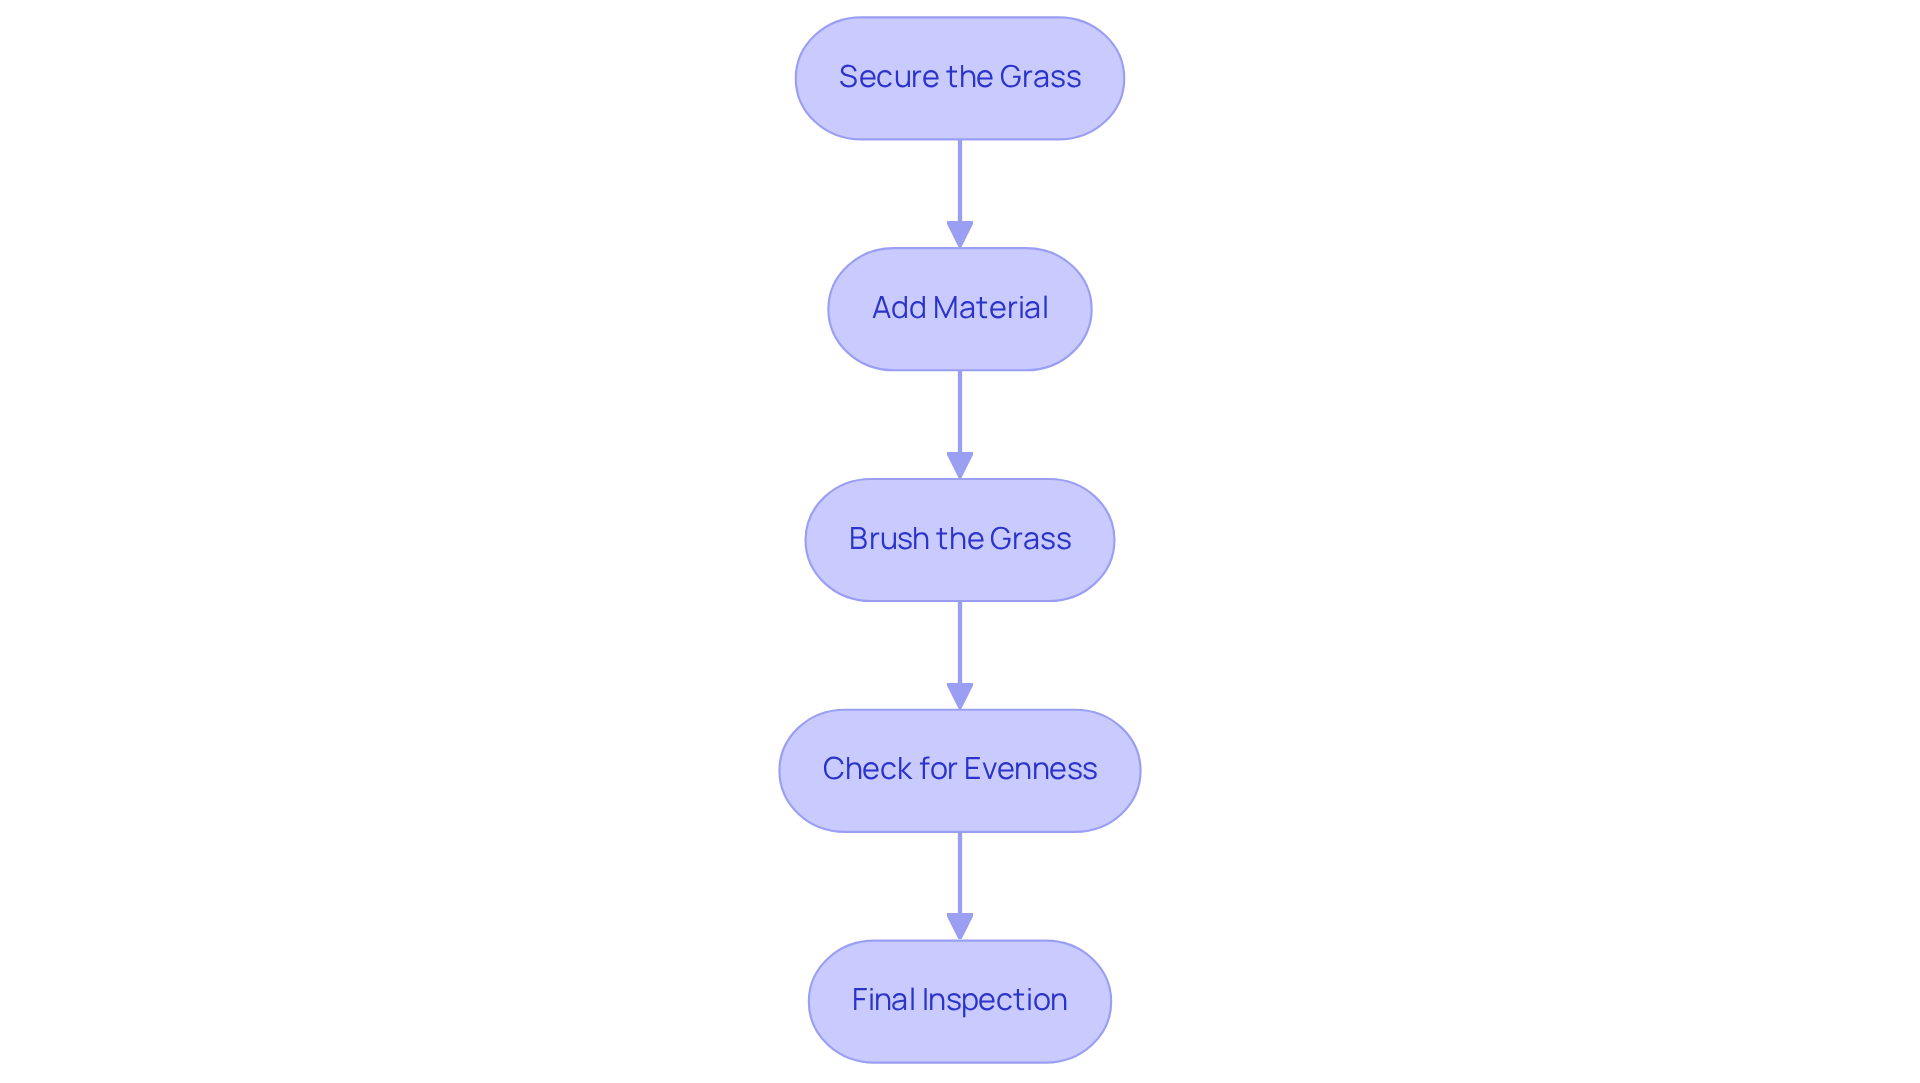
Secure the Grass: Begin by fastening the grass securely to the ground using landscape staples or nails around the perimeter and at seams. This step is crucial to prevent any shifting or lifting of the surface during turf lawn installation.
-
Add Material: Evenly distribute material, such as silica sand or rubber granules, across the grass surface. This step is vital in the turf lawn installation process as it provides the necessary weight and stability to keep the grass fibers upright, enhancing the overall appearance and durability of the lawn. For residential lawns, roughly 1-2 pounds of material per square foot is advised, while high-traffic zones may need 2-3 pounds to ensure stability and performance.
-
Brush the Grass: Utilize a power broom or a stiff-bristled broom to work the material into the grass fibers. This action not only helps to stand the blades upright but also contributes to a fuller, more natural look for your lawn.
-
Check for Evenness: After brushing, carefully inspect the surface for any uneven areas. If you see any areas that need additional material, add it appropriately to ensure a uniform surface throughout.
-
Final Inspection: Walk over the turf to ensure it feels stable and secure. Make any necessary adjustments to the material before considering the turf lawn installation as complete. Appropriate material application is essential; usually, 1-2 pounds of substance per square foot is advised for residential lawns, while high-traffic zones may need 2-3 pounds to sustain stability and performance. As noted by lawn maintenance experts, “Infill essentially plays the role that dirt and other sediment plays in natural grass lawns, keeping grass blades upright.” Additionally, consider using infill materials with antimicrobial properties to prevent odor retention, especially in spaces that are pet-friendly.
Troubleshoot Common Installation Issues
-
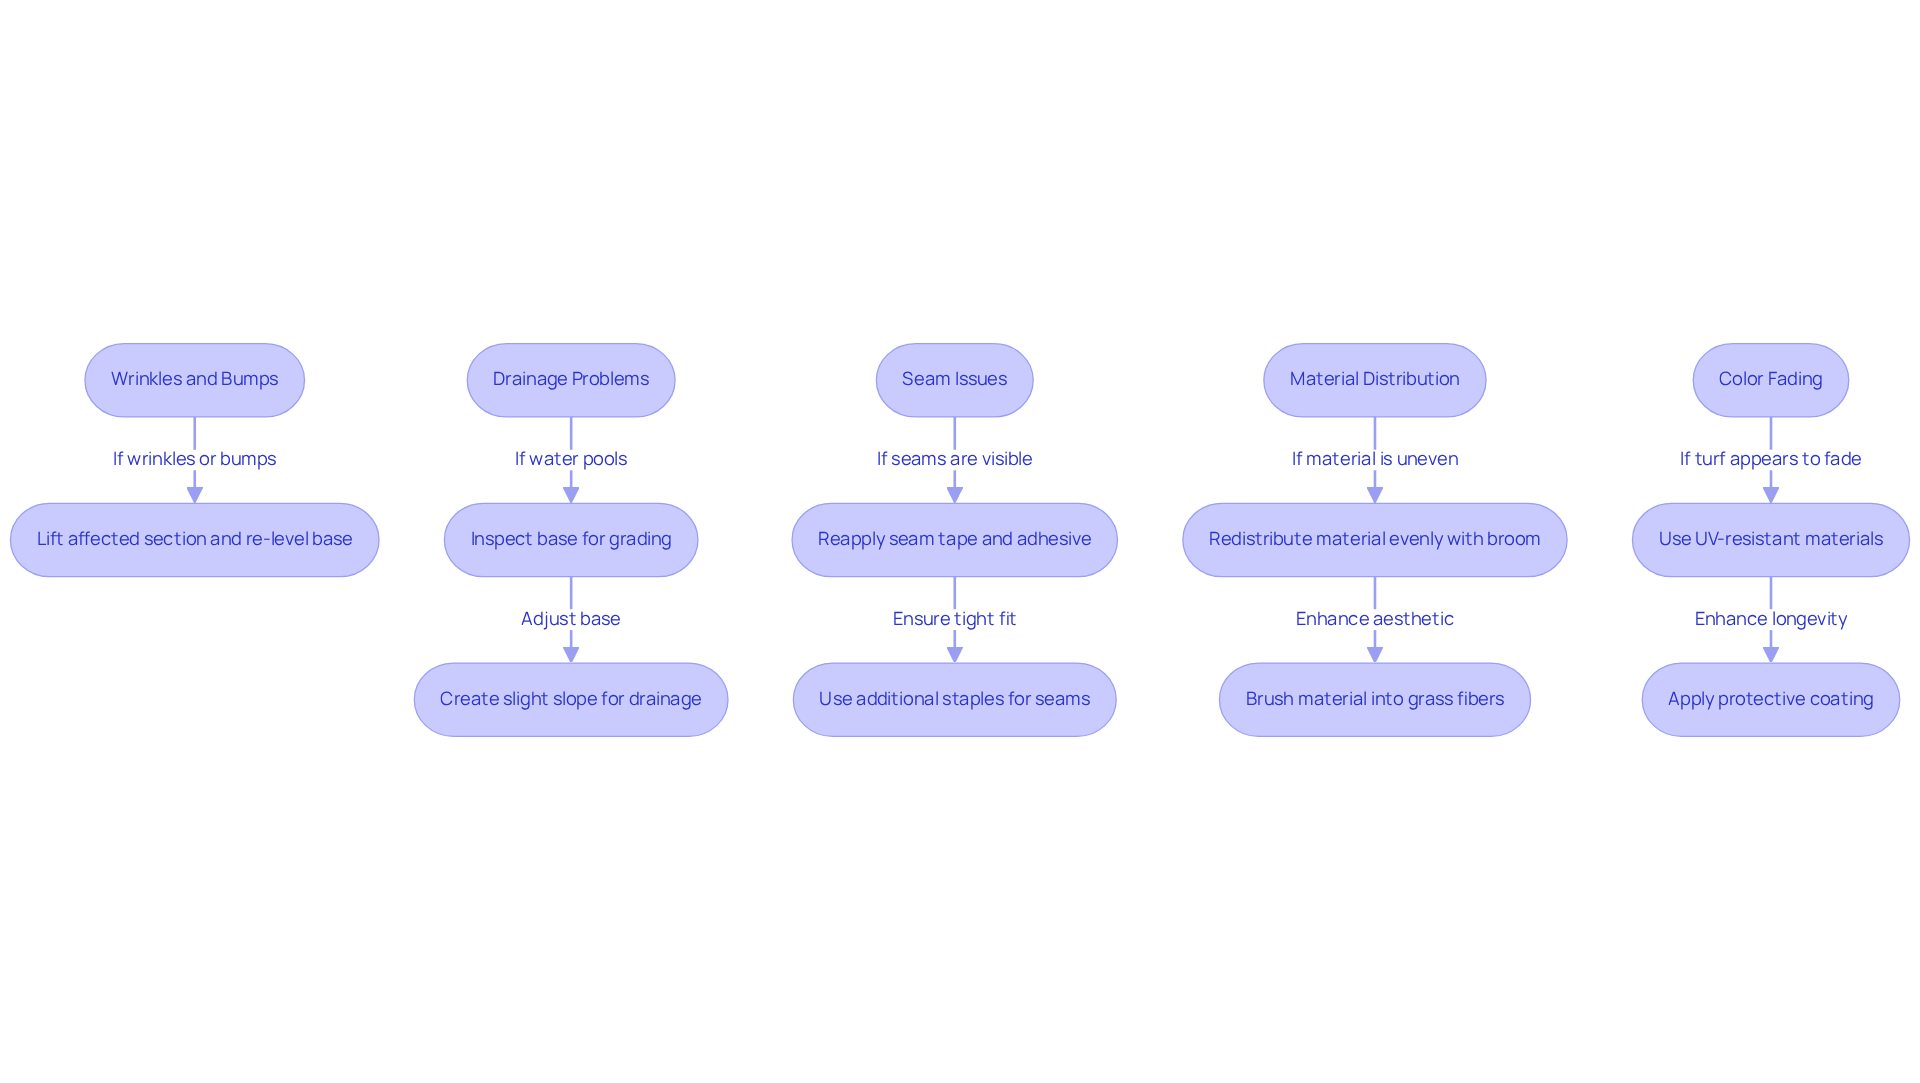
Wrinkles and Bumps: If you notice wrinkles or bumps on the surface, lift the affected section and re-level the base underneath. Ensure the surface is securely fastened before reapplying. Regular maintenance, including brushing, can help prevent these issues. Landscaping professionals emphasize that proper setup methods are essential to avoid such problems from the outset.
-
Drainage Problems: If water pools on the surface, inspect the base for proper grading. Adjust the base to create a slight slope for effective drainage. Insufficient drainage is a common complaint regarding turf lawn installation, which can lead to mold and unpleasant odors. Addressing this issue promptly is vital to maintain the integrity of your lawn.
-
Seam Issues: If seams are visible or separating, reapply seam tape and adhesive to ensure a tight fit. Consider using additional staples to secure the seams. Experts highlight that proper seam placement and techniques are crucial in turf lawn installation to prevent visible lines in the grass, which can detract from its overall appearance.
-
Material Distribution: If the material is uneven, use a broom to redistribute it evenly across the surface. Ensure that the material is adequately brushed into the grass fibers. This not only enhances the aesthetic but also supports the blades, maintaining a natural look. Regular checks can help prevent issues related to uneven infill.
-
Color Fading: If the turf appears to fade, ensure you are using UV-resistant materials and consider applying a protective coating to enhance longevity. Regular maintenance can help mitigate fading caused by sun exposure. Investing in high-quality materials can lead to cost savings in the long run due to improved durability.
Conclusion
Achieving a flawless turf lawn installation is not just about laying down artificial grass; it requires a meticulous process that begins with proper site preparation and culminates in careful infilling and securing of the turf. By adhering to the outlined steps, homeowners can ensure a durable, aesthetically pleasing lawn that enhances their property’s appeal and value.
The article highlights essential phases of turf installation, including:
- Clearing the area
- Leveling the ground
- Using the right materials for infill and drainage
Each step, from the initial excavation to troubleshooting common issues, plays a vital role in the overall success of the project. Key insights from landscaping experts emphasize the importance of thorough preparation and the correct techniques to avoid complications such as uneven surfaces and drainage problems.
Ultimately, investing time and effort into mastering turf lawn installation not only leads to a stunning outdoor space but also saves money in the long run by reducing maintenance needs. Embracing these best practices will create a lush, inviting lawn that stands the test of time, making it a worthwhile endeavor for any homeowner seeking to enhance their outdoor environment.
Frequently Asked Questions
What is the first step in preparing the installation area for turf lawn?
The first step is to clear the area by removing any existing grass, weeds, or debris using a sod cutter or shovel to ensure a clean surface.
How deep should I excavate the soil for turf installation?
You should excavate the soil approximately 3-4 inches to eliminate the top layer of soil, which is necessary for a proper base layer that enhances drainage and stability.
Why is it important to level the ground after excavation?
Leveling the ground is important to remove any high or low areas, which can lead to uneven grass placement and affect the overall appearance of your lawn.
What method should I use to compact the soil?
You can use a plate compactor or hand tamper to compact the soil, creating a stable base that will support the grass and prevent settling over time.
What is the purpose of installing a weed barrier?
The weed barrier fabric is installed to prevent weeds from growing through the turf, helping to maintain the appearance and integrity of your lawn over time.
What is the average cost of installing artificial grass in California?
The average cost of artificial grass installation in California ranges from $3,243 to $8,704, with an average setup cost of $5,753.
How can homeowners save on installation costs?
Homeowners can save up to $675 by preparing and disposing of old grass prior to the installation.
What factors can influence the success and durability of a turf lawn installation?
Comprehensive clearing and excavation are highlighted as significant factors that can greatly influence the project’s success and durability. Using high-quality sub-base materials for optimal drainage and stability is also important.