
Introduction
Transforming a yard with artificial grass not only elevates a home’s aesthetic but also provides a low-maintenance alternative to traditional lawns. This guide outlines four essential steps for a professional installation, ensuring homeowners can achieve a lush, green landscape that withstands the elements.
However, with various types of turf and installation techniques available, several key factors must be considered to avoid common pitfalls and ensure a flawless finish.
Plan Your Artificial Grass Installation
-
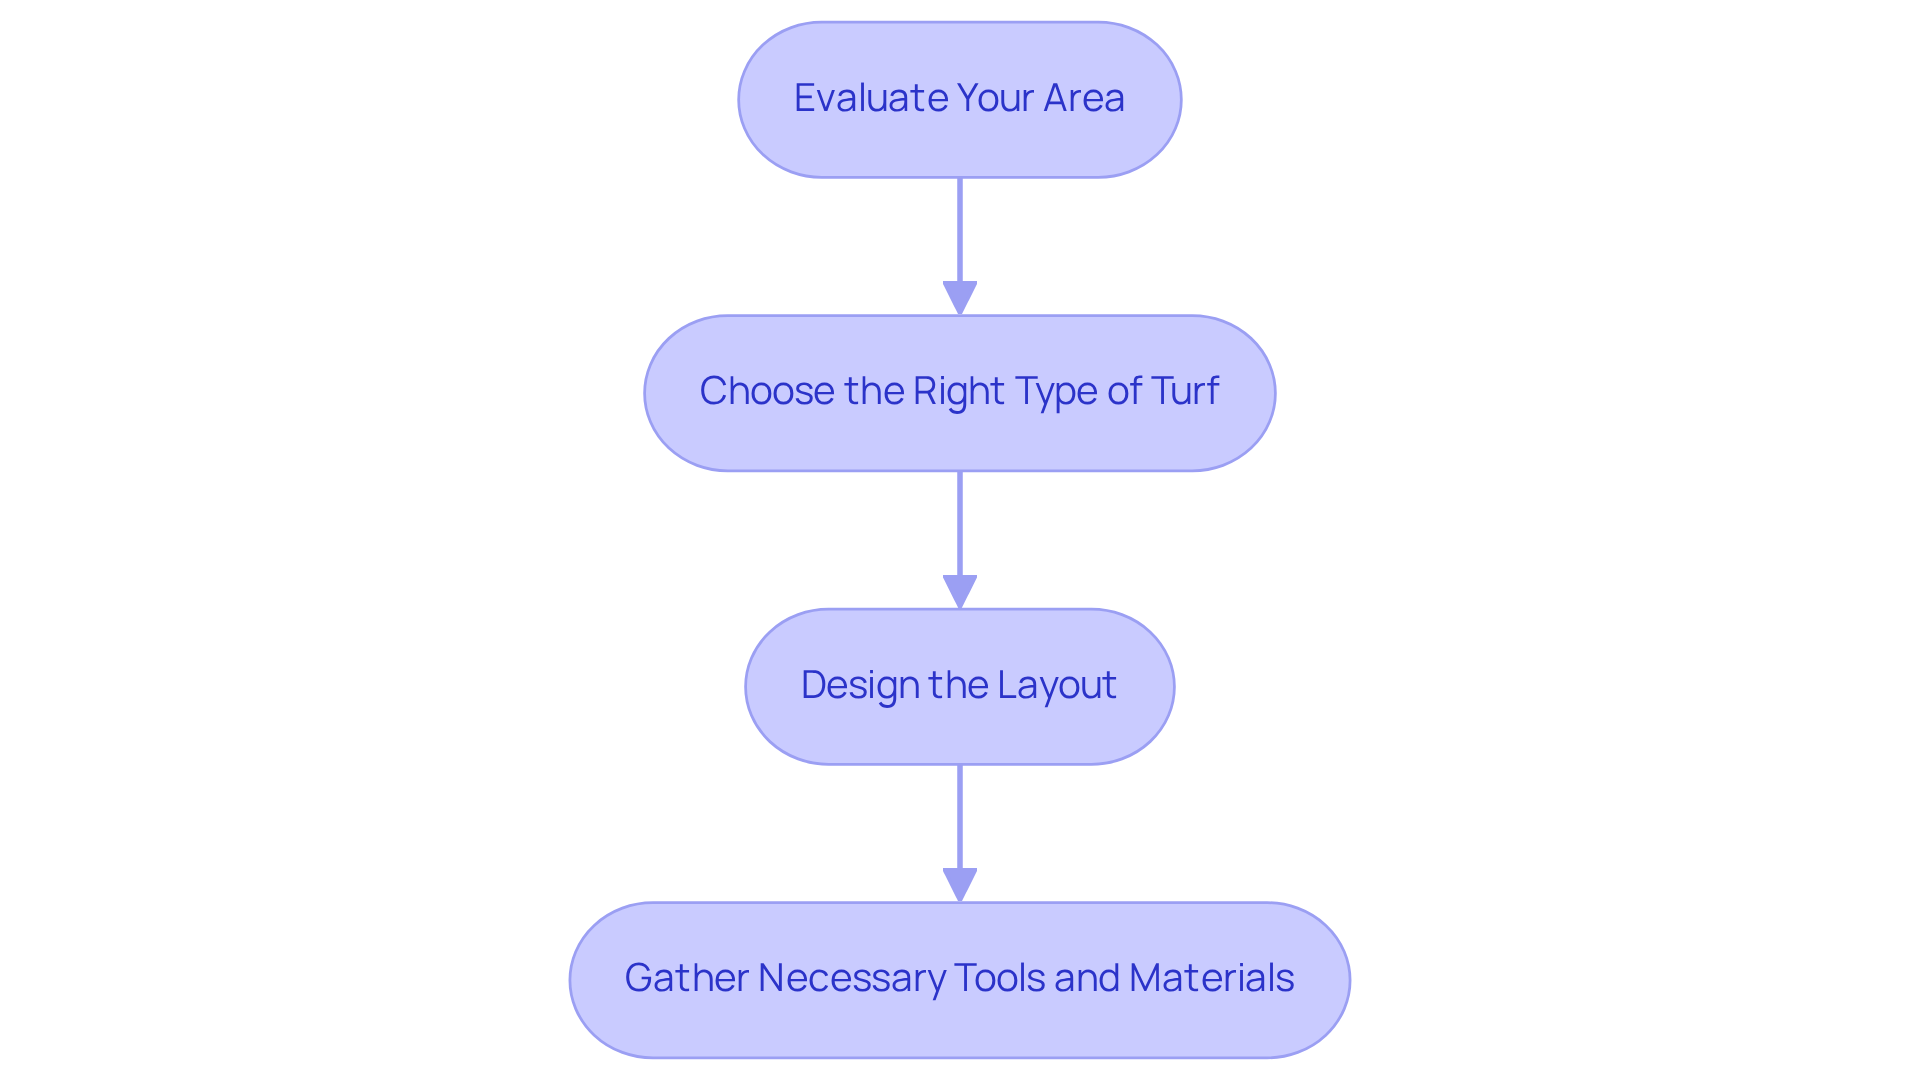
Evaluate Your Area: Begin by measuring the designated space for synthetic turf installation. Note the shape and size, and identify any obstacles such as trees, garden beds, or existing structures that may influence the layout. This assessment is vital for ensuring a seamless installation that enhances your landscape.
-
Choose the Right Type of Turf: Selecting the appropriate type of synthetic turf is crucial based on its intended use. Whether you need a pet-friendly surface, a safe play area, or a professional-grade putting green, California Turf Company offers a variety of options tailored to meet specific needs. Researching these options will assist you in finding the best fit for your lifestyle and preferences.
-
Design the Layout: Draft a rough sketch of your setup area to visualize how the lawn will be integrated. This design should account for drainage and sunlight exposure, both essential for maintaining the quality of your synthetic turf. Thoughtful planning will also help determine the placement of seams, ensuring a more natural appearance.
-
Gather Necessary Tools and Materials: Compile a detailed list of tools and materials required for the installation. Essential tools include a shovel, rake, and utility knife, while materials will consist of synthetic turf, infill, and a weed barrier. Having everything prepared in advance will streamline the setup process and contribute to a successful outcome.
Prepare the Base for Artificial Grass
-
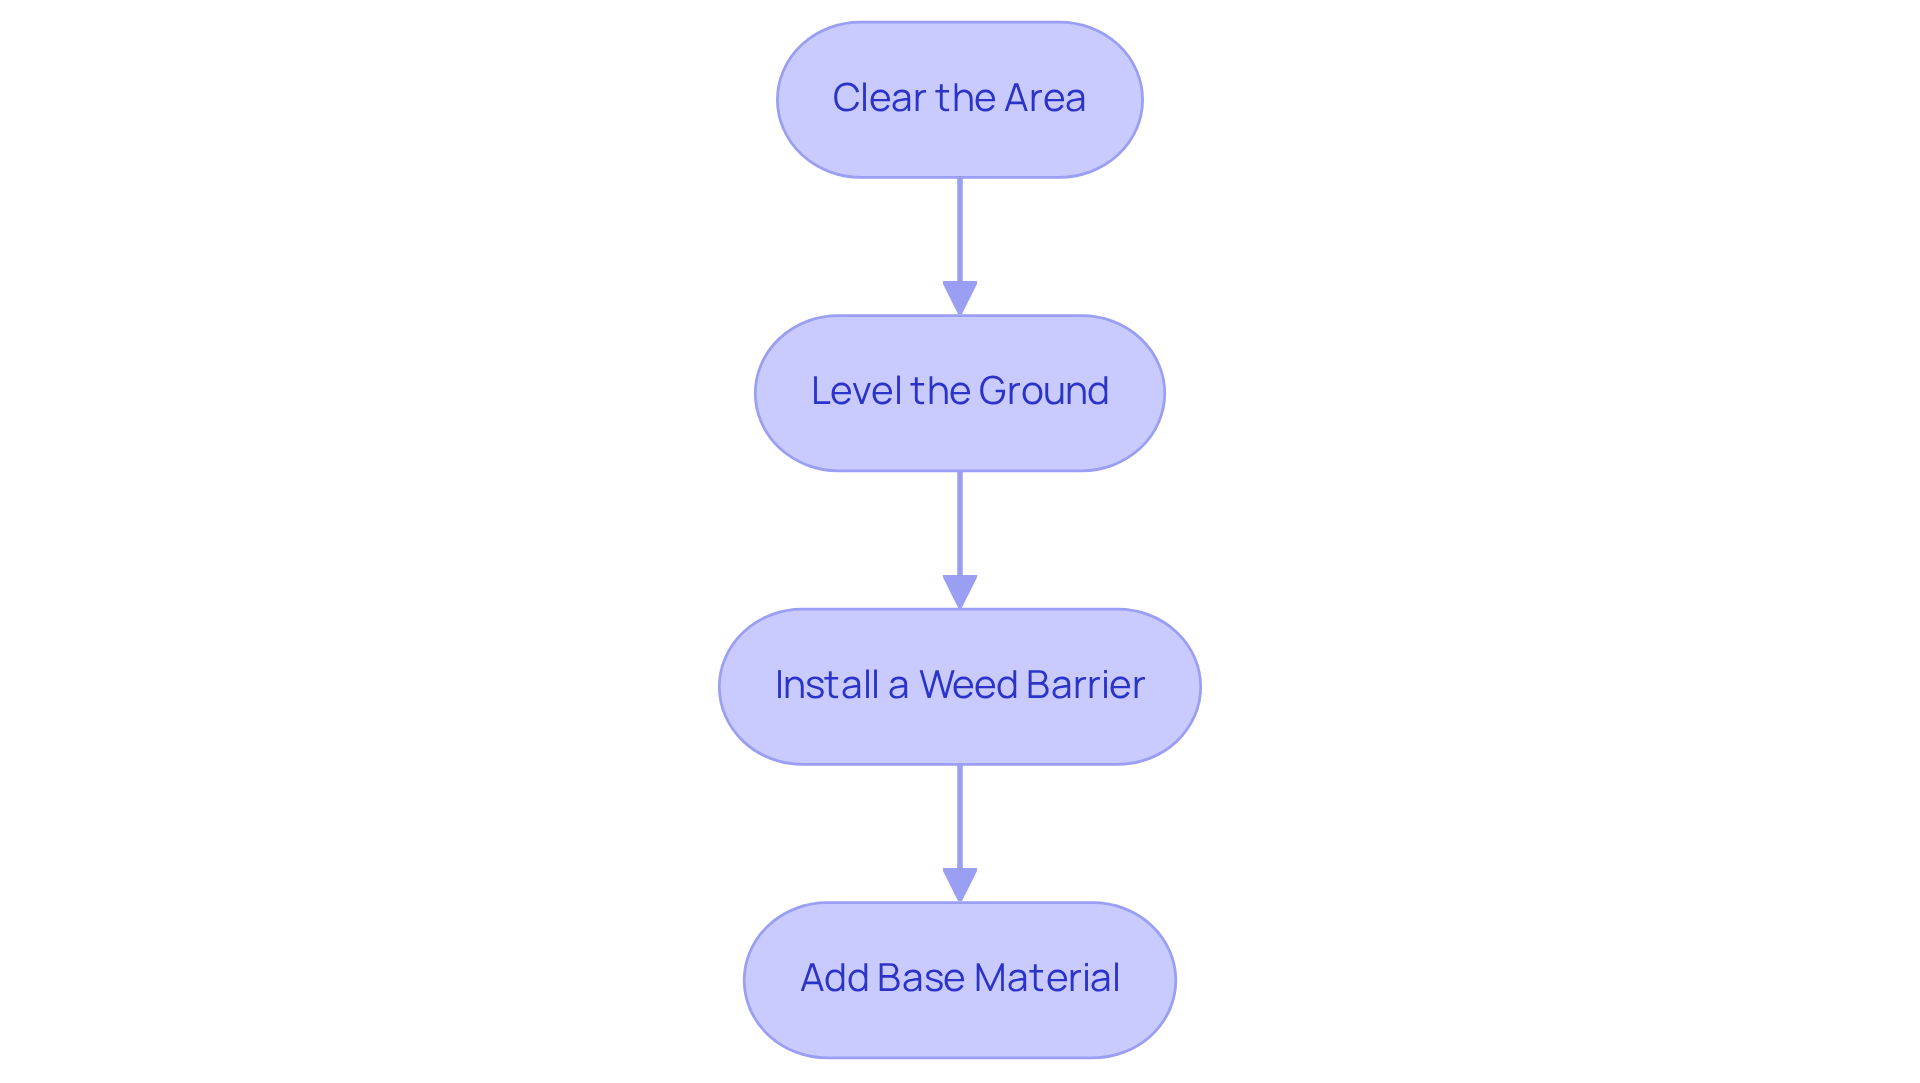
Clear the Area: Start by removing any existing vegetation, weeds, and debris from the installation site. Use a shovel or turf cutter to excavate the top 3-4 inches of soil, ensuring a clean slate for your new lawn.
-
Level the Ground: Achieving a level and compacted surface is crucial. Employ a rake to smooth out the area, checking for low spots that may require additional filling to ensure an even foundation. Proper compaction is essential; over-compaction can block drainage, while insufficient compaction can lead to uneven surfaces.
-
Install a Weed Barrier: Lay down a weed barrier fabric to prevent unwanted growth beneath the artificial grass. This step is vital for preserving the integrity and appearance of your installation over time. As expert Ramsey John notes, “One critical issue often goes unnoticed until it’s too late – improper base preparation and poor drainage.”
-
Add Base Material: Spread a layer of crushed stone or gravel, approximately 2-4 inches thick, across the area. This base will facilitate drainage and provide stability. Compact the material thoroughly using a plate compactor or hand tamper to create a solid yet porous foundation that supports the turf’s longevity. Remember, inadequate drainage can lead to water retention, bacterial growth, and unpleasant odors, so ensure your drainage plan is effective.
Install the Artificial Grass
-
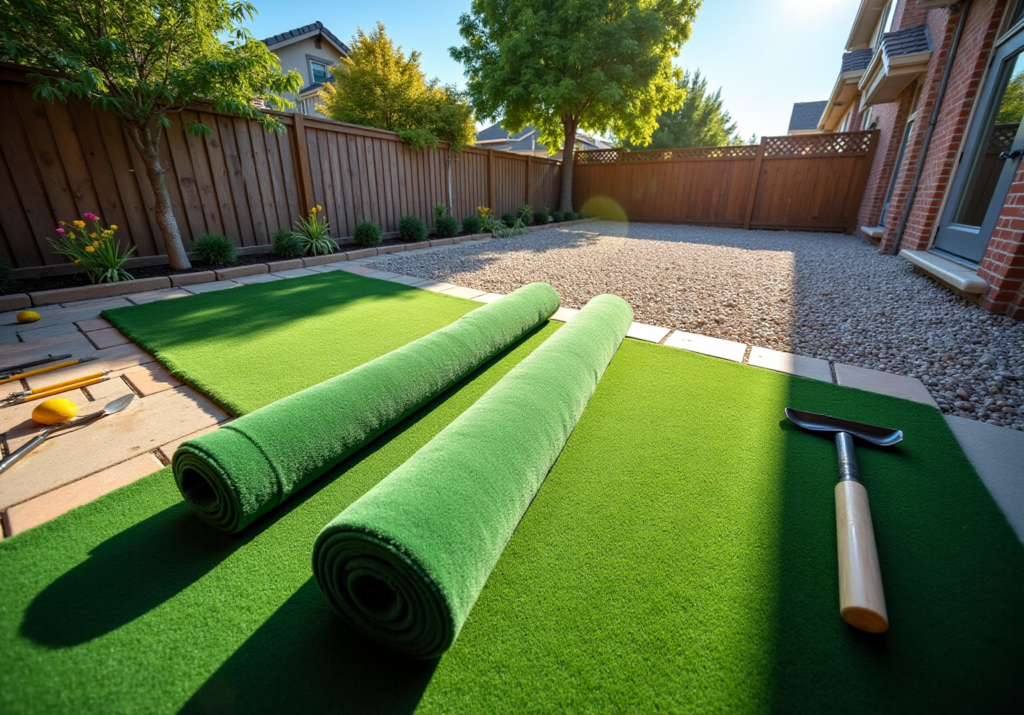
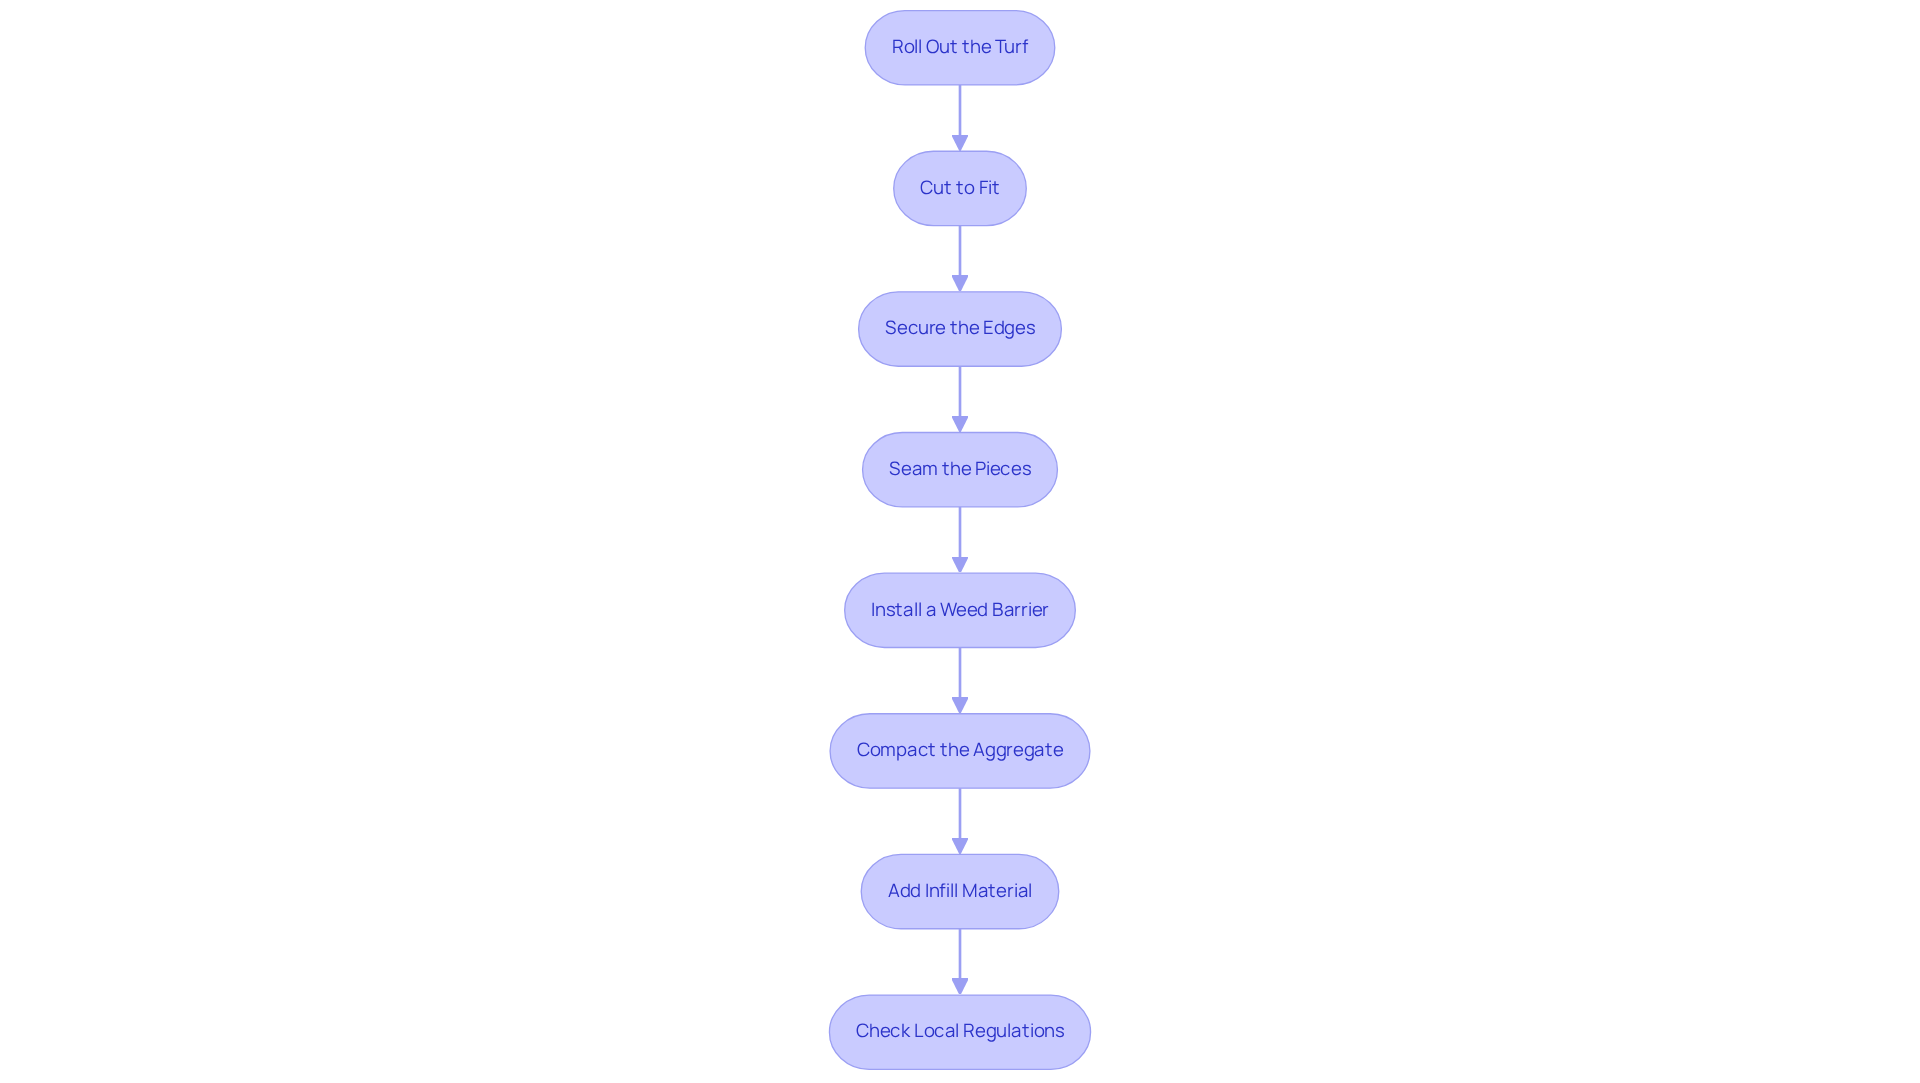
Roll Out the Turf: Begin by unrolling the synthetic turf over the prepared base. Allow it to acclimate for a few hours to minimize curling and ensure it lays flat, which is crucial for a smooth installation.
-
Cut to Fit: Utilize a sharp utility knife to trim the turf to the desired shape, ensuring a slight overhang at the edges for adjustments. This careful cutting is essential for achieving a neat finish and avoiding visible seams in professional artificial grass installation.
-
Secure the Edges: To keep the turf in place, secure the edges with landscape staples or nails, placing them every 6 to 12 inches around the perimeter. This step is vital for preventing movement and ensuring a taut, flat surface.
-
Seam the Pieces: If your project involves multiple sections of turf, align the seams carefully. Use seaming tape and adhesive to bond the edges together, creating a seamless appearance. Proper seaming is critical; visible seams can detract from the overall look and indicate poor professional artificial grass installation. Taking the time to secure seams effectively will enhance the durability and appearance of your synthetic turf.
-
Install a Weed Barrier: Before placing the sod, install a weed barrier to prevent unwanted plants from growing through the artificial turf. This step is essential for preserving the integrity of your setup.
-
Compact the Aggregate: Ensure that the aggregate base is compacted properly before laying the sod. This provides a stable foundation and helps avoid future issues like wrinkles and drainage problems.
-
Add Infill Material: After setup, distribute infill material, such as silica sand, evenly across the surface. This helps preserve the look of the lawn and prevents matting.
-
Check Local Regulations: Before starting your installation, consult with property managers or homeowners associations to ensure that artificial turf installation is permitted in your area.
Complete the Installation with Finishing Touches
-
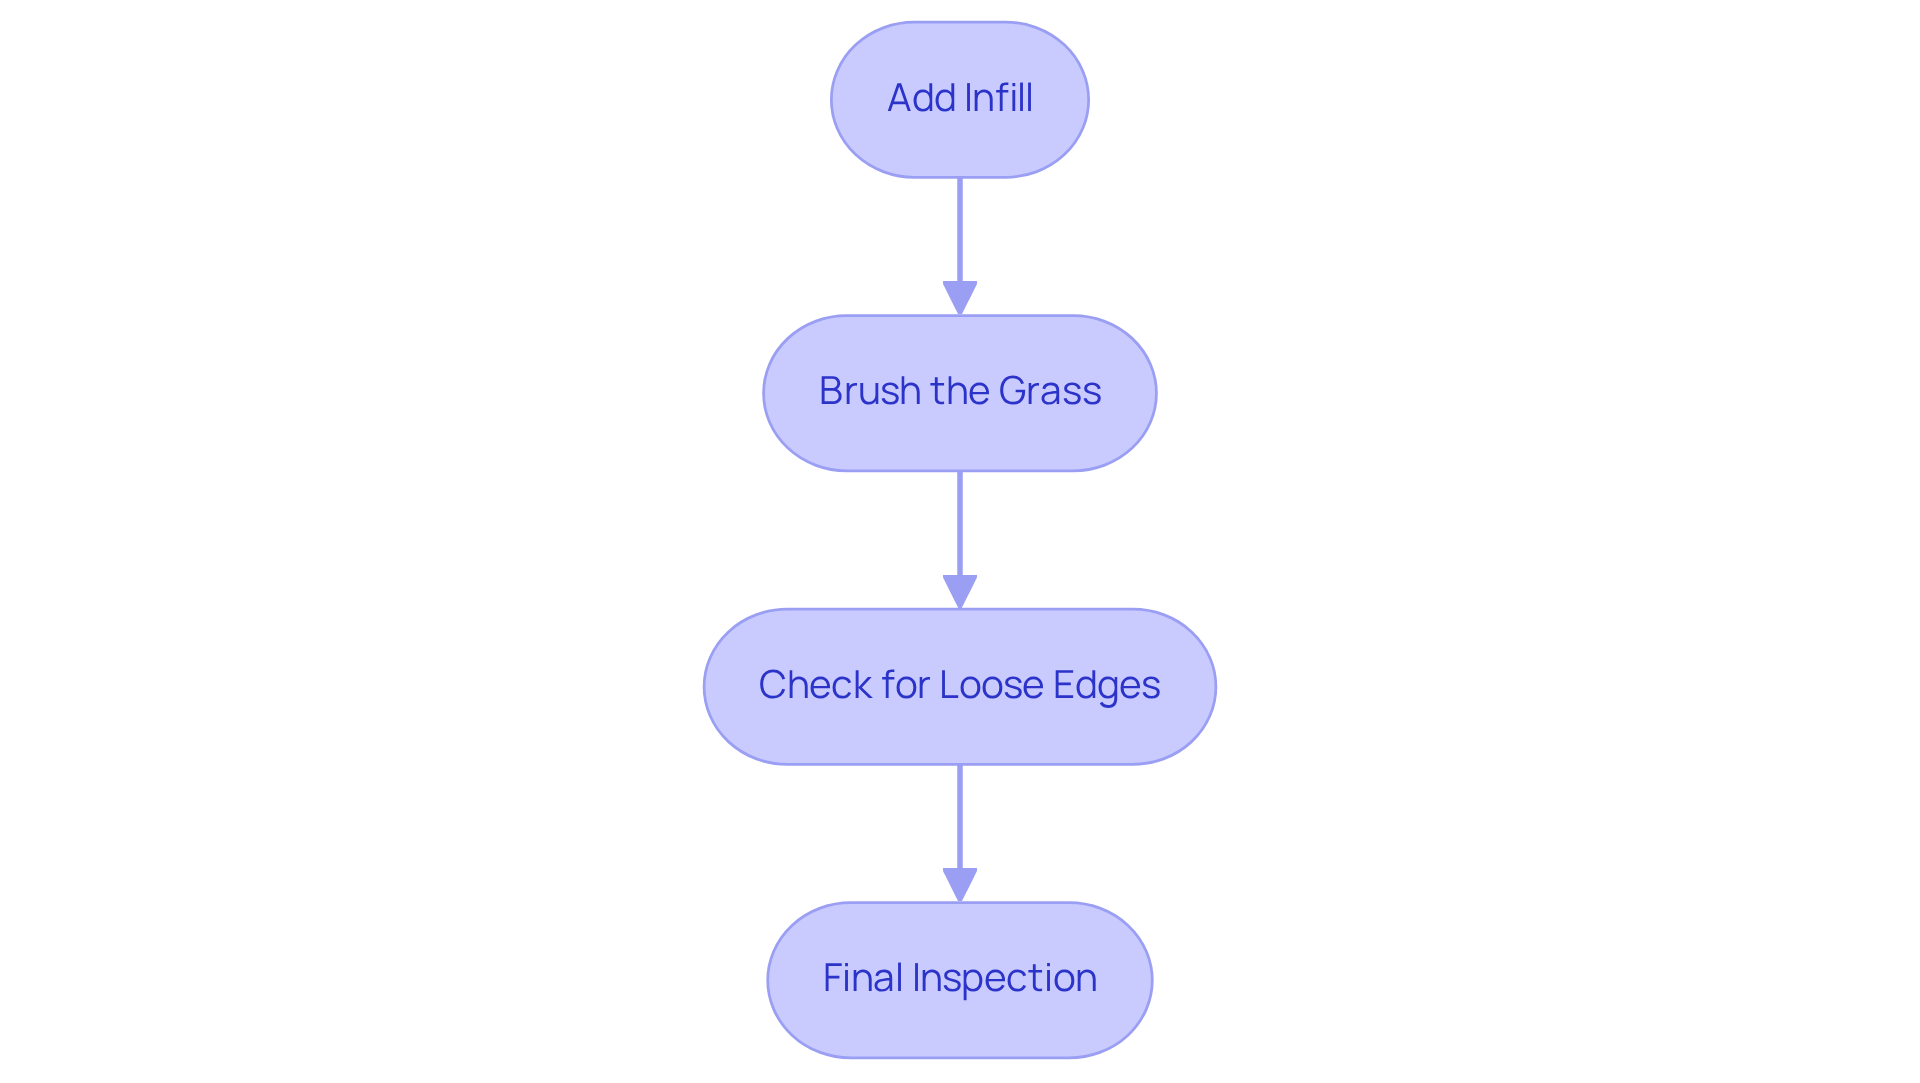
Add Infill: Distribute infill material, such as sand or rubber granules, uniformly over the surface of the turf. This process helps keep the blades upright and adds weight to hold the turf in place.
-
Brush the Grass: Utilize a power broom or a stiff-bristled broom to brush the grass fibers upright. This action enhances the natural look and feel of the turf.
-
Check for Loose Edges: Inspect the edges and seams for any loose areas. Secure them as necessary to ensure a tight fit.
-
Final Inspection: Walk around the installation to check for any imperfections. Make any necessary adjustments to ensure a flawless finish.
Conclusion
Successfully installing artificial grass in your home requires careful planning and execution, ensuring a beautiful and functional outdoor space. By following the outlined steps-from evaluating your area and selecting the right turf to preparing the base and completing the installation-homeowners can achieve a professional-looking result that enhances their landscape.
Key aspects of the installation process include:
- Thorough preparation of the site
- Ensuring proper drainage
- Using high-quality materials for both the turf and the base
Each step, such as leveling the ground and securing seams, plays a crucial role in the overall success and longevity of the artificial grass. By paying attention to detail, homeowners can avoid common pitfalls and enjoy a lawn that looks great year-round.
As you embark on your artificial grass installation journey, remember that meticulous planning and execution are vital. Take the time to assess your specific needs, gather the right tools, and follow best practices for installation. With these steps in mind, transforming your outdoor space into a low-maintenance, lush green area is not only achievable but also rewarding. Embrace the opportunity to enhance your home’s curb appeal and enjoy the benefits of a beautiful artificial lawn.
Frequently Asked Questions
What is the first step in planning for artificial grass installation?
The first step is to evaluate your area by measuring the designated space for installation, noting the shape and size, and identifying any obstacles such as trees or existing structures.
How do I choose the right type of synthetic turf?
Selecting the appropriate type of synthetic turf depends on its intended use, such as pet-friendly surfaces, play areas, or putting greens. Researching the options available will help you find the best fit for your lifestyle and preferences.
What should I consider when designing the layout for synthetic turf?
When designing the layout, consider drainage and sunlight exposure, as these factors are essential for maintaining the quality of the synthetic turf. A rough sketch can help visualize the integration of the lawn and the placement of seams for a natural appearance.
What tools and materials are needed for artificial grass installation?
Essential tools for installation include a shovel, rake, and utility knife. Materials required consist of synthetic turf, infill, and a weed barrier. Preparing these in advance will help streamline the installation process.