Introduction
Transforming a backyard into a lush, green oasis can appear daunting, especially given the numerous landscaping options available. However, installing artificial turf presents a practical solution that enhances aesthetic appeal while significantly reducing maintenance time and water usage. Imagine a straightforward, step-by-step approach to achieving that pristine lawn look without the hassle of traditional grass care. This guide outlines the essential steps to install turf in your backyard, ensuring a beautiful and durable lawn that withstands the test of time.
Plan Your Turf Layout and Prepare the Area
- Evaluate Your Space: Begin by . Take note of the dimensions and any obstacles, such as trees, flower beds, or pathways, that may impact the layout. Residential lawns in Southern California typically range from 500 to 1,500 square feet, making it essential to understand your specific space. Additionally, excavate existing soil up to 2-1/2 inches deep before to create a solid foundation.
- Design Your Layout: Draft a rough sketch of your , considering its shape and how the turf will integrate with your existing landscape. Pay attention to sunlight exposure and water management, as these factors will affect the longevity and appearance of your . ers emphasize that a well-thought-out design maximizes material usage and minimizes waste. As Brad Timsit notes, and other materials, reducing waste and saving money.
- Clear the Area: Remove any existing grass, weeds, or debris using a shovel or sod cutter for larger spaces. Ensure the ground is level and free from sharp objects, as a clean surface is crucial for a . and enhances the turf's durability. Consider scheduling a , which can avert significant damage ranging from $20,000 to $40,000.
- Mark the Boundaries: Utilize stakes and string or spray paint to outline the setup area. This visual aid will assist in maintaining accurate measurements and ensuring a during the process of . A clear boundary also helps visualize how the turf will fit into your overall . For larger spaces, using a plate compactor is recommended to compress the aggregate swiftly, ensuring a firm foundation.

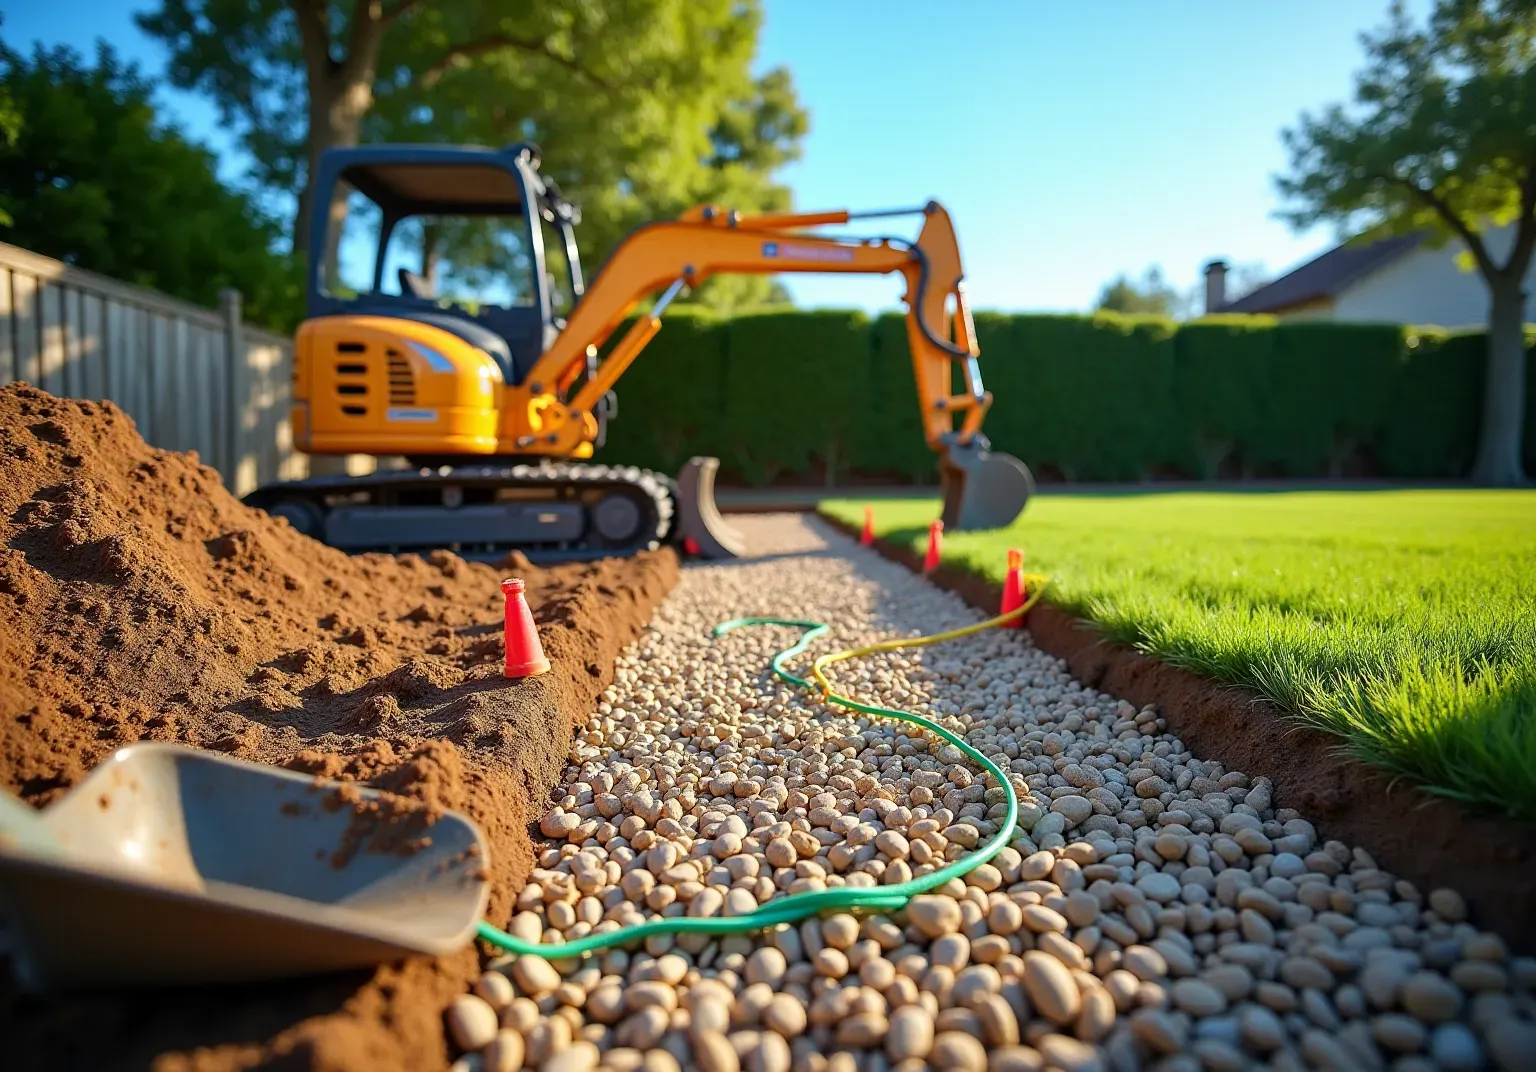
Prepare the Base: Soil Removal and Drainage Setup
- : Start by removing 3 to 4 inches of soil from the designated area. This depth is essential for creating a stable base layer and facilitating efficient water flow. Aim for a grading slope of 1-2%, which means the ground should drop about 1-2 inches for every 8-10 feet to ensure water flows away from the grass. Use a shovel or mini-excavator for larger spaces to ensure thorough excavation.
- Install a: If your site faces , it’s crucial to incorporate a . Options such as perforated pipes or gravel trenches can effectively channel water away from the turf, preventing accumulation that could damage the lawn. Inadequate water removal can lead to flooding, uneven surfaces, and mold development, making a well-designed system essential.
- : After excavation, fill the area with a base material like crushed stone or gravel, targeting a depth of about 3-4 inches. This layer not only provides stability but also enhances water flow, ensuring that excess moisture moves away from the grass. Investing in high-quality materials can save money in the long run by reducing .
- : Finally, use a plate compactor or hand tamper to thoroughly material. This step is vital for installing turf in to prevent settling over time and to ensure a , which is important for its durability and effectiveness. Experts note that a well-compacted base creates channels for water flow, ensuring .

Install the Turf: Laying, Securing, and Finishing
- Lay the Grass: Start by rolling out the grass over the prepared base, ensuring it fits snugly within the marked boundaries. Allow the grass to acclimate for a few hours to minimize curling, which can affect the final appearance. According to the American Society of Golf Course Architects, can enhance accuracy by up to 40% compared to DIY setups, highlighting the importance of .
- Cut the Grass: Use a utility knife to trim the edges of the grass, ensuring a precise fit around obstacles and borders. Leave a slight excess to tuck under edges for a clean finish. To create a stable base for , it is advisable to remove uneven grass, weeds, or inadequate drainage when .
- Secure the Grass: Fasten the grass using galvanized nails or landscape staples. Position nails every 6-8 inches along the perimeter and every 12 inches within the field to ensure stability and prevent shifting. Professional teams adhere to correct compaction standards, especially when , which are crucial for optimal grass performance.
- Seam the Turf: For installations involving multiple pieces, use seaming tape and adhesive to join them securely. Ensure that the seams are tight and virtually invisible, creating a seamless and professional appearance. A provides assurance of material longevity and , making it a worthwhile investment.

Apply Finishing Touches and Maintenance Tips
- : If your grass requires , such as sand or rubber granules, spread it evenly across the surface using a drop spreader. This practice helps weigh down the grass and keeps the blades upright.
- Brush the Grass: Utilize a stiff broom or a power broom to brush the grass fibers in various directions. This technique elevates the blades and provides the grass with a more natural appearance.
- : Rinse the surface with water to eliminate dust and debris. For , it is essential to promptly remove waste and rinse the area to maintain hygiene. Regularly inspect for weeds and remove them as necessary.
- : During winter, remove snow accumulation to prevent damage. In hot weather, consider rinsing the turf to cool it down and keep it looking vibrant.

Conclusion
Installing turf in a backyard is a rewarding process that transforms outdoor spaces into lush, green havens. By following the outlined steps - from planning the layout to applying the finishing touches - homeowners can achieve a professional-looking lawn that enhances their property’s appeal and functionality.
Key points include:
- The importance of thorough preparation, which involves evaluating the space, designing an effective layout, and ensuring proper drainage.
- The installation process emphasizes the need for a solid base and secure turf placement.
- Maintenance tips highlight the ease of caring for artificial grass compared to natural lawns.
Each stage of this project is crucial to ensure longevity and aesthetic quality, making careful execution essential.
Ultimately, investing time and effort into proper turf installation pays off with a beautiful, low-maintenance lawn that can be enjoyed for years to come. Embracing these detailed steps not only enhances the beauty of a backyard but also contributes to a sustainable and enjoyable outdoor environment. Taking action now to implement these guidelines can lead to a stunning transformation that benefits both homeowners and their guests alike.
Frequently Asked Questions
How should I begin planning my turf layout?
Start by measuring the area designated for grass installation, noting dimensions and obstacles such as trees, flower beds, or pathways. It's important to excavate existing soil up to 2-1/2 inches deep to create a solid foundation.
What factors should I consider when designing my turf layout?
Consider the shape of the turf area, how it integrates with your existing landscape, sunlight exposure, and water management, as these factors will affect the longevity and appearance of the artificial grass.
Why is a well-thought-out design important for turf installation?
A strategic design maximizes material usage and minimizes waste, helping you order the right amount of artificial grass and other materials, which can reduce costs.
What steps should I take to clear the area before turf installation?
Remove any existing grass, weeds, or debris using a shovel or sod cutter. Ensure the ground is level and free from sharp objects to create a clean surface for installation.
How can I prevent water flow issues during turf installation?
Proper preparation of the ground, including ensuring it's level and free from debris, is crucial for preventing water flow issues and enhancing the turf's durability.
What is the purpose of marking the boundaries of the turf area?
Marking boundaries with stakes and string or spray paint helps maintain accurate measurements, ensures a precise layout, and visualizes how the turf will fit into the overall landscape design.
What additional tool can be used for larger spaces during turf installation?
For larger spaces, using a plate compactor is recommended to compress the aggregate swiftly, ensuring a firm foundation for the turf.
List of Sources
- Plan Your Turf Layout and Prepare the Area
- How to Install Artificial Grass (The Complete Guide) (https://aquablumosaics.com/blogs/news/how-to-install-artificial-grass?srsltid=AfmBOor5naMOVztCGeSG735kHWtw2HfW6Sn2SHzMSHKi8Y2MO9sQkGAr)
- A Step-by-Step Guide to Installing Artificial Turf Grass (https://lowes.com/n/how-to/install-artificial-grass)
- How to Install Turf: A DIY Guide for Bay Area Homeowners - Bayside Pavers (https://baysidepavers.com/blog/how-to-install-turf-a-diy-guide-for-bay-area-homeowners)
- Ace Your Artificial Grass Project: Design Phase Tips (https://fieldturflandscape.com/residential/fieldturf-for-home-installation-diy-design-phase-blueprint)
- A Helpful Guide to Installing Synthetic Turf DIY - Synthetic Turf (https://syntheticturfnorthwest.com/a-helpful-guide-to-installing-synthetic-turf-diy)
- Prepare the Base: Soil Removal and Drainage Setup
- The Role of Drainage in Synthetic Turf Installation Projects - Miranda Landscaping & Turf (https://tx-landscapingservice.com/blog/the-role-of-drainage-in-synthetic-turf-installation-projects)
- Artificial Grass Drainage: Bases, Slope & Perforations (https://litagrass.com/blogs/lita-artificial-grass-blog/artificial-grass-drainage-bases-slope-perforations?srsltid=AfmBOooZDjRsi52OPq_EYNUEONpXFRM9xdTh0Qe-AYy3Lq8F7aDWni6o)
- The Importance of Drainage Systems for a Lush and Vibrant Artificial Grass | Smart Turf® Artificial Grass (https://smartturf.com/drainage-artificial-grass)
- How To Install Proper Drainage Under Artificial Grass For Long-Lasting Results (https://turftekusa.com/blog/how-to-install-proper-drainage-under-artificial-grass-for-long-lasting-results)
- Install the Turf: Laying, Securing, and Finishing
- Dream Backyard Playground for Gracie - Grass365 (https://grass365.com/denver/projects/artificial-grass-backyards-residential-makeawish-denver-colorado-springs-turf)
- A new Florida law could create a turf lawn boom, defying local stopgaps (https://tampabay.com/news/2025/07/01/new-florida-law-could-create-turf-lawn-boom-defying-local-stopgaps)
- backninegreens.com (https://backninegreens.com/blog/how-long-does-a-putting-green-installation-take-step-by-step-timeline)
- santacruzartificialgrass.com (https://santacruzartificialgrass.com/artificial-grass-installation-time-guide)
- Once it was hailed as a drought fix — but now California's moving to restrict synthetic turf over health concerns (https://calmatters.org/environment/2023/10/california-synthetic-turf-pfas)