Introduction
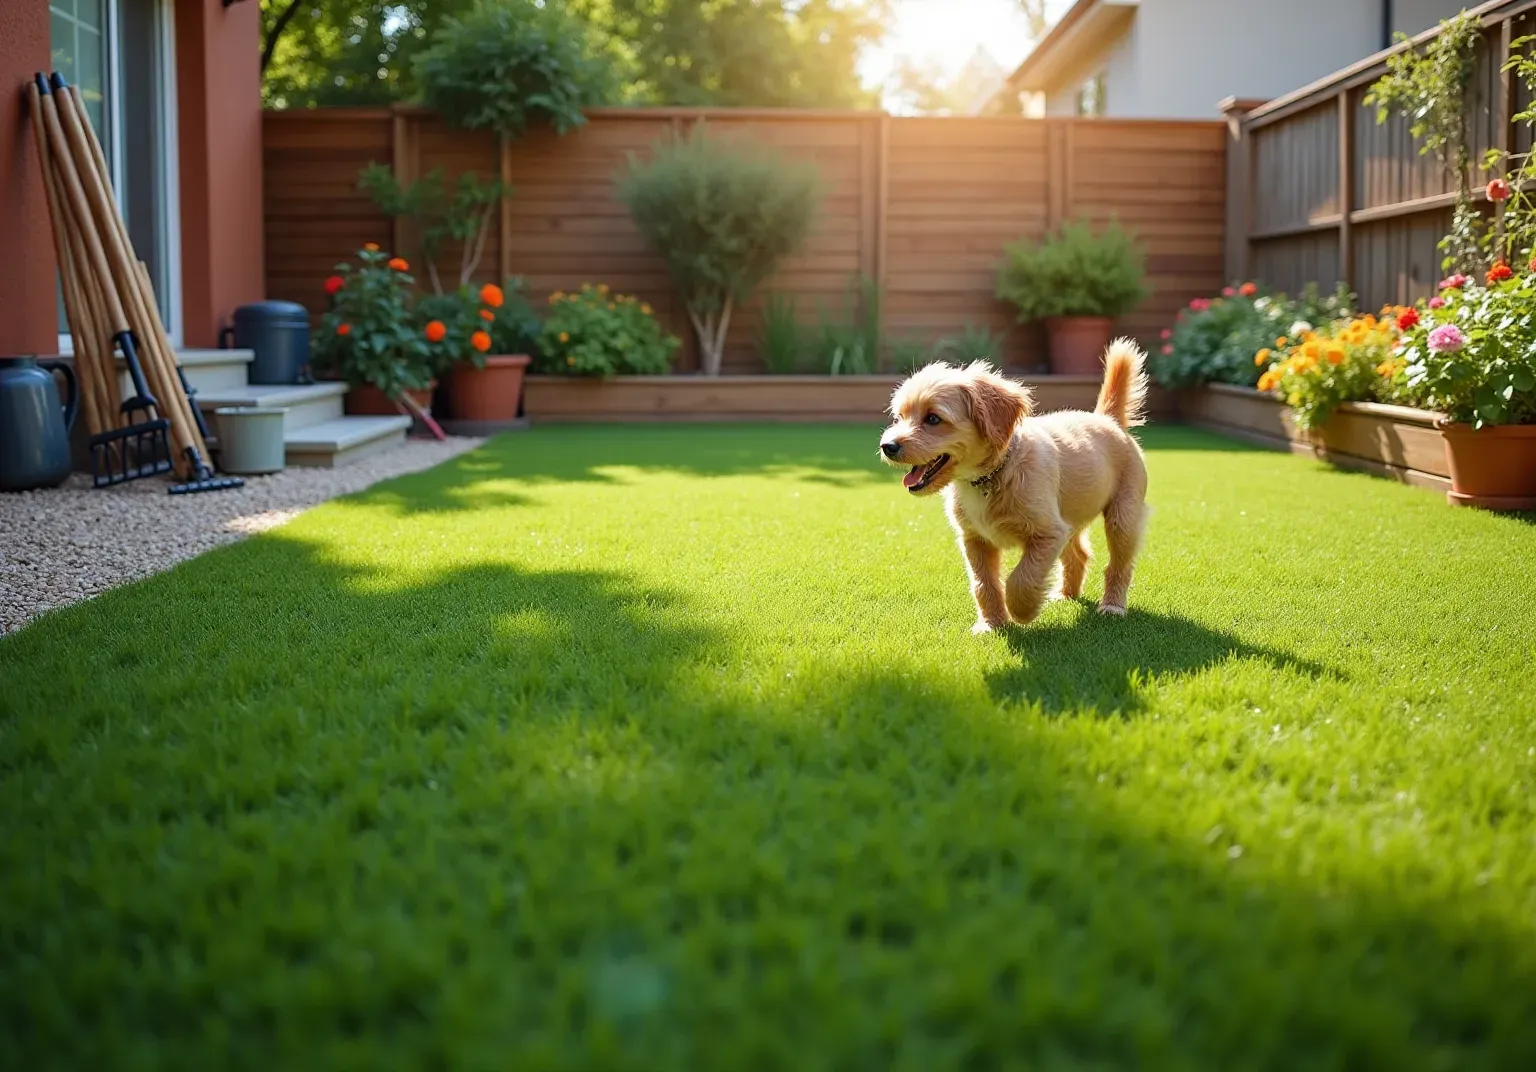
Transforming your backyard into a golfer's paradise is achievable by creating a personal putting green. This addition not only provides a fun practice space but also enhances the landscape's visual appeal. This guide outlines four essential steps for installing artificial grass, ensuring a seamless setup that improves both playability and aesthetics. Homeowners should be aware of common pitfalls during this process and consider strategies to ensure their installation remains durable over time.
Choose Location and Design for Your Putting Green
- : Start by surveying your property to find a and has . Steer clear of locations near large trees, as they can drop leaves and create unwanted shade, potentially prolonging drying times after rain. Ideally, position your 5-10 paces from home entryways to maximize convenience and practice time.
- Consider Accessibility: Ensure that the selected location is . Maintain a 4-foot wide path for transporting equipment from storage to the outdoor area, facilitating easy upkeep and enhancing usability.
- : Create a layout sketch that outlines the size and shape of your putting area. Incorporate design features such as bunkers, water elements, or native plant buffers to enhance aesthetics and . Thoughtful transition zones can help integrate the green into your landscape, making it a cohesive part of your outdoor space.
- : Before proceeding, confirm any or HOA guidelines that may affect landscaping and setups in your area. Understanding these regulations will help ensure your project complies with and avoids potential issues in the future.

Prepare the Base for Installation
- Clear the Area: Start by removing any existing grass, plants, and debris from the selected site. Using a shovel or sod cutter will facilitate , ensuring a clean slate for your installation.
- Excavate the Soil: Dig down 3 to 5 inches to create a level surface. This depth is essential for proper drainage and provides sufficient room for the , which is vital for the durability of your .
- Install a Weed Barrier: Lay down a to prevent unwanted growth beneath the grass. Secure the weed barrier with 6-inch galvanized nails or landscape anchors to ensure it stays in place. This step is crucial for preserving the quality of your , as it reduces the risk of weeds interfering with the area and decreases maintenance efforts.
- Add: Fill the excavated area with . Spread the material evenly and compact it using a plate compactor to create a solid, stable base. A properly prepared foundation not only supports the surface but also improves drainage, ensuring a smooth and functional zone for golf.
Statistics indicate that inadequate base preparation is a common issue encountered during , often leading to uneven surfaces and drainage problems. Installation experts emphasize that taking the time to ensure a is essential for achieving a professional-quality result with your . Additionally, consider adding infill, such as silica sand, for to maintain the grass's appearance and stability.

Install and Cut Artificial Turf
- Roll Out the Grass: Begin by unrolling the synthetic grass over the prepared base. Allow it to relax for a few hours to eliminate any creases, ensuring a smooth surface for installation.
- Align the Grass: Position the grass carefully, ensuring that seams are aligned and not visible. The surface should be tight but not excessively stretched, as this can lead to issues during use.
- Cut the Grass: Utilize a sharp utility knife to shape the sod to fit the desired form of your green. Always cut from the back to achieve clean edges and prevent fraying, which is crucial for maintaining a professional appearance.
- Secure the Grass: Finally, secure the edges of the grass to the base using landscape staples or adhesive. This step is essential to guarantee that the putting green artificial grass remains in position during use, providing a stable and enjoyable surface for putting.
Additional Considerations:
- Cost Awareness: The on , making .
- Time Expectations: Most take 1 to 3 days, allowing you to effectively organize your setup timeline.
- Drainage Planning: Ensure to prevent water accumulation on flat surfaces, which is vital for .
Before you start your installation, consider initiating your free consultation with for expert guidance on premium artificial grass and .

Apply Infill and Brush for Optimal Performance
- Choose the Right Infill: Select an appropriate infill material tailored to your and intended use. Silica sand is often recommended for due to its stability and drainage properties. In contrast, rubber granules can enhance cushioning and resilience in high-traffic areas. According to LITA Grass, most lawns require to ensure adequate support and performance.
- : Evenly across the grass surface using a spreader. Aim for a depth of 1/4 to 1/2 inch, as this range is optimal for most residential installations. This depth ensures sufficient support for the grass fibers while preserving the natural appearance. Proper is essential to prevent issues such as dips and valleys caused by foot traffic.
- : Use a stiff-bristled broom to lift the grass fibers and work the infill into the vegetation. This important step not only enhances the aesthetic appeal but also ensures that the , creating a more natural feel. Regular brushing is crucial, as it helps maintain the turf's appearance and prevents matting, which can develop over time. As noted by MightyGrass, brushing is vital for achieving a well-balanced and professional-looking lawn.
- : Conduct a thorough inspection for any uneven areas and adjust the infill as necessary. Ensure that the golf cups are correctly installed and at the appropriate height to facilitate a smooth playing experience. Regular maintenance and inspection will help prolong the life of your and ensure its performance.

Conclusion
Creating a putting green with artificial grass can transform your backyard into a golfer's paradise, providing a convenient space for practice and enjoyment. By following the outlined steps - from selecting the right location and preparing the base to installing the turf and applying infill - homeowners can achieve a professional-quality putting surface that enhances their outdoor space.
Key considerations include:
- Assessing your yard for optimal sunlight and drainage.
- Ensuring accessibility for maintenance.
- Adhering to local regulations.
The importance of a well-prepared base cannot be overstated, as it lays the foundation for a durable and aesthetically pleasing putting green. Proper installation techniques, including aligning and securing the artificial turf, as well as the thoughtful application of infill, are crucial for maintaining the grass's performance and appearance.
Ultimately, investing time and effort into creating your own putting green elevates your home’s landscape and encourages a love for the game. Whether you're an avid golfer or just starting, this DIY project promises to enhance your skills while offering a serene outdoor retreat. Embrace the opportunity to bring the joy of golf to your backyard and enjoy the benefits of a beautifully installed artificial grass putting green.
Frequently Asked Questions
How do I assess my yard for a putting green?
Start by surveying your property to find a flat area that receives ample sunlight and has good drainage. Avoid locations near large trees to prevent leaf drop and unwanted shade, which can prolong drying times after rain.
What is the ideal distance for a putting green from home entryways?
Ideally, position your golf practice area 5-10 paces from home entryways to maximize convenience and practice time.
Why is accessibility important for a putting green location?
Accessibility is important to ensure easy maintenance and play. Maintaining a 4-foot wide path allows for the easy transport of equipment from storage to the outdoor area, enhancing usability.
What should I consider when designing my putting green?
Create a layout sketch that outlines the size and shape of your putting area. Incorporate design features such as bunkers, water elements, or native plant buffers to enhance aesthetics and mimic the feel of a professional course.
How can I integrate the putting green into my landscape?
Thoughtful transition zones can help integrate the green into your landscape, making it a cohesive part of your outdoor space.
Are there any regulations I need to check before installing a putting green?
Yes, it is important to confirm any local zoning laws or HOA guidelines that may affect landscaping and setups in your area to ensure compliance with community standards.
List of Sources
- Choose Location and Design for Your Putting Green
- Top Trends For Greenwich Backyard Golf Putting Greens (https://southwestgreensct.com/blog/top-trends-for-greenwich-backyard-golf-putting-greens)
- Smart Placement Tips for a Backyard Putting Green (https://fieldturflandscape.com/golf-putting-green/how-to-position-your-backyard-putting-green)
- northeastsyntheticturf.com (https://northeastsyntheticturf.com/how-to-choose-the-right-location-for-your-putting-green)
- What To Know When Installing a Putting Green in Your Yard (https://syntheticturfnorthwest.com/what-to-know-when-installing-a-putting-green-in-your-yard)
- Backyard Putting Green Design Trends Homeowners Will Love in 2026 (https://artificialturfexpress.com/blog/backyard-putting-green-design-trends)
- Prepare the Base for Installation
- shawgrass.com (https://shawgrass.com/about/news-blog/how-to-prep-for-artificial-grass-installation)
- syntheticturfnorthwest.com (https://syntheticturfnorthwest.com/a-helpful-guide-to-installing-synthetic-turf-diy)
- How to Install Artificial Grass on Soil | US Turf (https://usturfsandiego.com/news/how-to-install-artificial-grass-on-soil)
- petgrows.com (https://petgrows.com/blogs/news/mastering-the-art-of-artificial-turf-installation-a-step-by-step-guide)
- A Step-by-Step Guide to Installing Artificial Turf Grass (https://lowes.com/n/how-to/install-artificial-grass)
- Install and Cut Artificial Turf
- How To Install the Ultimate Artificial Turf Putting Green | Synthetic Grass Warehouse (https://syntheticgrasswarehouse.com/blog/how-to-install-the-ultimate-artificial-turf-putting-green)
- How to Install Artificial Turf: Step-by-Step Guide with Tools, Costs, and Pro Tips (https://litagrass.com/blogs/lita-artificial-grass-blog/how-to-install-artificial-turf-step-by-step-guide-with-tools-costs-and-pro-tips?srsltid=AfmBOorB2BHslFZloQGddonHREYjZaG980qFdXavXjBHBCl0-qmnBZbm)
- maslandscaping.com (https://maslandscaping.com/artificial-turf-installation-estimate)
- watersaversturf.com (https://watersaversturf.com/synthetic-turf-putting-green)
- How Much Does Artificial Grass Cost: Pricing Guide in 2026 (https://siteprep.com/articles/artificial-grass-installation-cost)
- Apply Infill and Brush for Optimal Performance
- The Ultimate Checklist for Turf Infill Installation (https://themotzgroup.com/infill_blog/the-ultimate-checklist-for-turf-infill-installation)
- mightygrass.com (https://mightygrass.com/types-of-infill-for-artificial-grass)
- Best Infill for Artificial Grass: Types, Amounts & When to Use (https://litagrass.com/blogs/lita-artificial-grass-blog/best-infill-for-artificial-grass-types-amounts-when-to-use?srsltid=AfmBOoocHx3hLQ9L_0_qmqRGXCegDb_xo9xrl4W2Nok1A-MPT_KIpcVu)
- The Right Way to Sand Infill Your Artificial Grass (https://tudagrass.co.uk/blogs/news/the-right-way-to-sand-infill-your-artificial-grass?srsltid=AfmBOop61jIYNYr780PDgxA1_3MxP12KhVeHhQfsgOINzRIF4fFdAbfl)
- syntheticgrasswarehouse.com (https://syntheticgrasswarehouse.com/company/ask-an-expert/ask-jw/perfecting-putting-green-surfaces-part-2-infill-placement)