Introduction
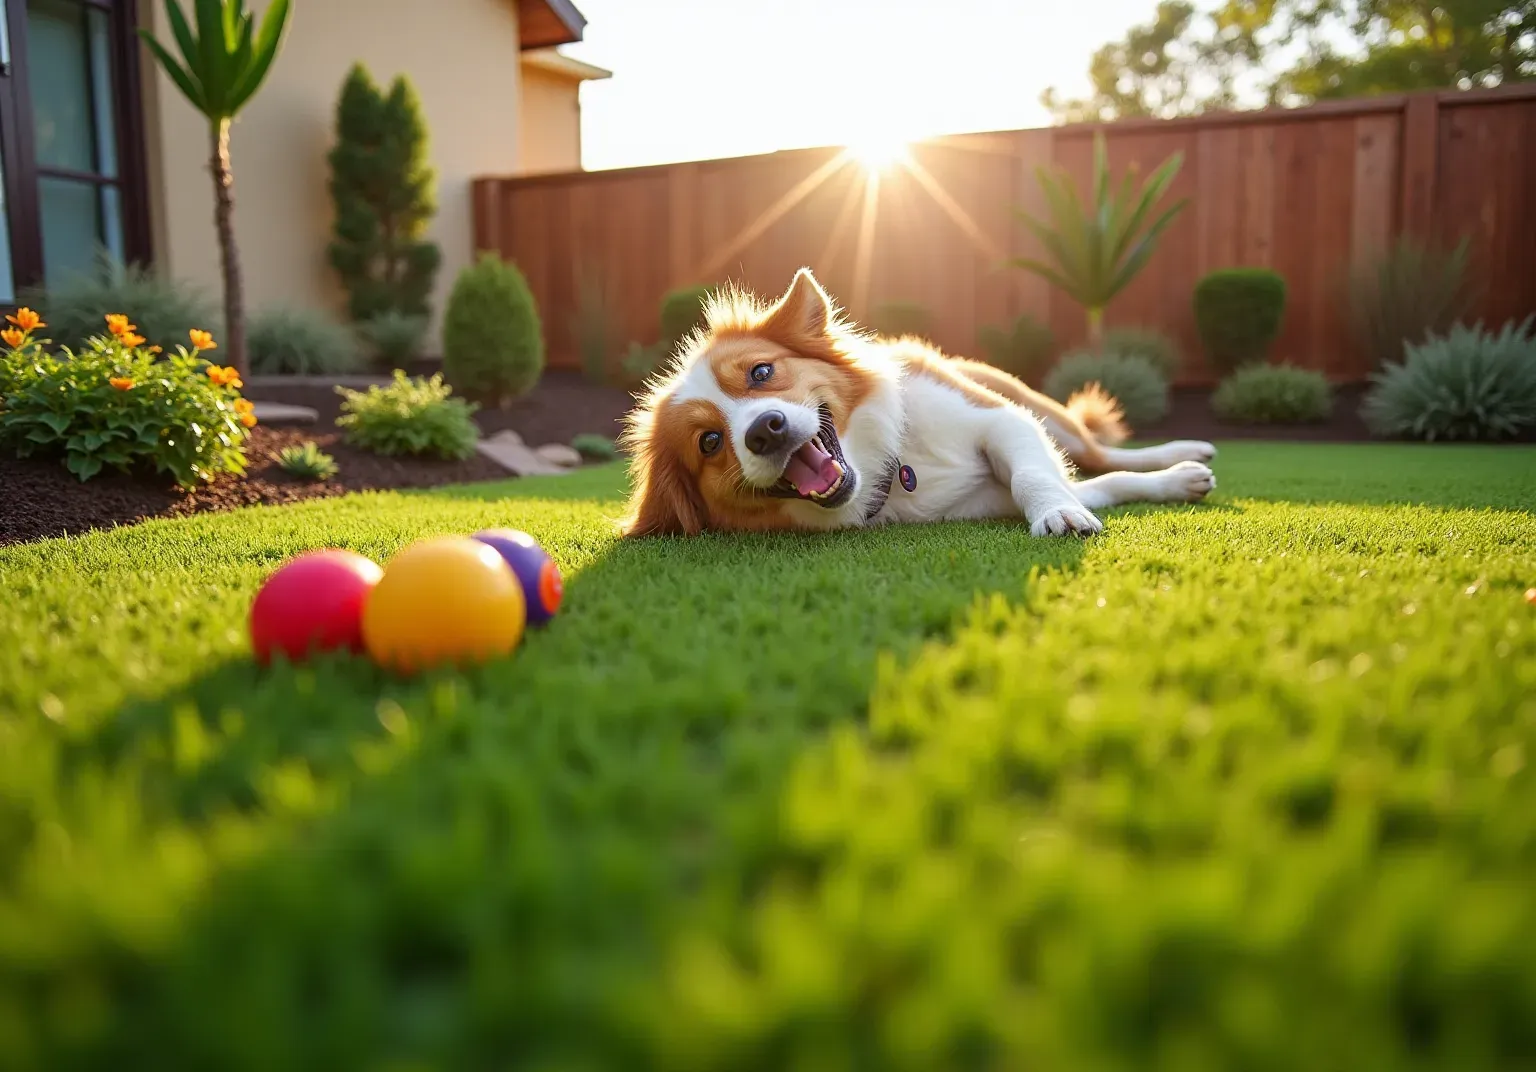
Transforming an ordinary outdoor space into a golfer's paradise is achievable by creating a backyard putting green. This installation not only offers the perfect setting for practice but also provides a space for relaxation. This guide outlines the essential steps for installing artificial grass, ensuring a beautiful and functional surface that closely mimics the experience of a real golf course. However, challenges may arise during the installation process. Homeowners must be prepared to navigate these challenges to achieve the perfect putting green.
Plan Your Artificial Grass Putting Green Layout
- Choose the Location: Identify a level space in your yard that receives ample sunlight and is free from obstructions such as trees or structures. For convenience and accessibility, having very close to my area is also important.
- Determine Size and Shape: Measure the space to establish the dimensions of your . The typical suggested dimensions for home range from 200 to 500 square feet, accommodating different shot angles and distances. Shapes can vary from rectangular to more organic forms, depending on your aesthetic preference.
- Include Features: Consider adding components such as bunkers, chipping zones, or and challenge of your golf surface. Sketch these and ensure they complement the overall design.
- Check Drainage: is essential to prevent water accumulation on your . Ensure the chosen space has a slight incline away from the lawn, which will facilitate and maintain the integrity of the surface.
- Finalize Your Plan: Once you have a clear layout, mark the area with stakes and string to visualize the boundaries. This step will assist you in verifying the design before proceeding to installation, ensuring that all components are positioned correctly for a .

Gather Necessary Materials and Tools
To create your ideal , gather the following materials and tools:
-
:
- rolls specifically designed for putting greens, ensuring a smooth and playable surface that replicates the look and feel of natural grass.
- Weed barrier fabric to inhibit weed growth and maintain the integrity of the installation.
- for a solid base, promoting drainage and stability.
- Landscape fabric to facilitate drainage and prevent soil erosion beneath the grass.
- to secure edges and ensure a seamless appearance.
- to complete the aesthetic and functional aspects of the green.
- Silica sand infill to support the synthetic grass and enhance gameplay, ensuring a true ball roll and consistent performance.
-
:
- Shovel and rake for excavation and leveling the ground to create a flat surface.
- Wheelbarrow for efficiently transporting materials to the installation site.
- Tape measure for precise measurements, ensuring accurate placement of grass.
- Utility knife for cutting the grass to fit the designated area.
- Hammer or mallet for securing the grass with nails, ensuring it stays in place.
- Compactor for leveling the base material, providing a solid foundation for the grass.
- At least two people are recommended for safe assembly and disassembly of the putting green kit.
-
Optional Tools:
- Turf broom for brushing infill, helping to maintain the appearance and performance of the turf.
- Seam roller to ensure tight seams between grass pieces, enhancing durability and aesthetics.
-
Purchase or Rent: Consider whether to purchase or rent tools based on your budget and the frequency of future landscaping projects. Renting can be cost-effective for one-time installations, while purchasing may be beneficial for ongoing maintenance or multiple projects. When considering the for an artificial grass putting green installation very close to my area, it ranges between $18-$25, which is an important consideration for homeowners planning their investment. For tailored solutions and expert installation, initiate your free consultation with today!
Install the Artificial Grass Turf
- Excavate the Site: Start by removing the top 4 to 6 inches of soil from the designated area to create a level base. This excavation must ensure that the ground is compacted and free of debris, which is essential for a stable foundation.
- : Spread a layer of crushed stone or decomposed granite evenly across the excavated space, targeting a depth of 2 to 4 inches. Compact the base material thoroughly using a compactor to establish a solid foundation that promotes effective drainage and stability.
- : After compacting the base, lay down a weed barrier fabric to prevent unwanted growth beneath the grass. Securely anchor this barrier with landscape nails or staples to ensure it remains in place.
- Cut and Lay the Grass: Roll out the over the prepared area, using a utility knife to trim the grass to fit the shape of your putting green. Pay close attention to aligning seams tightly to achieve a seamless appearance.
- Secure the Grass: Fasten the edges of the grass to the ground with landscape nails or staples, placing them every 3 to 6 inches along the perimeter. Ensure the surface is taut and free of wrinkles to maintain a professional look.
- Install Holes for Cups: Carefully cut openings for the cups at your preferred locations, ensuring they are level with the grass surface for optimal gameplay.
- Add Infill: If necessary, distribute , such as silica sand, over the grass to weigh it down and enhance its natural feel. This step is crucial for preserving the surface's integrity and performance, as proper infill placement helps avoid matting and extends the lifespan of your lawn.
To begin your very close to my area, schedule your with for top-quality and lawn solutions.

Apply Finishing Touches and Maintenance Tips
- : Use a grass broom to sweep the top of the green. This practice helps raise the grass fibers and ensures the .
- : Regularly remove debris, such as leaves and twigs, to . Additionally, rinse the area with water to eliminate dust and dirt accumulation.
- : Periodically check for signs of wear or damage, particularly around seams and placing cups. Promptly repair any issues to prevent further deterioration.
- : Ensure that the infill material is maintained at the recommended level for optimal performance. Add more infill as necessary to preserve the desired surface texture.
- : Refrain from using harsh cleaning agents or pesticides on the golf course surface, as these can harm the turf fibers. Instead, opt for mild soap and water to clean spills.
- : Prepare your for seasonal changes by checking drainage and ensuring the surface remains clear of snow or ice during winter months.

Conclusion
Creating an artificial grass putting green significantly enhances your outdoor space while allowing you to enjoy a favorite pastime. By following the outlined steps-from planning your layout to applying the finishing touches-homeowners can achieve a professional-quality putting green right in their backyard. This guide simplifies the installation process and emphasizes the importance of preparation and maintenance for long-lasting enjoyment.
Key points include:
- Selecting an appropriate location
- Determining the right size and shape
- Gathering all required materials and tools
Each phase of the installation process, from excavation to securing the turf, plays a critical role in ensuring a successful outcome. Additionally, ongoing maintenance tips help preserve the quality and performance of the putting green, ensuring it remains a source of fun and practice for years to come.
Investing time and resources into creating a backyard putting green can transform your leisure activities and elevate your home’s value. Embrace the opportunity to bring the golf course experience to your yard, and consider consulting with experts to ensure the best results. With careful planning and execution, the dream of having a personal putting green can become a reality, offering both enjoyment and a chance to refine golfing skills right at home.
Frequently Asked Questions
How do I choose the location for my artificial grass putting green?
Choose a level space in your yard that receives ample sunlight and is free from obstructions such as trees or structures. It's also important for the installation to be conveniently accessible.
What size should my artificial grass putting green be?
The typical suggested dimensions for home golf practice areas in Southern California range from 200 to 500 square feet. This allows for different shot angles and distances.
Can I customize the shape of my putting green?
Yes, the shape can vary from rectangular to more organic forms, depending on your aesthetic preference.
What features can I include in my putting green design?
Consider adding components such as bunkers, chipping zones, or water hazards to enhance the authenticity and challenge of your golf surface.
How important is drainage for my putting green?
Proper drainage is essential to prevent water accumulation on your putting surface. Ensure the chosen space has a slight incline away from the lawn to facilitate proper drainage.
What should I do after planning my putting green layout?
Once you have a clear layout, mark the area with stakes and string to visualize the boundaries. This will help verify the design before installation, ensuring all components are positioned correctly.
List of Sources
- Plan Your Artificial Grass Putting Green Layout
- sgwtexas.com (https://sgwtexas.com/blog/2023/09/28/ensure-a-perfect-outdoor-putting-green-installation-with-these-5-tips)
- Create Your Perfect Synthetic Grass Putting Green: 5 Tips for Customizing Your Course - SGW Fort Lauderdale (https://sgwflorida.com/fort-lauderdale/blog/2025/07/25/create-your-perfect-synthetic-grass-putting-green-5-tips-for-customizing-your-course)
- Designing the Ultimate Artificial Grass Putting Green: 5 Tips for Pro Play - SGW Bay Area (https://sgwbayarea.com/blog/designing-the-ultimate-artificial-grass-putting-green-5-tips-for-pro-play)
- Top Trends For Backyard Golf Putting Greens (https://southwestgreens.com/blog/top-trends-for-backyard-golf-putting-greens)
- What To Know When Installing a Putting Green in Your Yard (https://syntheticturfnorthwest.com/what-to-know-when-installing-a-putting-green-in-your-yard)
- Gather Necessary Materials and Tools
- How To Build a Backyard Putting Green (https://xgrass.com/how-to-build-putting-green.html)
- sgwarizona.com (https://sgwarizona.com/blog/diy-artificial-grass-putting-green-installation-step-by-step-guide)
- A Step-by-Step Guide to Installing Artificial Turf Grass (https://lowes.com/n/how-to/install-artificial-grass)
- How to Make a Backyard Putting Green with Artificial Turf (https://themotzgroup.com/infill_blog/how-to-make-a-backyard-putting-green-with-artificial-turf)
- 5 Tools That Contractors Installing Artificial Grass Should Use | Purchase Green Artificial Grass (https://purchasegreen.com/blog/crucial-tools-contractors-installing-artificial-grass-should-use)
- Install the Artificial Grass Turf
- How to Install Artificial Grass on Soil | US Turf (https://usturfsandiego.com/news/how-to-install-artificial-grass-on-soil)
- A Step-by-Step Guide to Installing Artificial Turf Grass (https://lowes.com/n/how-to/install-artificial-grass)
- sgwtexas.com (https://sgwtexas.com/blog/2023/09/28/ensure-a-perfect-outdoor-putting-green-installation-with-these-5-tips)
- How To Install the Ultimate Artificial Turf Putting Green | Synthetic Grass Warehouse (https://syntheticgrasswarehouse.com/blog/how-to-install-the-ultimate-artificial-turf-putting-green)
- steeltoeu.com (https://steeltoeu.com/blog/how-to-install-artificial-turf-for-a-putting-green)
- Apply Finishing Touches and Maintenance Tips
- Artificial Turf Maintenance Guide | Cleaning & Care Tips (https://fieldturflandscape.com/maintenance/artificial-turf-maintenance-guide)
- Artificial Golf Greens Maintenance Tips (https://southwestgreens.com/blog/artificial-golf-greens-maintenance-tips)
- Artificial Putting Green Maintenance: Year-Round Care Guide (https://aglgrass.com/blogs/artificial-putting-green-maintenance)
- Putting Green Care Tips for Your RealTurf Artificial Grass Installation - Realturf (https://realturf.com/us/putting-green-care-tips-for-your-realturf-artificial-grass-installation)
- 10 Tips for Maintaining an Artificial Grass Putting Green (https://wintergreengrass.com/10-tips-for-maintaining-an-artificial-grass-putting-green)